Copycat Domino’s Cheesy Bread
Prep time: 20 min Cook time: 15 min Servings: 4
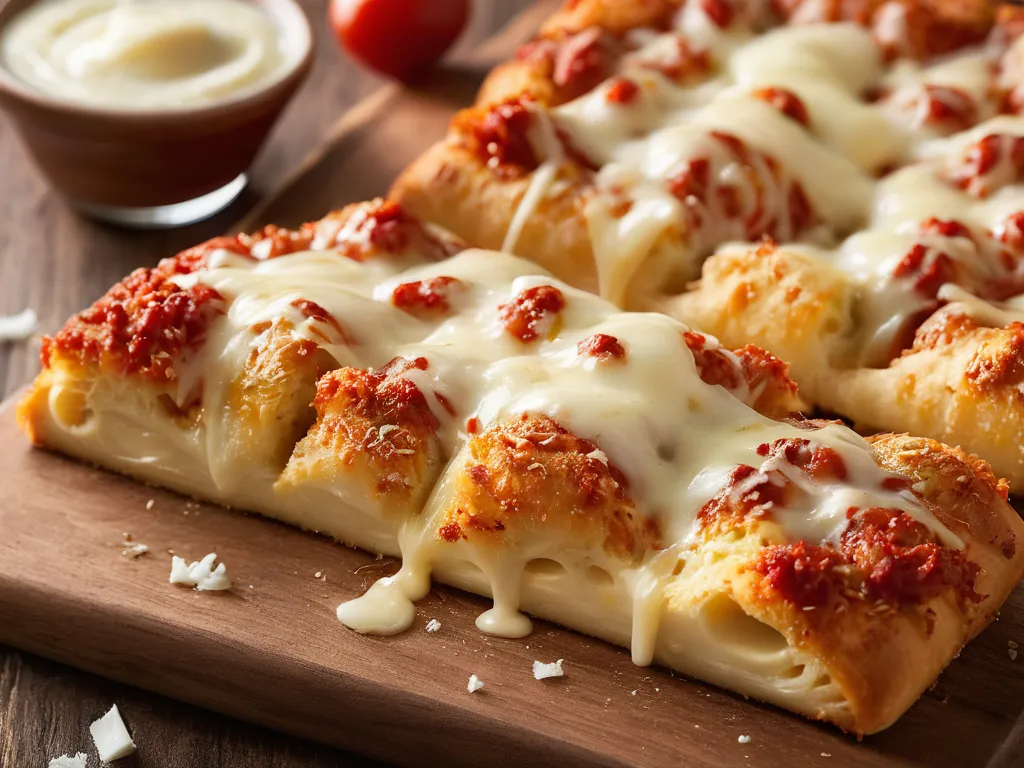
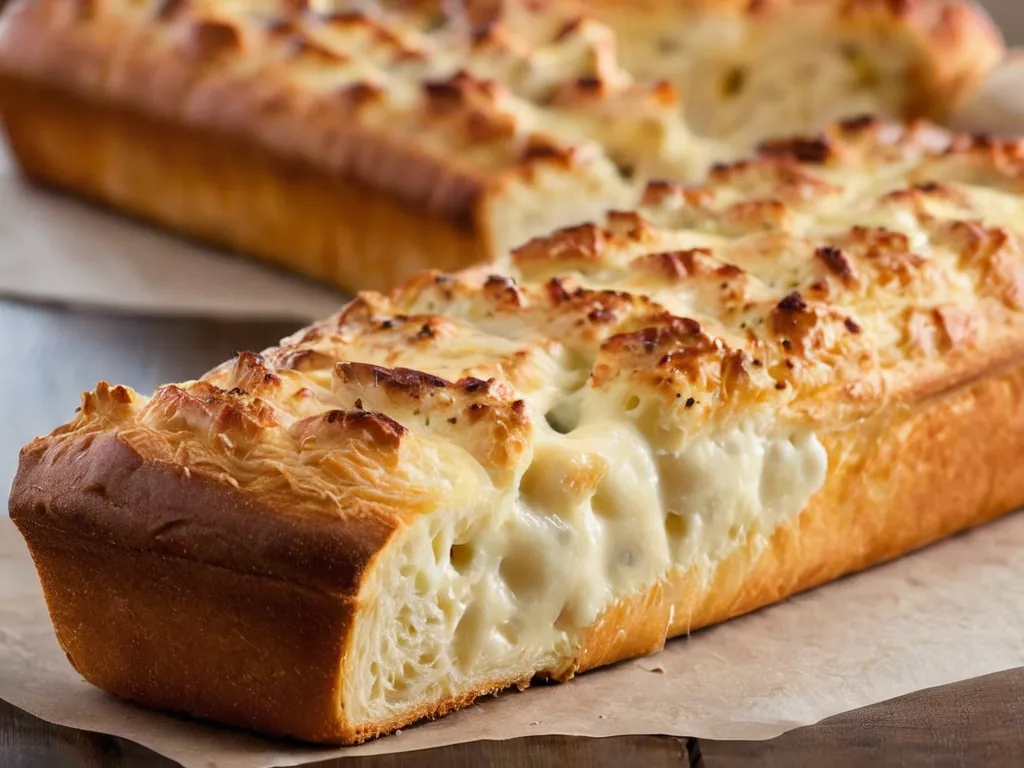
Domino’s cheesy bread is the side that outsells their wings, pasta, and every other non-pizza item on the menu. It’s a slab of their pizza dough blanketed in a thick layer of melted mozzarella and cheddar, brushed with garlic butter, and cut into rectangular strips. The combination of soft, stretchy bread and a gooey cheese layer makes it dangerously easy to eat four pieces before you realize what happened.
This recipe replicates the Domino’s version using a simple pizza dough and a two-cheese blend. The par-bake step is the key technique — it firms up the dough so it can support the weight of cheese without turning soggy. The result is bread that’s crisp on the bottom, soft in the middle, and covered in a golden, stretchy cheese layer that pulls apart in long strands.
Why Make It at Home?
An 8-piece order of cheesy bread from Domino’s runs $7-8 plus tax. This recipe yields 16 pieces for under $3 in ingredients. That’s four times the food for less than half the price. You also control how much cheese goes on top — this version uses significantly more than what Domino’s applies, because there’s no food cost pressure in your kitchen.
Making the dough from scratch adds 45 minutes of rise time, but the hands-on work is about 10 minutes. If you’re already making pizza for dinner, use half the dough for the pizza and the other half for cheesy bread. Two menu items from one batch of dough.
What Makes Domino’s Cheesy Bread So Good
The bread base is intentionally bland. Domino’s doesn’t season their cheesy bread dough heavily because the cheese and garlic butter do all the flavor work. The bread is there for texture — soft enough to tear easily, sturdy enough to pick up without flopping. Bread flour provides the structure that all-purpose flour can’t, giving you that slight chew without any toughness.
The cheese blend matters. Straight mozzarella melts beautifully but tastes mild. Adding cheddar brings a sharper, tangier flavor that makes each bite more interesting. Domino’s uses a proprietary blend, but a 75/25 split of mozzarella to cheddar gets you very close to their flavor profile. The Parmesan on top adds a salty, nutty note that browns under the broiler and gives the surface some texture.
The garlic butter brush is what separates cheesy bread from a plain cheese flatbread. It goes on hot, seeps into the cheese, and saturates the exposed edges of the bread. That garlic-butter flavor hits your nose before you take a bite and sets the expectation for everything that follows.
Tips & Variations
- Par-bake is non-negotiable. Skipping it means the dough won’t cook through before the cheese burns. Six minutes in the oven sets the structure without browning the surface.
- Use low-moisture mozzarella. Fresh mozzarella releases too much water and makes the bread soggy. The pre-shredded supermarket bag works perfectly here.
- Add jalapeños. Scatter sliced pickled jalapeños over the cheese before the second bake for a spicy version that pairs well with ranch dipping sauce.
- Go stuffed. Roll the dough thicker, spread cheese on one half, fold it over, and seal the edges. Bake longer at a lower temperature for a calzone-style cheesy bread.
- Finish with a broil. If the cheese isn’t browned enough after baking, switch to broil for 60-90 seconds. Watch it constantly — cheese goes from golden to charred in seconds.
Storage & Reheating
Cheesy bread keeps in the refrigerator for up to 3 days wrapped in foil or in an airtight container. The cheese firms up but the bread stays soft.
Reheat on a baking sheet at 375F for 6-8 minutes until the cheese re-melts and the bottom crisps back up. A skillet on the stovetop over medium heat also works well — cover with a lid for 3-4 minutes to trap steam and melt the cheese while the bottom gets crispy. Avoid the microwave if possible. It melts the cheese but turns the bread base chewy and rubbery. If the microwave is your only option, lay a damp paper towel over the pieces and heat in 15-second bursts.
More Domino’s Copycat Recipes
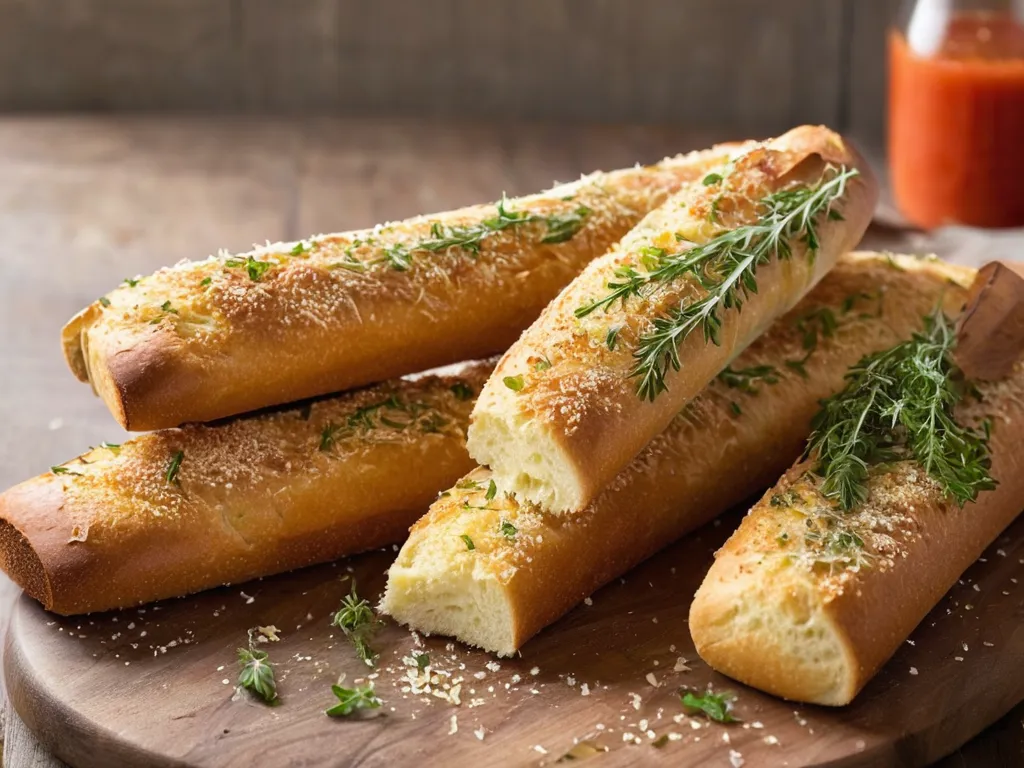
- Domino’s Garlic Knots — twisted strips of pizza dough brushed with garlic butter and Parmesan; same dough and garlic butter base as the cheesy bread.
- Domino’s Pizza — the pan pizza with the crispy oiled bottom and garlic butter edge crust; cheesy bread makes the perfect appetizer before it.
- Domino’s Chocolate Lava Crunch Cake — the warm molten chocolate cake that rounds out any Domino’s dinner order at home.
See all Domino’s copycat recipes →