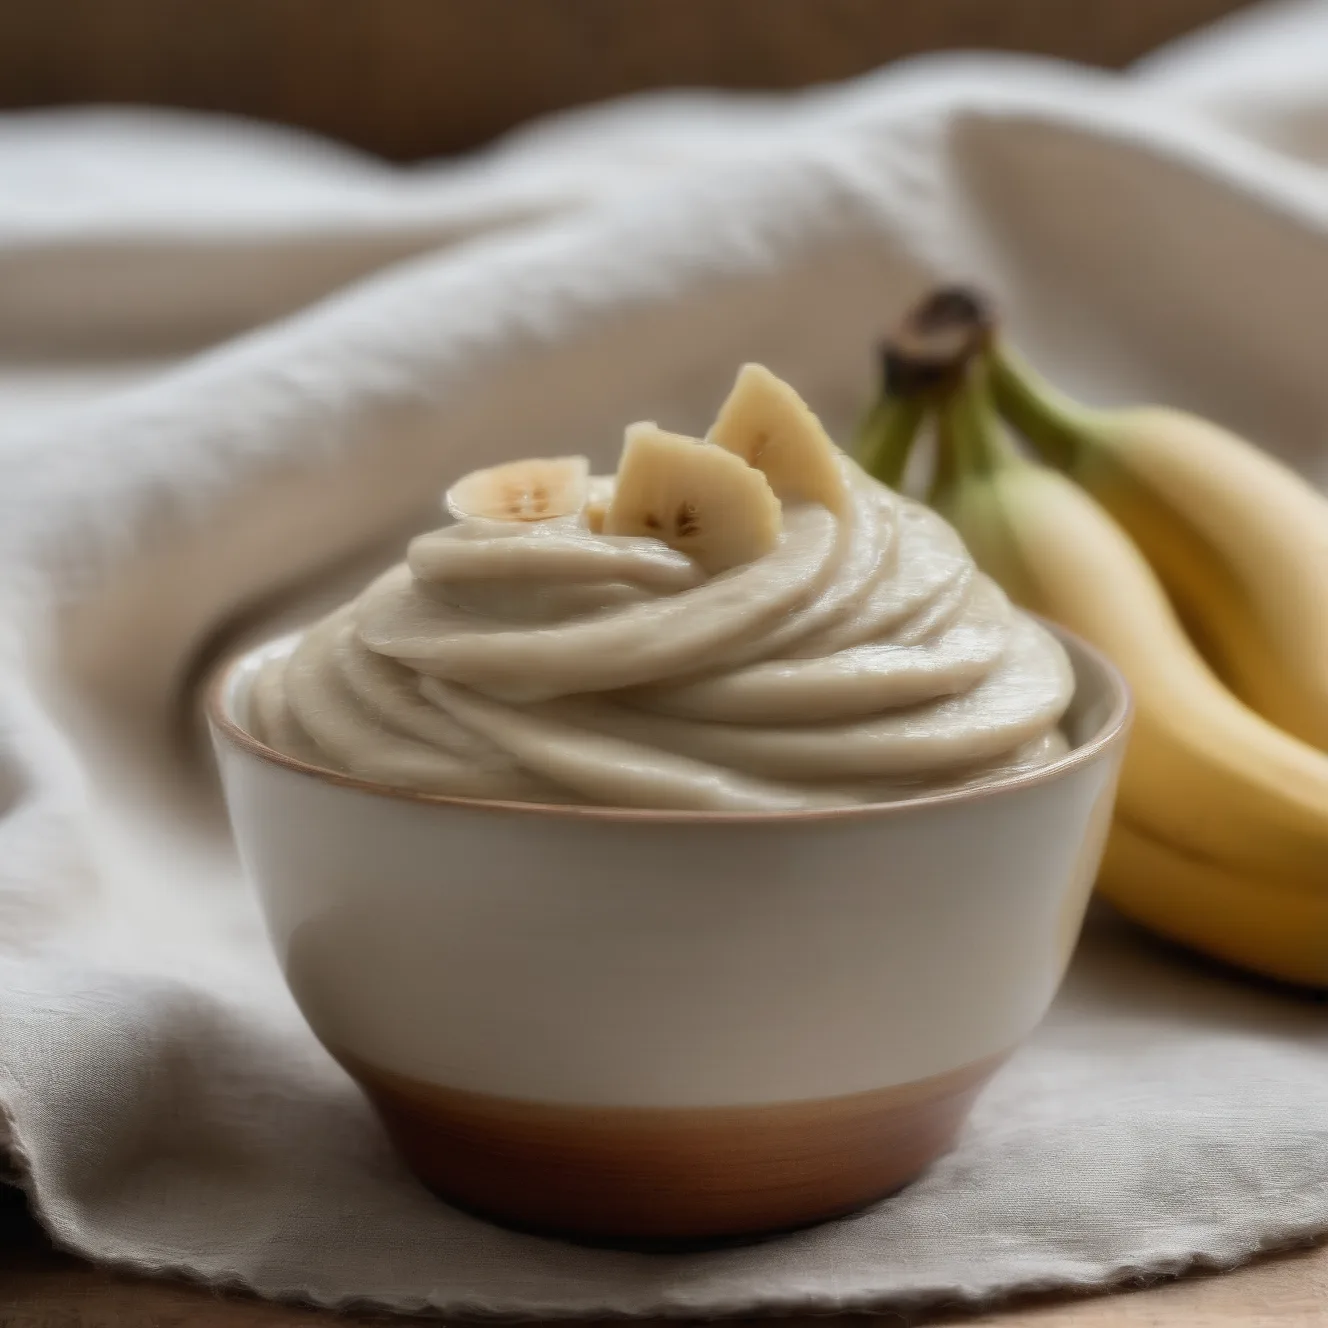
Blend frozen bananas and they turn into something that genuinely passes for soft-serve ice cream. No sugar added, no dairy, no ice cream machine. The TikTok clips that showed this transformation — chunky frozen banana pieces going from icy rubble to silky, glossy soft-serve in under 4 minutes — earned the trick tens of millions of views because it looks impossible until you’ve made it yourself.
This is the full guide: the science behind why it works, the technique that makes the difference between creamy and icy, every flavor variation worth trying, and exactly how to freeze and store it.
Why Frozen Bananas Actually Turn Into Ice Cream
The transformation is real, and it’s not magic — it’s three things happening at once inside the food processor:
Pectin prevents ice crystals. Bananas are naturally high in pectin, the same fiber used to set jams and jellies. During freezing, pectin chains form a network throughout the banana’s cell structure. When you blend the frozen banana, those pectin chains break up into smaller segments that trap water molecules and prevent them from clustering into the large ice crystals that make regular frozen fruit grainy and icy. The result is a smooth, crystal-free texture that reads as creamy even though there’s no fat involved.
Starch and fiber form a custard-like matrix. Unripe bananas are mostly starch; ripe bananas have converted most of that starch to sugar. But even ripe bananas retain enough starch and soluble fiber that extended blending — 3–4 minutes in a food processor — ruptures the cell walls and works the released starch, fiber, and sugars into a thick, viscous paste. This paste mimics the mouthfeel of dairy fat, which is why the result has a richness that’s hard to distinguish from soft-serve ice cream in a blind comparison.
High sugar lowers the freezing point. The natural fructose, glucose, and sucrose in a ripe banana account for about 14 grams of sugar per fruit. That high sugar concentration lowers the freezing point of the banana’s water, keeping the blended result pliable and scoopable at freezer temperatures rather than setting into an impenetrable block.
The ripeness connection. Very ripe bananas (brown spots or a mostly-brown peel) have converted more starch to sugar and have looser pectin chains, both of which contribute to a creamier result. An all-yellow banana works, but the finished ice cream will be slightly starchier, less sweet, and less smooth. An overripe banana that’s too soft to eat is actually ideal — peel it, slice it, and freeze it before it passes peak ripeness.
The Three Phases of Blending (What You’ll See)
The biggest reason first-time attempts fail is stopping too early. Here’s exactly what happens inside the food processor:
Phase 1 (0–60 seconds): Crumbly rubble. The frozen banana chunks break into rough, dry-looking crumbles. This looks wrong. Keep going.
Phase 2 (1–2 minutes): Thick clump. The crumbles start sticking together into a heavy, gluey mass that pushes to one side of the bowl. Scrape down the sides and keep going.
Phase 3 (2–4 minutes): Soft-serve. The mass suddenly releases and transforms into smooth, glossy, soft-serve ice cream. The texture shifts visually — you can see it become silkier in real time. This is the moment. Stop blending here (over-blending slightly warms it and can make it runnier than desired).
Never add liquid during blending. The temptation to splash in milk or almond milk to help it move is universal, but it converts the thick banana paste into a smoothie. If the food processor struggles, let the banana slices sit for 1–2 more minutes at room temperature, then try again.
Cost Breakdown
| Version | Ingredients | Cost per 2 servings |
|---|---|---|
| Plain (4 bananas) | 4 overripe bananas | ~$0.60 |
| Peanut butter–chocolate | + 2 tbsp peanut butter + 1 tbsp cocoa | ~$1.00 |
| Berry swirl | + 1 cup frozen mixed berries | ~$1.50 |
| Premium ice cream comparison | Pint of Häagen-Dazs or Ben & Jerry’s | $5–8 for 4 servings |
At $0.60–$1.50 per two-serving batch, this is the cheapest frozen dessert that’s actually satisfying. The peanut butter–chocolate version in particular is difficult to distinguish from a dairy-based chocolate ice cream in a side-by-side comparison.
Flavor Variations
Peanut Butter Chocolate (“Reese’s” style): Add 2 tablespoons peanut butter and 1 tablespoon unsweetened cocoa powder during the final phase of blending. The combination of banana sweetness, cocoa, and peanut butter produces something that tastes much closer to a peanut butter cup Blizzard than its ingredients suggest.
Chocolate: 1 tablespoon unsweetened cocoa powder. For a deeper chocolate flavor, use Dutch-process cocoa and add ½ teaspoon vanilla extract.
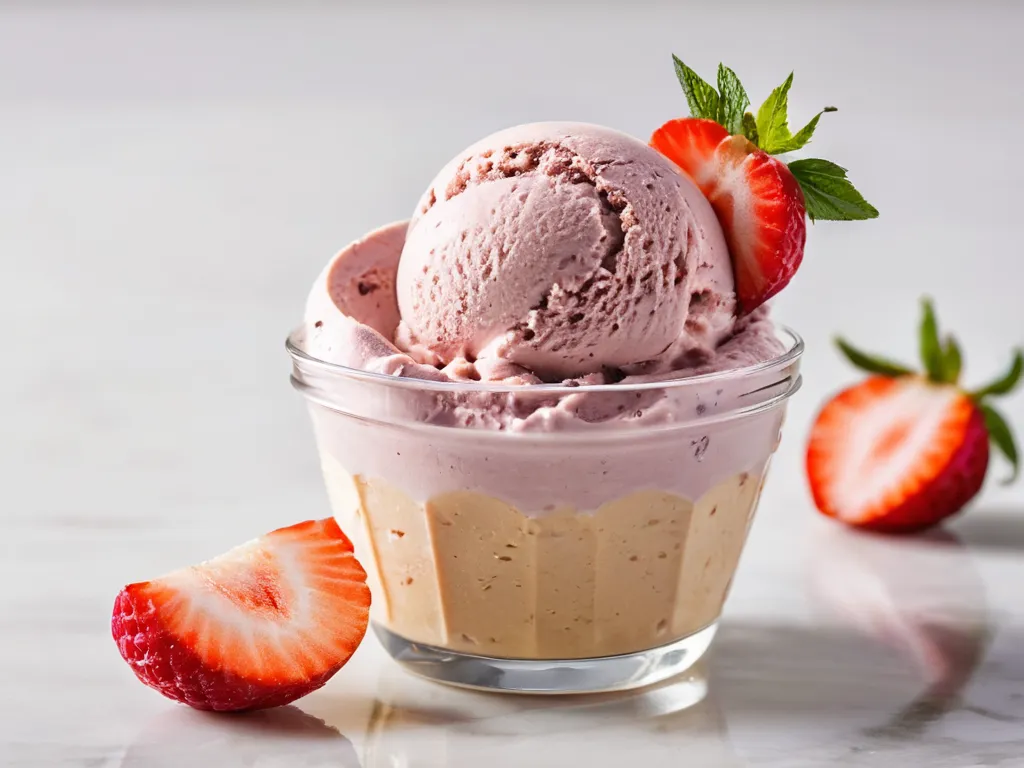
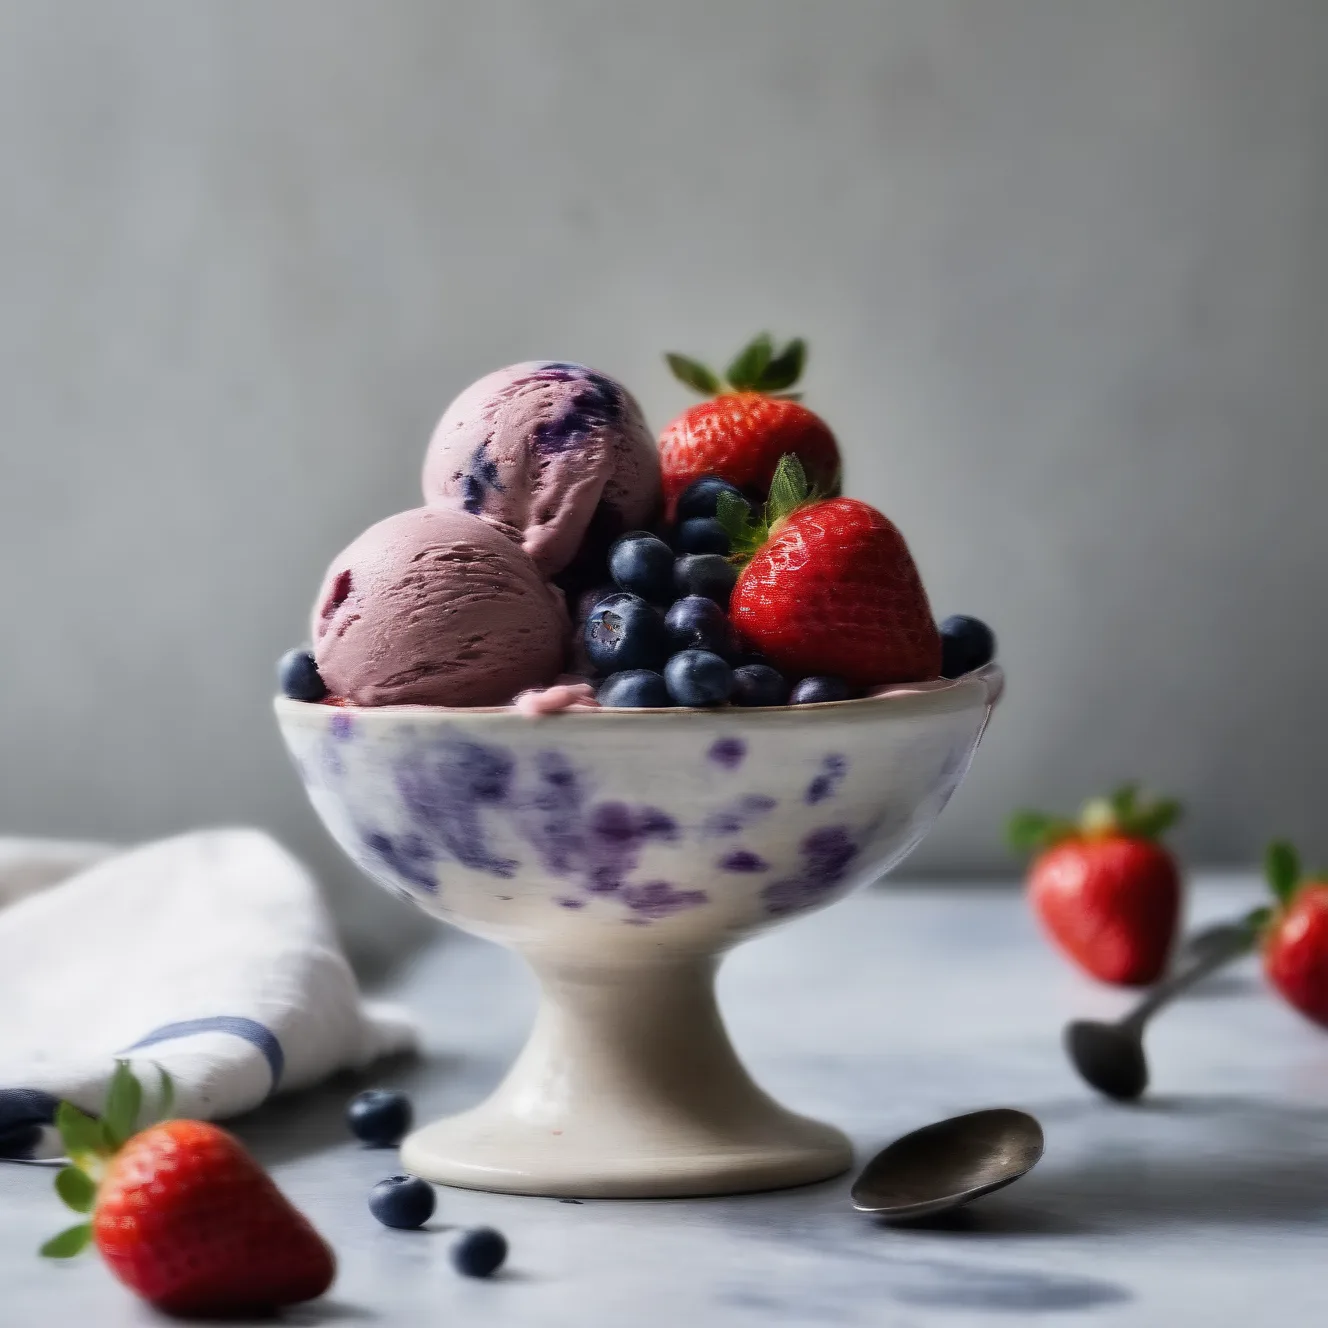
Strawberry banana: Add ½ cup frozen strawberries in the last 30 seconds of blending. The strawberries add tartness that balances the sweetness and turn the ice cream a vivid pink.
Tropical mango: Swap 1–2 of the bananas for frozen mango chunks. The mango adds a bright, tropical sweetness and turns the ice cream a deep yellow.
Vanilla bean: 1 teaspoon vanilla extract and 1 tablespoon maple syrup. This is the version that most closely mimics vanilla soft-serve.
Almond butter and sea salt: 2 tablespoons almond butter plus a pinch of flaky sea salt. The salt contrast is key here — it lifts the banana sweetness significantly.
Storage and Make-Ahead
Eating immediately: Straight from the food processor gives the best texture — smooth, soft-serve consistency that’s immediately scoopable.
Short-term freeze (scoopable ice cream): Transfer to an airtight container and freeze for 30–60 minutes. This produces a firmer, scoopable consistency closer to regular ice cream.
Longer storage (up to 2 months): Fully frozen in an airtight container. Let it soften for 5–8 minutes on the counter before scooping. The texture will be slightly icier than fresh-blended but still good.
Refreezing: You can refreeze once with minimal quality loss. After a second or third freeze-thaw cycle, ice crystals form and the creamy texture becomes noticeably coarser. Make fresh batches rather than re-blending and refreezing repeatedly.
Preventing freezer burn: Press a piece of plastic wrap directly against the surface of the ice cream before sealing the container. This eliminates air contact, which is the main cause of freezer burn.
Pro Tips
- Single-layer freeze: Arrange banana slices in a single layer on a parchment-lined sheet pan, not piled in a zip-lock bag. A single layer freezes more uniformly and the slices don’t fuse into a clump that’s harder to break apart.
- 2-minute rest before blending: This is the step most people skip. Even 2 minutes of thawing on the counter makes a significant difference in how easily the food processor works and how quickly the banana reaches the creamy phase.
- Portion and freeze: Peel and slice ripe bananas whenever they hit peak ripeness, freeze in single-layer batches on a sheet pan, then transfer to labeled zip-lock bags in 4-banana portions. You’ll have on-demand banana ice cream for weeks.
- Top for texture contrast: Plain banana ice cream is smooth throughout; adding crunchy toppings (chopped walnuts, granola, cacao nibs, toasted coconut flakes) gives each bite more interest. A drizzle of warm peanut butter over the top melts slightly against the cold ice cream.
More TikTok Frozen and No-Bake Desserts
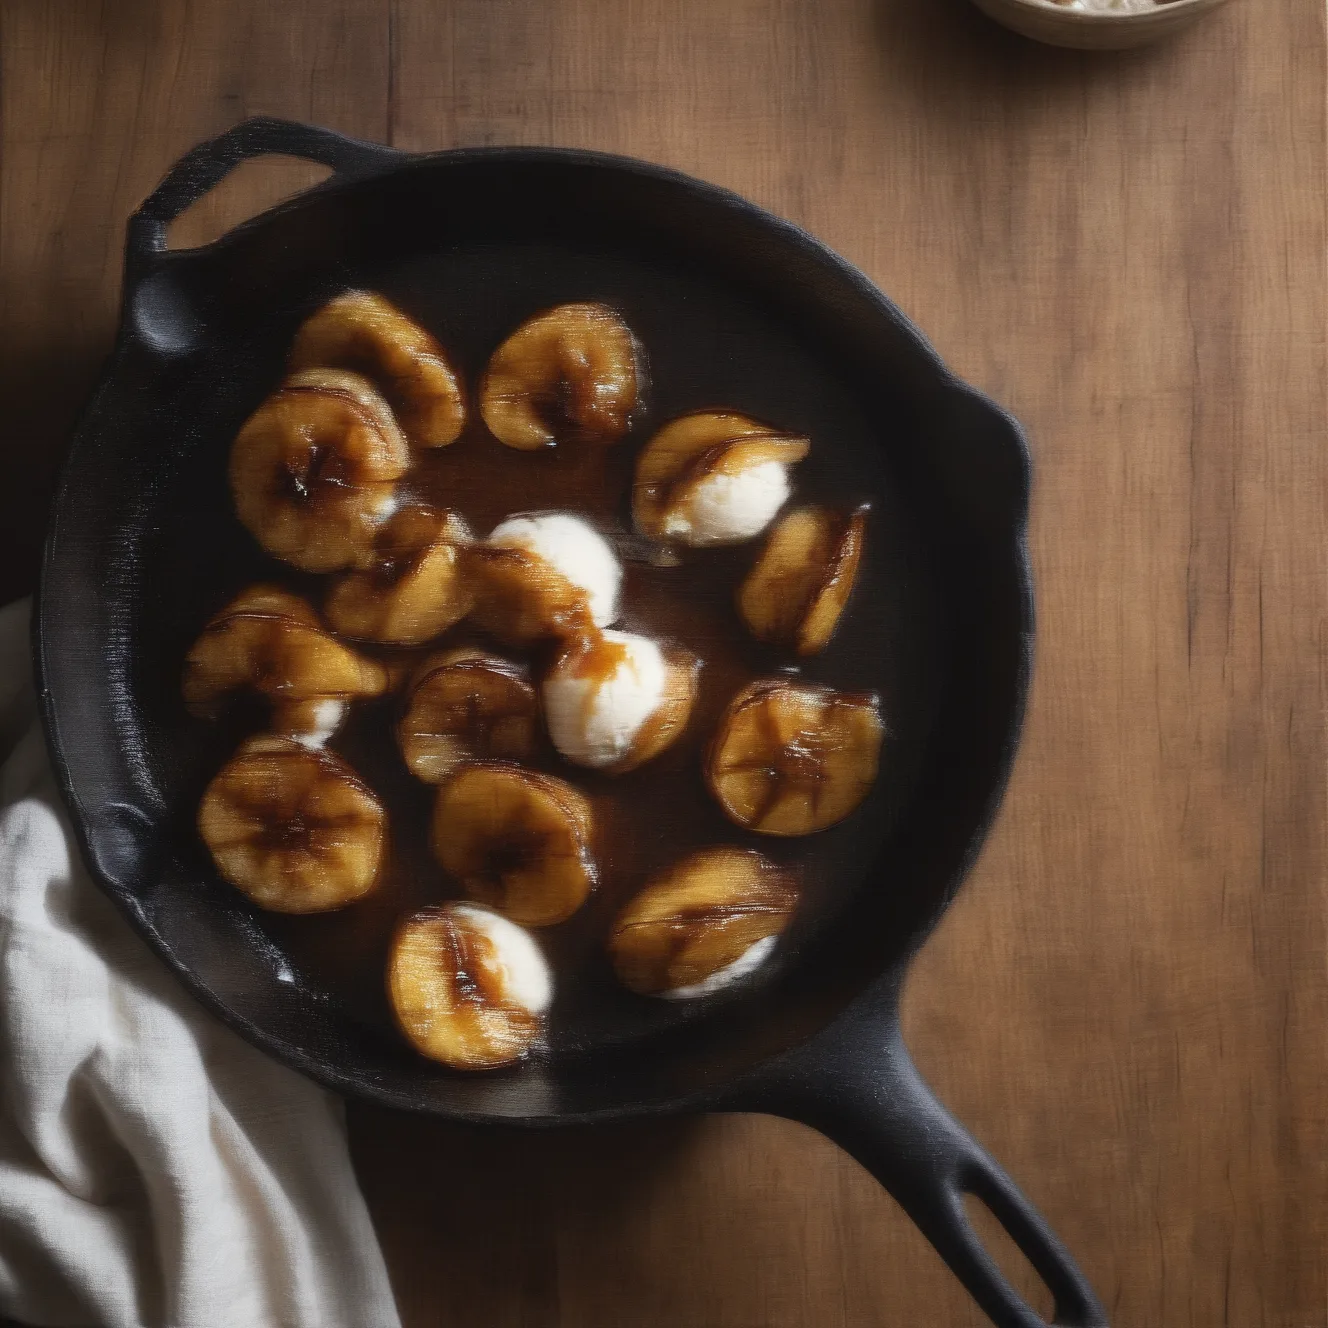
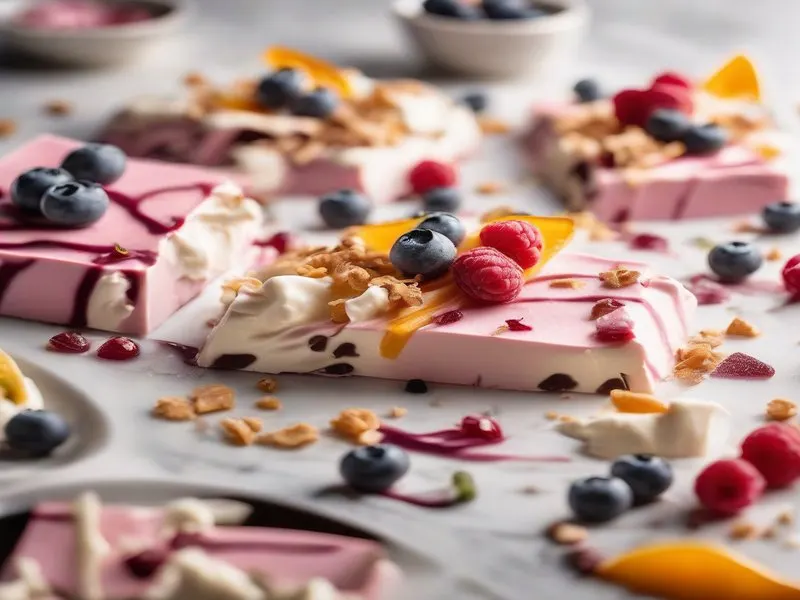
If you’re into the minimal-ingredient, zero-cook dessert approach, Caramelized Banana is the hot counterpart — bananas browned in butter and brown sugar until deeply jammy, which takes 8 minutes and pairs well with a scoop of this ice cream. Frozen Yogurt Bark is another no-machine frozen dessert in the same category — spread, freeze, break, done. And Peanut Butter Banana Toast rounds out the banana-as-dessert trilogy.