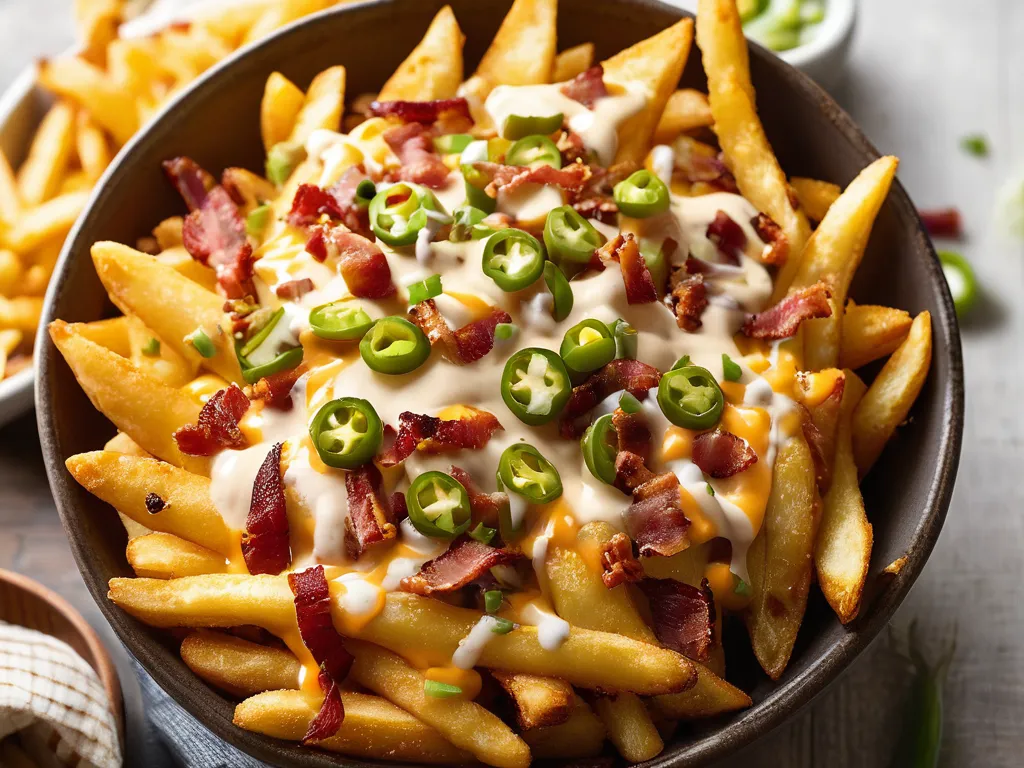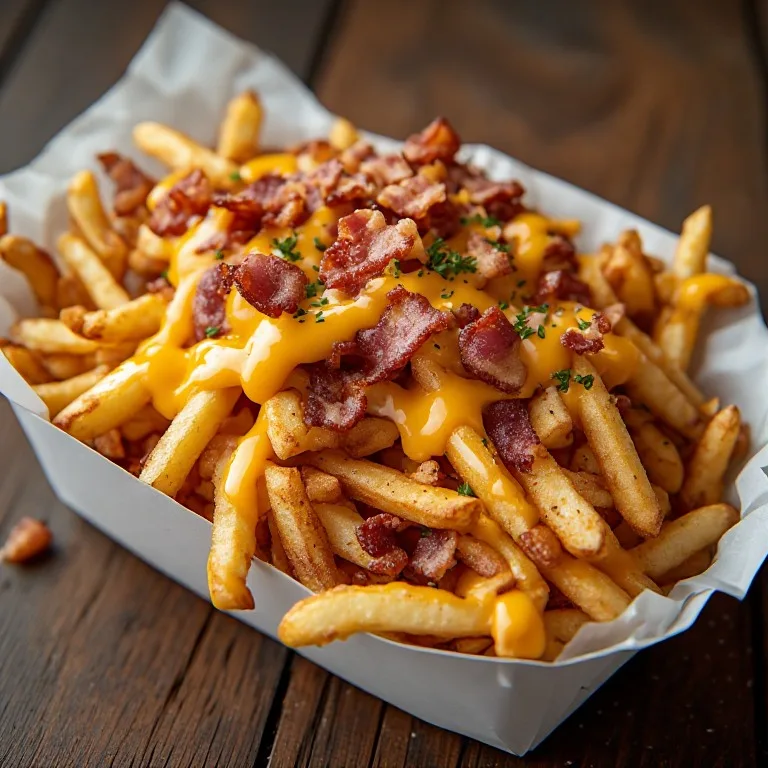
Wendy’s Bacon Pub Fries get three things right that most loaded fries recipes get wrong: beer cheese instead of nacho cheese, bacon crumbles instead of slices, and the understanding that toppings go on immediately after the fries come out of the oven — not a minute later.
Each of those choices is specific. This recipe explains why they matter and how to replicate them at home.
Why Beer Cheese Is Not Just Nacho Cheese With Beer Added
The reflex move when making “beer cheese fries” at home is melting Velveeta and splashing in whatever’s in the fridge. That produces nacho cheese with a faint beer taste — not pub cheese.
Real beer cheese sauce starts with a roux: butter cooked with flour until the raw starch taste is gone. That roux gives the sauce a structural backbone that lets it hold together when you add both the milk and the beer. Without the roux, the beer’s acidity and the dairy fat separate the moment heat leaves the pan.
The beer goes in cold from the can, added slowly to the hot roux-milk base. A mild lager is the right pick — it contributes the malt character (slightly sweet, slightly yeasty) that makes the sauce taste like a pub rather than a ballpark. Dry mustard and Worcestershire amplify the savory edge. American cheese (not all cheddar) provides the sodium citrate that keeps the whole thing from breaking into oily clumps.
The result is thicker than nacho cheese but thinner than queso — it drizzles rather than pours, and it clings to the fries rather than pooling under them.
The Layering Order Is Not Negotiable
Hot fries, fresh from the oven, come out of the baking sheet trailing steam. That steam is doing you a favor: it means the surface moisture has been driven out and replaced with crust.
The moment you lay sauce on hot fries, the crust starts absorbing liquid. So you want every topping in the right sequence before the window closes:
- Beer cheese first — goes on the hot fries and settles into the top layer
- Shredded cheddar second — the residual heat from the fries and sauce melts the bottom of the shredded cheese while the top stays slightly structured. You want textural contrast, not a uniform cheese blanket.
- Bacon crumbles last — they land on top and stay above the moisture zone for a few extra minutes
If you reverse steps 2 and 1 (cheese on fries first, then sauce over the cheese), the sauce slides off the cold cheese surface rather than integrating. If you put the bacon under anything, it softens immediately from contact with the warm sauce.
The Fry Problem: Why Most Loaded Fries Recipes Start Wrong
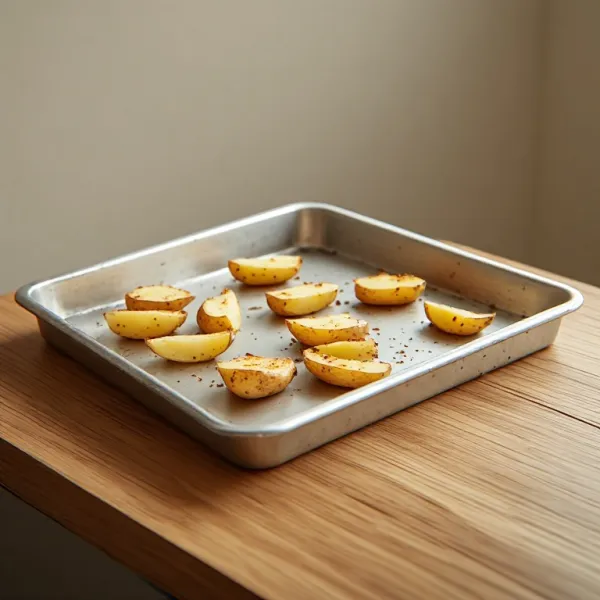
Baking frozen fries at 400°F produces a warm, cooked potato with a light golden exterior. That exterior has almost no crust resistance — sauce saturates it within 90 seconds.
Baking at 450°F does something different: the high heat hits the exterior fast enough to dehydrate and harden it before the potato interior fully softens. You get a real crust — visible as the slightly dark-golden color — that takes 4–5 minutes to saturate rather than 90 seconds.
That extra time is the window you eat in. It’s short either way, so Wendy’s makes these fries to order and serves them immediately. The home version requires the same discipline: sauce, top, and serve in under 5 minutes.
Beer Cheese Sauce: The 8-Minute Method
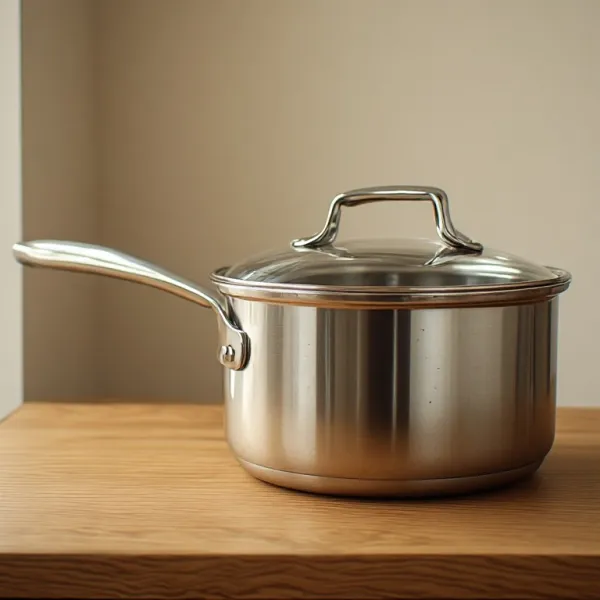
The sauce sounds more complicated than it is. Melt butter, whisk in flour, whisk in cold milk and beer slowly, lower the heat, stir in the cheeses. Eight minutes start to finish if you do it while the fries are in the final stretch of baking.
Two things to watch: the thickness and the heat. The sauce should be thick enough to drizzle in a slow ribbon off the back of a spoon — not pour freely, not stand up stiff. If it over-thickens (stays on the spoon without drizzling at all), add warm milk a tablespoon at a time. If it’s too thin (pours off immediately), cook for another minute on medium-low while stirring.
Keep it on the lowest burner setting until the fries are done. Stir once a minute so the bottom doesn’t scorch.
Bacon Crumbles vs. Bacon Strips
Wendy’s uses bacon crumbles on the Pub Fries — not strips, not halves. The crumbles distribute evenly across the entire surface so every forkful gets bacon. Strips concentrate the bacon in one zone.
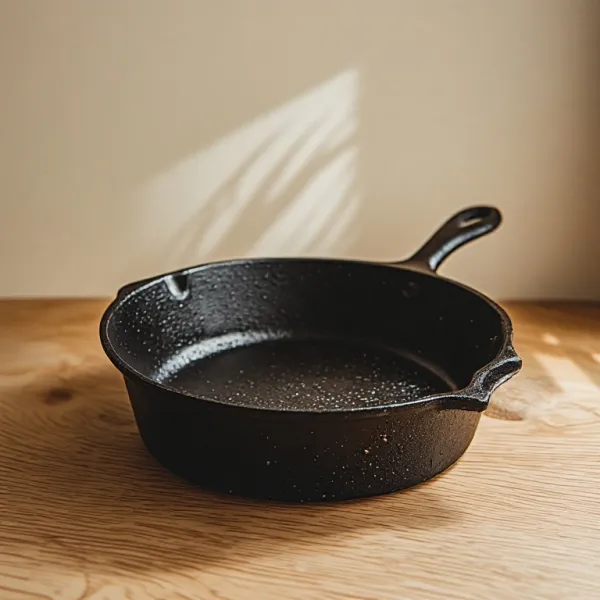
For the best crumbles at home, start bacon in a cold skillet and render slowly over medium heat. Slow rendering extracts more fat from the meat, leaving a drier, crunchier piece that crumbles cleanly. Fast, high-heat bacon shrinks to a stiff piece that snaps rather than crumbles. Thick-cut bacon, rendered slowly, crumbles into chunks of varying sizes — some fine, some pea-sized — that integrate into the cheese and fries the way the restaurant version does.
Cool the bacon completely on paper towels before crumbling. Warm bacon bends instead of breaking.