Pin It

Halloween Witch Finger Garlic Breadsticks

Halloween Witch Finger Garlic Breadsticks
Jump to Recipe
Prep 20 min Cook 14 min Serves 16 breadsticks
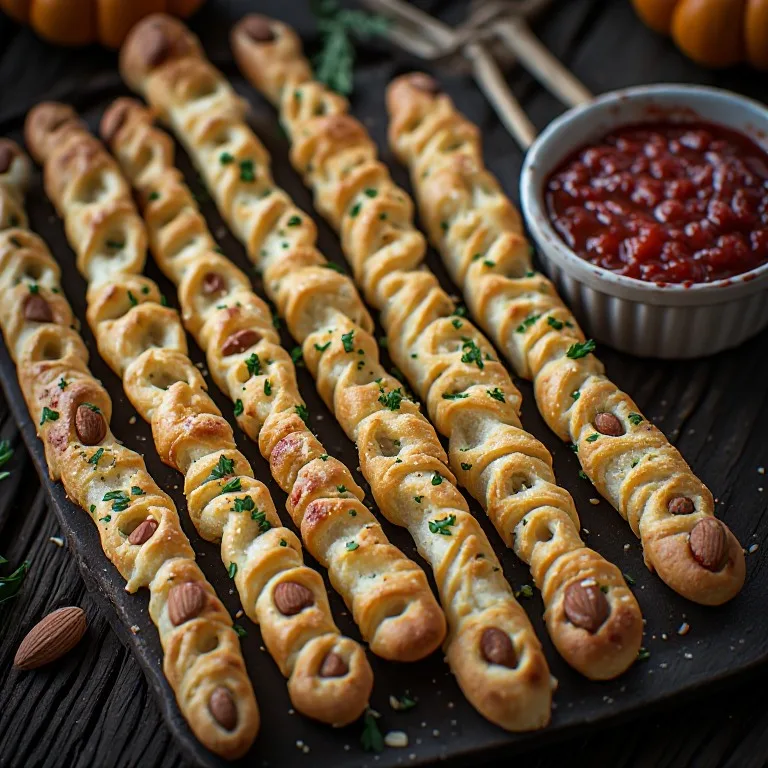
Quick answer: For Halloween witch finger garlic breadsticks: divide 1 lb pizza dough into 16 pieces, roll each into a 5-inch log, and pinch 3 uneven knuckle ridges along the length — make them irregular so they look gnarled, not neat. Press a whole almond or almond sliver into one tapered end at a slight angle as the fingernail. Brush generously with garlic butter (melted butter, minced garlic, fresh parsley). Bake on a parchment-lined sheet at 400°F for 12–14 minutes until golden. While still warm, dab a tiny dot of red food dye gel at each knuckle joint with a toothpick. Serve with marinara sauce as the dipping 'blood.' The keys are irregular knuckles (even spacing looks too clean) and a true brown on the almond nail (it reads as a real nail, not a garnish).

Shop the tools

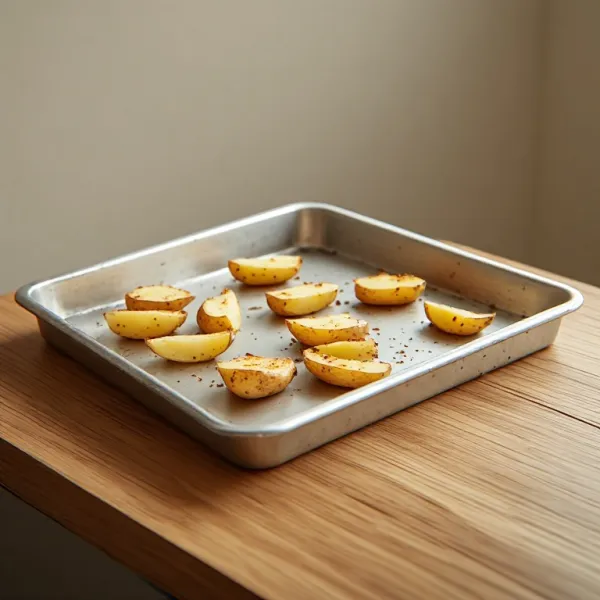
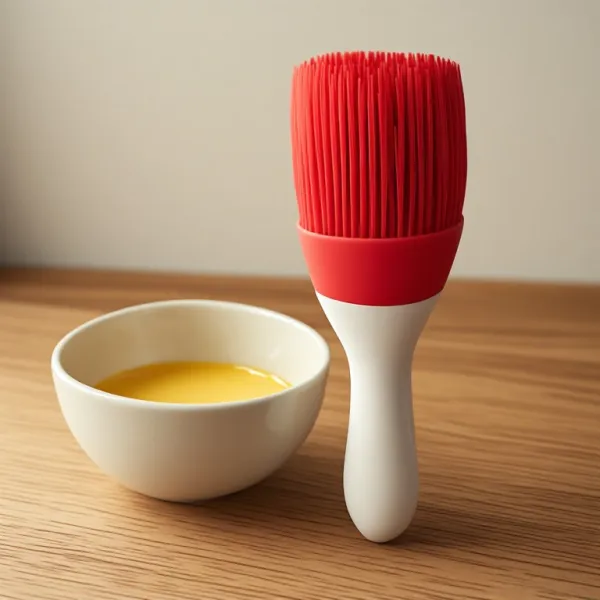
Gear matched to this recipe. These are Amazon affiliate links — we may earn a small commission if you buy, at no extra cost to you.

As an Amazon Associate, Copycat Spices earns from qualifying purchases. Product images are generic illustrations, not the exact item listed.

Halloween Witch Finger Garlic Breadsticks

The easiest Halloween party food that looks absolutely gruesome: garlic butter breadsticks twisted and pinched into gnarled witch fingers, with almond slivers pressed in as fingernails and a touch of red gel at the knuckle joints. 20 minutes active work, bakes in 14 minutes.

Easy Prep: 20 min Cook: 14 min Total: 34 min16 breadsticks servings ~$4.50/serving
Prep20 min
Cook14 min
Total34 min
Servings
16
At home~$4.50/serving
vs
Restaurant~$20.25/serving
You save ~78%

The Story Behind the Recipe

The witch finger breadstick shows up every October in two versions: the forgettable one (plain dough in a vague hand shape, pale and soft) and the one that makes guests stop mid-reach because it looks genuinely unsettling. The difference is almost entirely in the details — irregular knuckle placement, a properly browned almond nail, and that dab of red at the joint that the brain can't quite categorize as food dye.

The technique comes from the Italian tradition of shaping bread for feast days — the same pinch-and-twist method used for breadsticks and grissini, just pointed toward a different outcome. At a Halloween party these cost about 40 cents each to make, take less than an hour from fridge to table, and fill a platter that looks like it required significantly more planning. Serve them with marinara in a small cauldron and they become the anchor of a savory spread — substantial enough to keep people from drinking on empty stomachs, spooky enough to be photographed before anyone eats them.

Nutrition Facts

Per serving (16 breadsticks servings)
Calories118
Total Fat5g
Total Carbs17g
Dietary Fiber1g
Sugars1g
Protein3g
Sodium195mg

* Estimated values based on standard recipe preparation. Actual values may vary.

Ingredients

  • For the breadsticks
  • Garlic butter
  • For the effect
  • For serving

Instructions

💡
Pro tip: This recipe tastes even better the next day. The flavors need time to meld together in the fridge.
❄️
Storage: Keeps in an airtight container in the fridge for up to 2 weeks. Freezer-friendly for up to 3 months.
🎃 Free Halloween cookbook — download now The Copycat Halloween Cookbook A ready-made, photo-illustrated PDF of our best halloween copycat recipes — free to download, no building required. Pay what you want to support if you love it.

Free PDF — instant download. We'll also send new seasonal copycat recipes now and then; unsubscribe anytime. Or just download it →

The Detail That Makes or Breaks the Effect

The most common version of witch finger breadsticks is also the most anticlimactic: evenly spaced knuckle pinches, an almond that’s barely golden, and a pale overall color because the dough went in cold and never fully browned. The result reads as a craft project, not food that makes someone double-take.

Three adjustments close the gap:

Irregular knuckles. Human knuckles are not evenly spaced, and they’re not the same size. Make your three pinches at uneven intervals and vary the depth — one deeper, one lighter, one slightly dragged toward the tip. The asymmetry is what registers as biological.

Browned almonds. An undercooked almond is pale beige and looks like an almond. A properly baked almond — medium amber — looks like a fingernail. Let the color develop; pull the pan when the almonds have color, not just when the dough is pale-golden.

A real garlic butter brush. Garlic butter does double duty here: flavor and color. A generous brush before baking produces a burnished, uneven brown on the surface of the finger that reads as skin texture. Light brushing gives you a pale dough log that happens to be shaped like a finger.

Shaping the Finger

The target shape before baking: a 5–6 inch log, thicker at the base, tapered to a point at the tip, with three pinched knuckle ridges that are closer to each other near the tip than at the base.

The dough will want to spring back while you shape it. If it resists rolling out to length, set it down, let it rest for 2 minutes, and try again. Cold dough from the fridge is springy for the first few minutes; once it’s been out for 10–15 minutes, it shapes easily.

After pinching the knuckles, check the almond angle. It should lean slightly into the dough, not sit flat on top — almonds that are just resting on the surface pop off in the oven.

The Red Gel Technique

Liquid food dye spreads and bleeds on a warm breadstick surface. Gel food dye stays exactly where you put it and absorbs slightly into the warm crust without spreading.

The application method matters: dip the tip of a toothpick into the gel and then lightly drag it across the knuckle ridge, following the fold in the dough. A dab plus a short drag looks like a capillary break; a round dot looks like a dot. Do a test on one breadstick before committing to all 16 — it takes less gel than you’d expect.

The effect is most convincing on a warm (not hot) breadstick. Straight out of the oven, the surface is still steaming and the gel disperses. Let them sit for 2–3 minutes, then apply.

Serving the Full Halloween Spread

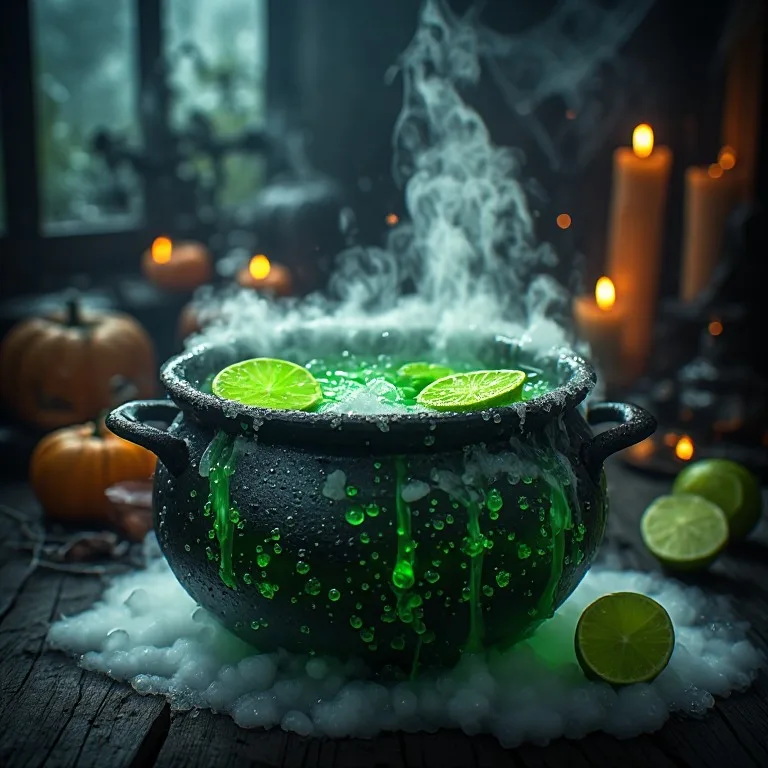
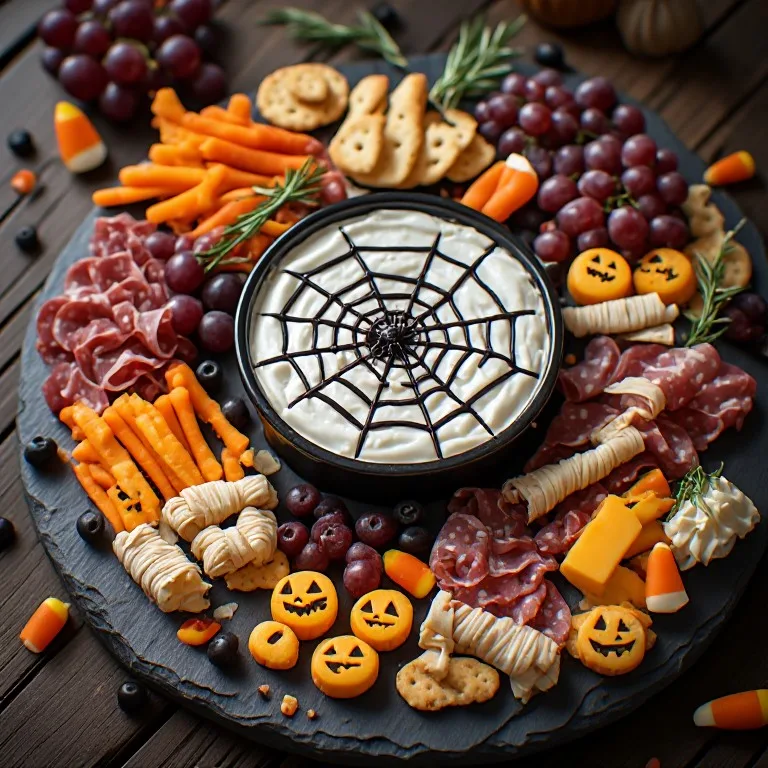
These breadsticks are the savory anchor of a spooky table. They hold well for about 2 hours at room temperature and reheat quickly at 350°F for 5 minutes if they cool down. A small pot of warm marinara is the essential accompaniment — serve it in a hollowed-out mini pumpkin or a small cauldron, next to the witches’ cauldron spinach dip for a savory station that gives people something to stand around.

For the full party spread: these breadsticks, deviled egg eyeballs for the cold appetizer slot, graveyard brownies as the dessert anchor, and the witches’ brew punch for the non-drinking crowd.
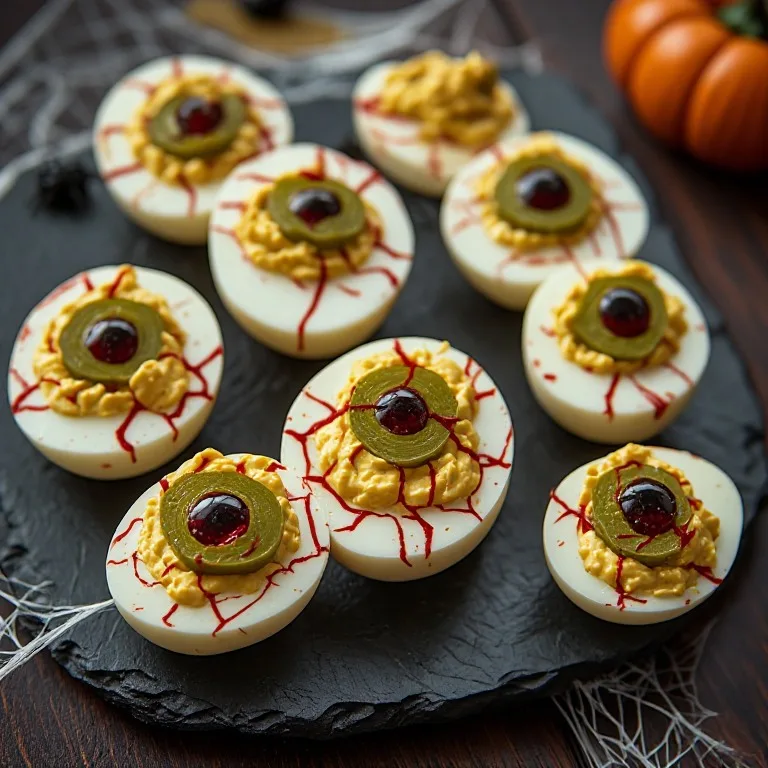
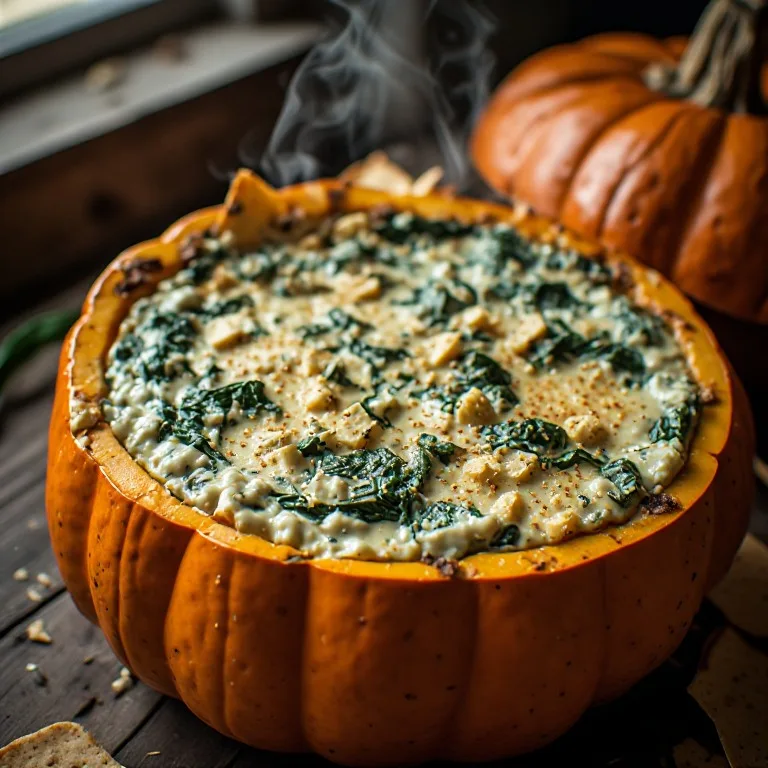
🥗

Make It Healthier

Love Halloween Witch Finger Garlic Breadsticks but want a lighter version? Try these simple swaps:

  • ✓Use olive oil instead of butter in the garlic brush (3 tbsp olive oil + garlic + parsley) — the finish is lighter and you cut saturated fat by about 60% per breadstick.
  • ✓Reduce the garlic butter quantity by a third and dust with nutritional yeast for a slightly lower-fat, umami-forward finish that still reads as cheesy.
  • ✓For a higher-protein version, use whole-wheat pizza dough — the texture is slightly denser but the knuckle shaping works identically and you add ~1g fiber and 0.5g protein per breadstick.
  • ✓Skip the Parmesan finish to reduce sodium by roughly 30mg per breadstick without noticeable flavor loss — the garlic butter carries the savory note on its own.

Frequently Asked Questions

What dough works best for Halloween witch finger breadsticks?

Store-bought refrigerator pizza dough (the tube kind from Pillsbury or the fresh ball from Trader Joe's) is the practical answer for a Halloween party — it's consistent, needs no rise time, and produces a crisp exterior with a chewy pull. Fresh pizza dough from a pizzeria also works and gives slightly better flavor. Avoid crescent roll dough: the layers separate as it bakes and the finger loses its shape. Bread dough from scratch is excellent if you have the time — an enriched dough with a little butter produces a softer, more bread-like finger rather than a chewy pizza-style one.

How do you make the witch finger breadstick knuckles look realistic?

Two things make knuckles look real versus decorative: irregularity and placement. Real knuckles aren't evenly spaced — pinch 3 ridges per finger with uneven gaps between them, and make each pinch a different size. Press the ridge in and then drag slightly toward the nail end; real knuckles have an asymmetric fold that pulls toward the fingertip. Rolling the log slightly thinner near the nail end reinforces the finger taper. The most common mistake is neat, evenly spaced pinches — they look like a bread roll with decorations, not a severed finger.

What can I use instead of almonds for the fingernails?

Whole almonds pressed flat-side-down are the classic choice and toast to a convincing amber nail color as the breadstick bakes. Almond slivers work if whole almonds slide off your dough. Other options: a small piece of dried pasta (penne tip, pushed in before baking — it cooks into the dough); a cashew half (rounder nail shape); or for nut-free parties, a piece of corn chip pressed into the dough. Avoid sunflower seeds — too small and they look like seeds, not nails.

Do I need food dye for the knuckle blood effect?

No, but it makes a real difference. Without it, you have garlic breadsticks in a finger shape — nice, but the Halloween connection depends entirely on the almond nail. A single dab of red gel food dye at each knuckle ridge (applied with a toothpick while the breadstick is still warm, so the gel absorbs slightly into the crust) turns a bread finger into something that makes people hesitate before eating it. That pause is the whole point. If you want to avoid food dye, a thin brush of sriracha at the knuckle right out of the oven gives a slightly orange-red stain and adds a mild heat kick.

Can I make Halloween witch finger breadsticks ahead of time?

Yes — two methods. Bake-ahead: bake them fully, cool completely, and store in an airtight container at room temperature for up to 24 hours. Reheat on a sheet pan at 350°F for 5 minutes before serving. They'll be slightly less crisp than fresh but still very good. Prep-ahead: form the fingers (roll, pinch, press almonds), arrange on a parchment-lined sheet, and refrigerate uncovered for up to 8 hours before baking. The cold dough goes into the oven straight from the fridge — add 2 extra minutes to the bake time. Add the food dye after they bake.

What dipping sauce goes with witch finger breadsticks?

Marinara is the obvious choice because the red sauce reads as blood — serve it in a small cauldron or a hollowed-out mini pumpkin for maximum effect. A classic garlic butter dip (melted butter + a little extra minced garlic, kept warm in a small ramekin) is the purist move. For parties with kids, ranch dressing or pizza sauce works and avoids the 'blood' imagery if that's not the right read for your crowd. The breadsticks have enough garlic flavor to stand on their own, but everyone dips anyway.

Love this recipe? Share it!

Free PDF: our 12 most-wanted copycat recipes — instant download.

Made it? Buy us a coffee

Every recipe here is free, with no paywalls. If this one was a hit at your table, a small tip keeps new copycats coming.

$

Halloween is a trademark of its owner, used here only to describe the dish this recipe recreates. This is an independent copycat written in our own words — Copycat Spices is not affiliated with, endorsed by or sponsored by Halloween.

Ratings & Reviews

—
No ratings yet

Rate this recipe

Click a star to rate

Leave a Review

0/500

CS

Copycat Spices Editorial

Researched + fact-checked. Every recipe on Copycat Spices is built from published sources — official ingredient lists, brand-published recipes, interviews and food-science references — and fact-checked before it goes live, then written as clear, step-by-step instructions for home cooks of all skill levels.

Learn more about our mission →