Hot Chocolate Bombs: The Complete Guide to TikTok’s Melt-Reveal Holiday Trend
Prep: 45 minutes (including chill time) | Makes: 6 bombs
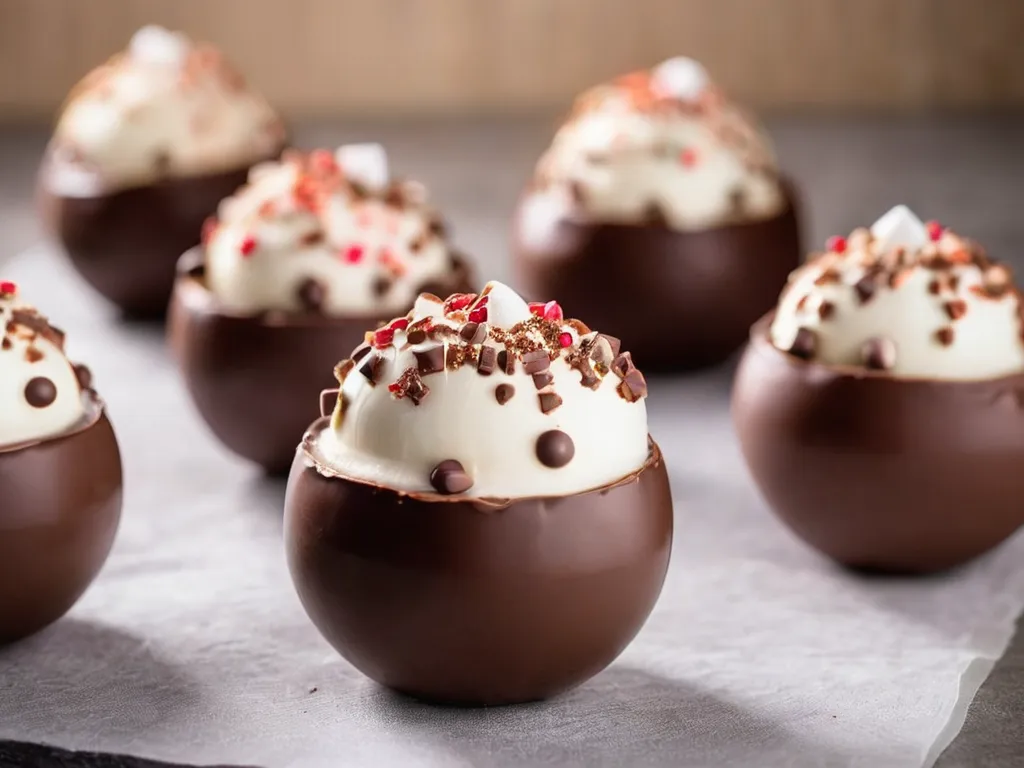
A hot chocolate bomb is a hollow chocolate sphere filled with hot cocoa mix and marshmallows. Pour hot milk over it in a mug, and the shell cracks open to release everything inside — the melt-reveal that made slow-motion TikTok videos of this impossible to stop watching.
The technique is not complicated. There are two failure points — chocolate that isn’t set properly (shells too soft), and seals that aren’t clean (bombs that fall apart before the milk hits them). Both are fixable with the right approach. Here’s what actually matters.
TL;DR
- Candy melts are easier, require no tempering, and produce reliable shells for beginners. Real chocolate tastes better and melts more dramatically but requires temperature control.
- 2.5-inch silicone molds, two thin layers of chocolate, chilled between coats.
- Freeze-dried marshmallows — not fresh — stay crisp inside and float dramatically on melt.
- Seal by warming the rim on a warm plate for 3–5 seconds. Don’t over-heat.
- Milk at 160–170°F produces the best melt-reveal.
Why These Went Viral
The DIY home version is widely credited to Eric Torres-Garcia, a Boise, Idaho entrepreneur (later a Boise State graduate) who created his “Cocoa Bomb” in December 2019 and posted a short TikTok video of a chocolate sphere cracking open in a mug of hot milk to reveal marshmallows and cocoa rising to the surface. That first video reportedly drew about 2.5 million views and launched a business that went on to land a Kroger deal — but the wider TikTok explosion didn’t arrive until the following winter.
What happened a year later was the convergence: the holiday season of 2020, during COVID lockdowns, meant millions of people were looking for homemade gifts and indoor projects, and the melt-reveal video format was perfect for TikTok’s by-then-mature algorithm. By December 2020, the combined hashtags #hotchocolatebombs and #hotcocoabombs had accumulated over 41 million TikTok views. Craft stores sold out of silicone sphere molds nationally. Etsy sellers with hand-made bombs sold out within hours of listing. Major retailers including Costco and Trader Joe’s started carrying their own versions.
Google Trends shows search interest for “hot chocolate bombs” increasing over 1,000% between October and December 2020. The format also spread to other occasions and fillings (Valentine’s Day versions with rose cocoa, Easter egg shells, champagne bombs with prosecco, salted caramel).
The trend’s staying power comes from the gifting angle: a box of 4–6 decorated hot chocolate bombs looks significantly more impressive than the effort required, and they’re inexpensive to make at scale. A batch of 6 costs about $8–10 in materials and sells for $30–45 as artisan gifts.
Candy Melts vs. Real Chocolate
This is the single most important decision before you start.
Candy melts (Wilton, Ghirardelli, Merckens, Guittard) replace cocoa butter with hydrogenated vegetable oil (usually palm kernel oil). This means they set reliably at any room temperature without tempering — melt, paint into molds, let cool, done. The trade-off: the mouthfeel is slightly waxy and the flavor has less depth than real chocolate. For a first attempt, gifting to children, or making a large batch quickly, candy melts are the right choice. Ghirardelli candy melts have a notably better flavor than Wilton’s standard wafers.
Real chocolate (dark, milk, or white chocolate bars or couverture wafers) contains cocoa butter. When heated and cooled, cocoa butter can form six different crystal structures. Only Form V (also called Beta crystals) produces the glossy, snappy, quick-setting chocolate you want. To get Form V consistently, you need to temper the chocolate — control the temperature curve carefully so the unstable crystal forms never dominate.
Untempered real chocolate blooms: it sets with a gray, streaky surface and a soft, bendy texture. The shell may not release from the mold cleanly, and it won’t melt dramatically in hot milk the same way.
Bottom line: If you want the best flavor and appearance, temper real chocolate. If you want reliable results with minimal equipment and expertise, use candy melts.
How to Temper Chocolate (The Seeding Method)
The seeding method is the most reliable home tempering technique. You need an instant-read thermometer.
Finely chop all your chocolate. Set aside one-third. This is the “seed” — small pieces of chocolate that still contain Form V crystals from their manufactured state. They’ll inoculate the melted chocolate with the right crystal structure.
Melt the remaining two-thirds in a double boiler over barely simmering water, stirring frequently. Target temperatures by chocolate type:
- Dark chocolate: melt to 115–120°F (do not exceed 120°F — dark chocolate scorches above this)
- Milk chocolate: melt to 105–113°F
- White chocolate: melt to 105–110°F
Remove from heat. Stir in the reserved seed chocolate in three additions, adding more only after each addition is melted. The chocolate temperature should drop as the seed melts — the cocoa butter crystals in the seed chocolate template Form V crystal growth in the melted batch.
Target working temperatures (the chocolate is in temper):
- Dark chocolate: 88–90°F
- Milk chocolate: 85–87°F
- White chocolate: 82–84°F
Temper test: Dip a small piece of parchment into the tempered chocolate. It should begin to set within 2–3 minutes at room temperature and have a glossy, smooth finish. If it stays liquid after 3 minutes or sets with a matte, streaky surface, the temper is not right — reheat gently to the melt temperature and start the seeding process again.
Keep the chocolate at its working temperature throughout the molding process. If it cools too much, briefly warm it over the double boiler (10–15 seconds) and stir.
The Two-Layer Shell Technique
This is where most first attempts go wrong. A single thick coat of chocolate seems efficient but produces uneven shells that are either too thin in spots (cracks on handling) or too thick overall (takes too long to melt when pouring hot milk).
First coat: Paint or spoon a thin, even layer into the mold cavity and up to the rim. Thin means 1/16 inch — you should be able to see the shadow of your finger through the shell when you hold it up to light, but the layer should be completely opaque. Refrigerate 5–8 minutes until fully set and cold to the touch.
Second coat: Apply a second thin layer. This builds structural integrity without creating thick, slow-melting walls. Total shell thickness after two coats: about 1/8 inch. Refrigerate 8–10 minutes.
Third coat (optional): For shipping, mailing, or gift boxes that will be handled repeatedly, a third coat protects the shell. Not necessary for same-day consumption.
Why refrigerate between coats? Chocolate contracts slightly as it sets (this is what allows it to release from molds cleanly). Each coat needs to fully set before the next coat goes on — if you add a second coat before the first is solid, you risk the two layers not bonding properly.
Filling and Sealing
Standard filling per bomb: 1½ tablespoons hot cocoa mix + 2 tablespoons freeze-dried marshmallows. Don’t overfill — leave ¼ inch of clearance at the top of the half-sphere so the halves press together cleanly.
Sealing method: Heat a flat microwave-safe plate in the microwave for 60–90 seconds. The plate should be warm — around 100–110°F — not hot enough to burn your finger. Press the rim of a filled half-sphere gently onto the warm plate for 3–5 seconds. The heat softens just the rim edge. Immediately place the lid half-sphere on top and hold with gentle pressure for 10–15 seconds until the bond sets.
The warm plate is the most reliable sealing method because you’re melting a very thin layer of chocolate at the joint, which then re-sets and welds the halves together. Alternatives (melted chocolate piped around the rim, heating with a torch) work but are less precise.
Common sealing mistake: Over-heating the rim. 3–5 seconds on a warm plate is enough. More than that and you melt too much material, creating a thick glob at the seam and potentially destabilizing the bottom half’s fill.
Freeze-Dried Marshmallows vs. Mini Marshmallows
Mini marshmallows contain significant moisture (about 17% by weight). Inside a sealed chocolate bomb, that moisture slowly migrates into the chocolate shell — softening it and causing condensation droplets to form on the inside of the shell over time. Within 3–5 days at room temperature, mini marshmallow-filled bombs often have soft spots in the shell near where the marshmallows were touching it.
Freeze-dried marshmallows contain almost no moisture (about 2%). They stay crisp inside a sealed shell for 3–4 weeks. When hot milk hits them, they reconstitute rapidly and puff to nearly full size — the visual effect is actually more dramatic than fresh mini marshmallows because they expand more visibly.
Where to find freeze-dried marshmallows: most grocery stores sell them as Jet-Puffed Mallow Bits (hot cocoa marshmallows) or as dehydrated Lucky Charms-style marshmallows in baking sections. A 1-ounce bag fills about 8–10 bombs.
Choosing Your Hot Cocoa Mix
The filling’s flavor depends heavily on the cocoa mix you use. Options:
Commercial packets (Swiss Miss, Nesquik): convenient, measured doses, sweet, work well. Swiss Miss Milk Chocolate is the standard. Avoid the “sugar-free” versions — the artificial sweeteners taste off in hot milk.
Ghirardelli Premium Hot Cocoa: noticeably richer and darker than Swiss Miss. Worth the extra cost if the bomb is a gift or if you want a more adult-leaning flavor profile.
Homemade cocoa mix: For 6 bombs, whisk together: 3 tablespoons unsweetened cocoa powder, 3 tablespoons powdered sugar, ¼ teaspoon salt, ¼ teaspoon vanilla powder (optional). Adjust the cocoa-to-sugar ratio for bitter vs. sweet preference. The advantage: you control every ingredient and can adjust for dietary needs.
Espresso powder addition: ¼ teaspoon espresso powder stirred into the standard cocoa mix per bomb intensifies the chocolate flavor without adding a strong coffee taste.
Flavor Variations
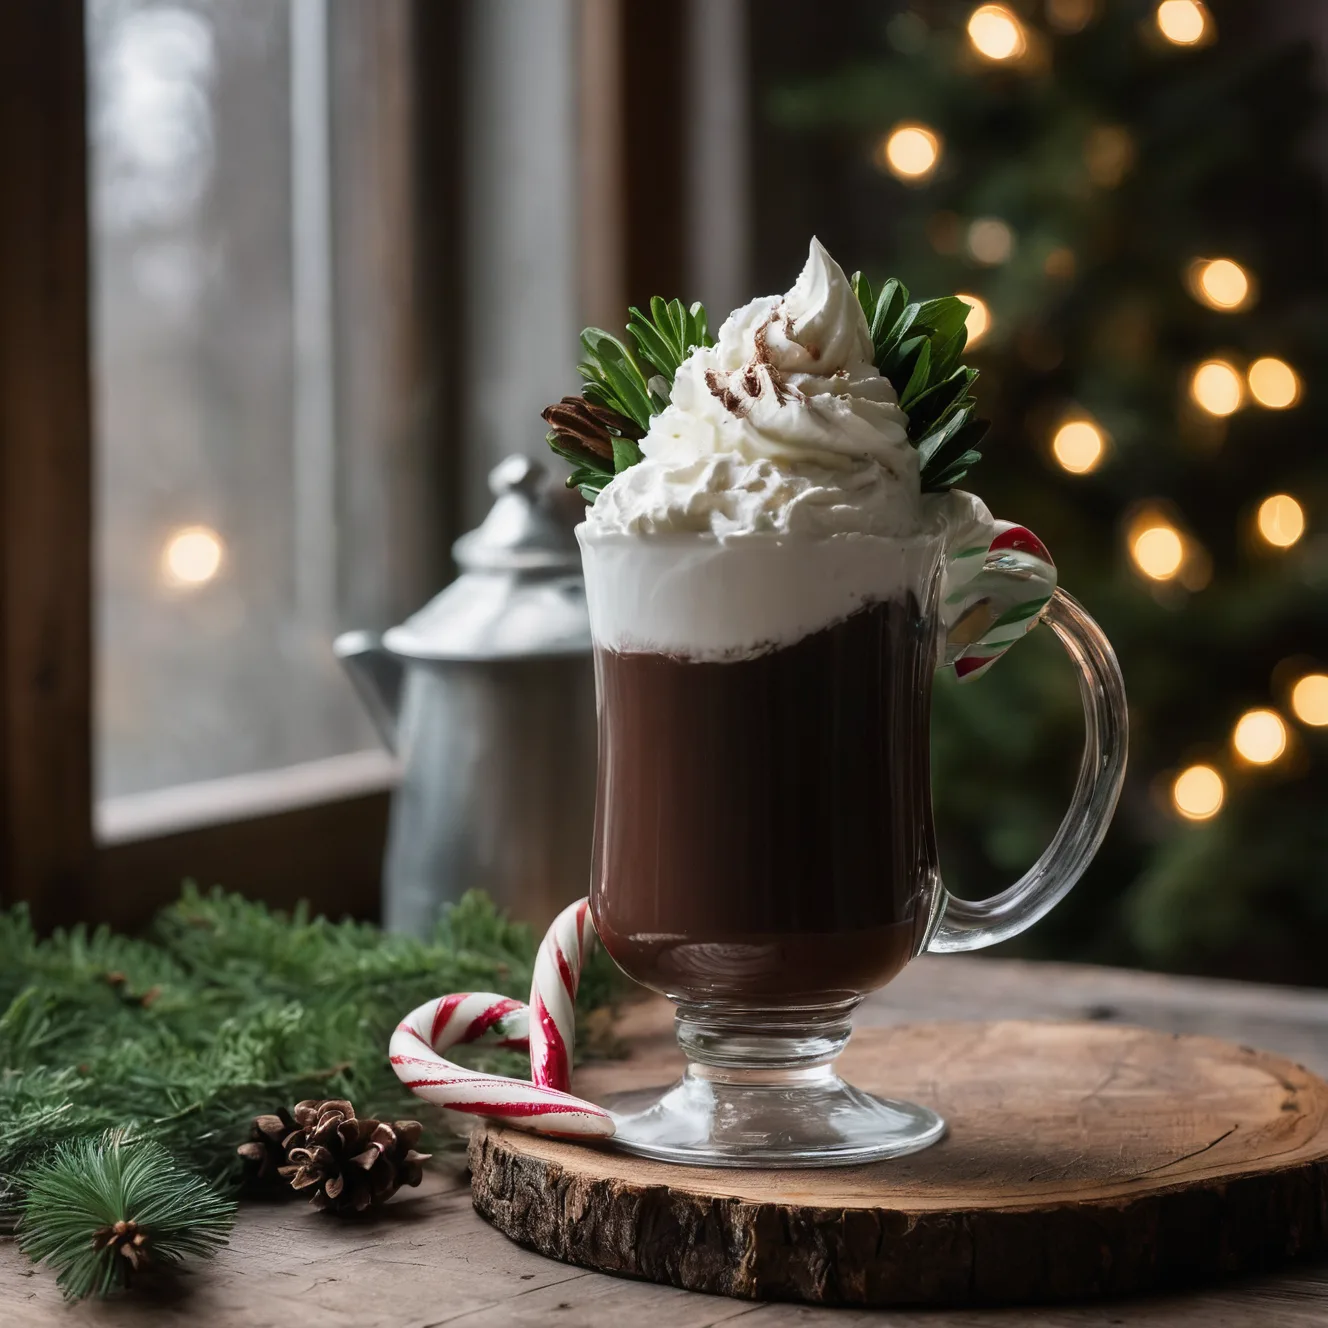
Peppermint White Chocolate: White chocolate shell, crushed candy cane pieces + white cocoa mix inside. Drizzle with white and dark chocolate, top with crushed peppermint. Peppermint extract (½ teaspoon per 8 oz of cocoa) can be added to the cocoa mix.
Mexican Hot Chocolate: Dark chocolate shell, fill with cocoa mix + ¼ teaspoon cinnamon + pinch of cayenne pepper + a tiny pinch of black pepper per bomb. The result is a spiced drinking chocolate in the Mexican chocolate tradition. Ibarra chocolate crumbles (if you can find them) work well inside.
S’mores: Milk chocolate shell, fill with standard cocoa mix + 1 teaspoon crushed graham crackers + freeze-dried marshmallows. Decorate the outside with crushed graham cracker pressed into a drizzle of milk chocolate.
Salted Caramel: Milk or dark chocolate shell, fill with cocoa mix + 1 teaspoon caramel bits (like Kraft caramel bits, not squares) + a pinch of flaky sea salt. Drizzle the outside with caramel sauce and sprinkle a few flakes of Maldon salt.
Nutella / Ferrero Rocher Style: Milk chocolate shell, 1 teaspoon Nutella pressed into the bottom of the shell before adding cocoa mix. Chopped hazelnuts inside and on the outside decoration. The Nutella softens and mixes into the hot milk, producing a hazelnut-chocolate drink.
Champagne / Prosecco (Adult Version): White chocolate shell, fill with white hot cocoa mix + freeze-dried raspberries instead of marshmallows. Serve by pouring warm (not hot) champagne or prosecco over the bomb instead of milk. The shell melts more slowly, so this works best with a slightly warmer temperature drink or by breaking the shell first. Gold luster dust on the exterior for the occasion.
Decoration Techniques
Drizzle: The most common decoration. Fill a piping bag, squeeze bottle, or zip-lock bag with a corner snipped off with contrasting melted chocolate. Wave it across the bomb in a quick, sweeping motion. Add sprinkles, crushed candy, or luster dust before the drizzle sets (within 30–60 seconds).
Luster dust: Edible metallic luster dust (gold, silver, rose gold) applied with a dry pastry brush gives a high-end finish. Apply after the bomb is fully set and decorated. Work over parchment or a paper plate — the dust goes everywhere.
Edible glitter: Similar application to luster dust, but the particle size is larger and glitter gives more of a sparkle effect vs. metallic sheen. Both are food-safe and available at craft stores or online.
Sprinkles timing: Apply sprinkles to drizzle while the drizzle is still wet. Do not apply to the base chocolate shell directly — they fall off. Use the drizzle as the adhesive layer.
Printed rings: Some decorators add a strip of printed edible wafer paper (with “hot chocolate bomb” branding or holiday themes) wrapped around the equator and pressed into a thin layer of melted chocolate. This is more effort than it’s worth for home use but excellent for retail gifting.
Storage and Shelf Life
Room temperature (65–70°F), in a covered container or individually wrapped in cellophane: 3–4 weeks with freeze-dried marshmallows; 1–2 weeks with fresh mini marshmallows before the shells develop soft spots.
Refrigerator (40°F): Up to 6 months for properly tempered shells. The trade-off: bringing cold chocolate to room temperature causes condensation (sugar bloom) that can dull the finish. To minimize bloom, transfer from fridge to a dry room-temperature location and let warm undisturbed for 1–2 hours before handling or gifting.
Freezer: Up to 12 months. Seal in a zip-lock bag with the air pressed out. Thaw at room temperature for 3–4 hours before serving; do not rush-thaw in a warm room. The main risk is condensation on the shell surface during thaw.
Room temperature storage note: If your kitchen consistently runs above 75°F, the shells will soften over time even if tempered correctly. Store in the coolest room or briefly refrigerate in an airtight container — the controlled cool is better than a warm pantry degrading the chocolate.
For gifting: Wrap each bomb individually in a cellophane bag, seal with a twist tie, and package in a box with tissue paper. Include a small tag with the instructions: “Pour 1 cup of very hot milk over me in a large mug. Stir and enjoy.”
Cost Comparison
| Artisan / boutique | At home | |
|---|---|---|
| 1 bomb (decorated) | $5–10 each | ~$1.25–1.75 each |
| Box of 6 | $35–55 | ~$8–10 materials |
| Gift packaging | Included | $1–2 per set |
The entire margin is in the materials. Chocolate accounts for the largest cost — couverture wafers run $5–8 per pound, and each bomb uses about ¾ oz of chocolate for the shell plus filling. Silicone molds are a one-time cost: a 6-cavity mold runs $10–15 and lasts indefinitely.
More Chocolate Desserts to Make at Home
- Copycat McDonald’s McFlurry — the soft-serve base formula and how to replicate the McFlurry’s specific texture at home using a stand mixer or blender
- Copycat Wendy’s Chocolate Frosty — the ice cream + cocoa powder + sweetened condensed milk ratio that gets the Frosty’s specific texture right
- Viral TikTok Chocolate Covered Strawberries — the tempering technique (same Form V crystal principles as hot chocolate bombs), dipping angles, and how to prevent the dreaded chocolate collar
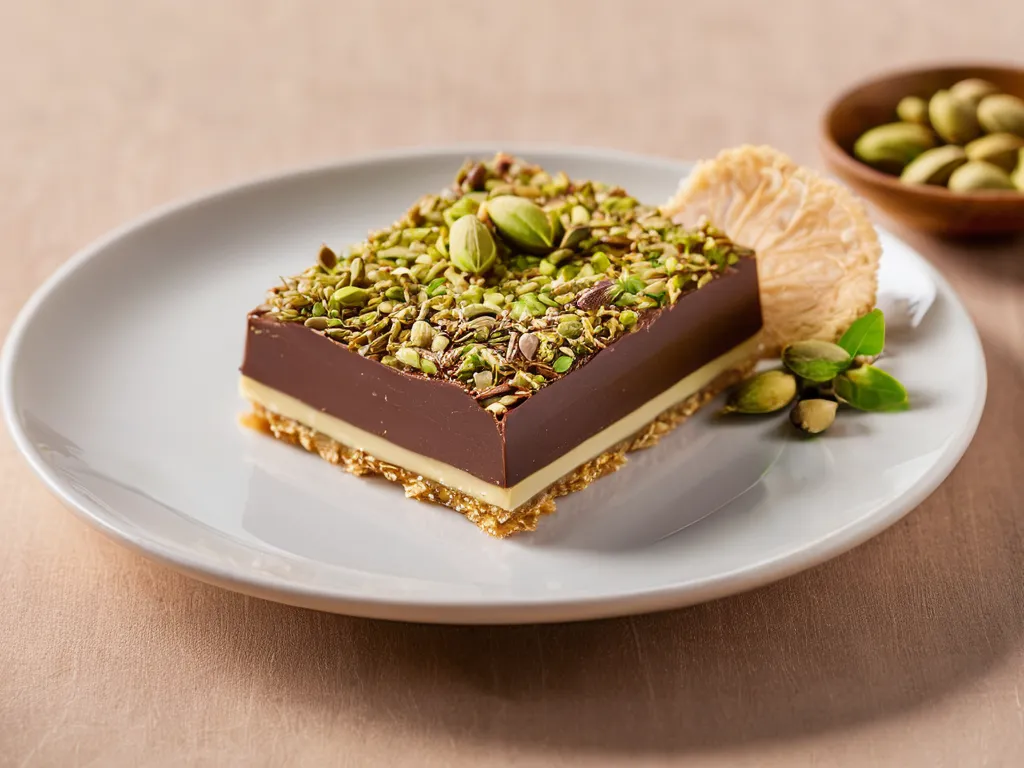
- Dubai Chocolate Bar — the pistachio kunafa filling and milk chocolate couverture that went viral in 2024, with sourcing notes for the key ingredients
- Viral TikTok Chocolate Mug Cake — the 5-minute single-serve chocolate cake that’s reliably better than it has any right to be
See all drink recipes →