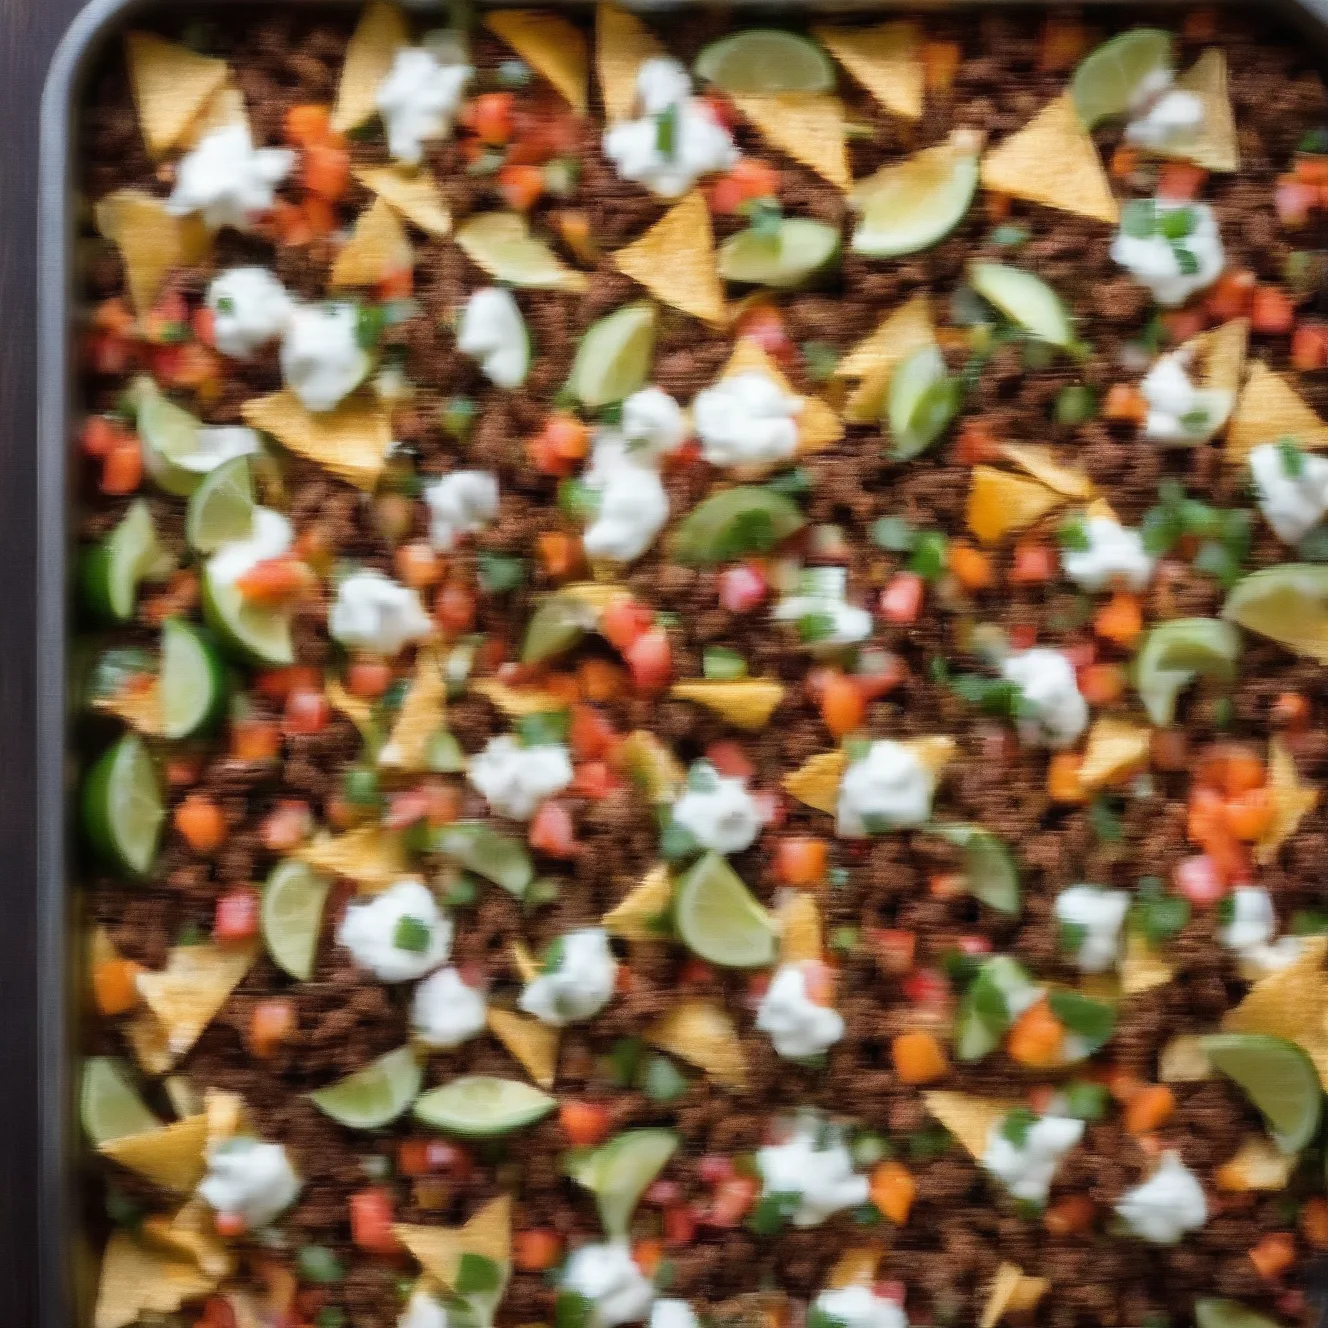
The oldest problem with nachos is that the chips at the bottom are always bare. Someone gets a chip loaded with everything; the next person gets plain tortilla. The sheet pan method — spreading everything in thin, even layers across a half-sheet pan — fixed that. Then TikTok found a second method that also keeps the chips crispy. Now there are two good approaches and no excuse for a naked chip.
The Two Methods and When to Use Each
Both methods solve the bare-chip problem differently.
Classic double-layer method: Chips, meat, beans, jalapeños, and cheese — layered twice on one sheet pan, then baked. The chips bake under the cheese and absorb some heat, which means the bottom layer softens slightly. This is fine for most people and is the more forgiving approach with less timing pressure.
Sliding cheese method (the TikTok one): The cheese and meat cook on a separate foil-lined sheet pan. Once the cheese is fully melted and the surface looks cohesive, you slide the entire layer directly onto a bed of room-temperature chips. The chips never see the inside of an oven — they stay fully crispy, and the hot molten cheese coats everything on contact.
The sliding method produces crisper chips. The classic method is easier for beginners, needs only one pan, and is more forgiving if your timing is off. Both are good.
Why Chip Selection Matters More Than People Think
Not all tortilla chips hold up the same way under cheese and heat. Thin restaurant-style chips (the ones that come in big bags for parties) crack easily under heavy toppings and turn translucent and soft in the oven within a few minutes. Thicker chips — often labeled “cantina-style,” “scoops,” or “restaurant-style” in the thicker sense — hold their structural integrity better.
The shapes: Triangle chips are structurally better than round chips for nachos. The pointed edges catch cheese and toppings; round chips are slicker. Scoop-shaped chips are excellent for holding small amounts of topping on each piece but can be harder to layer evenly across a sheet pan.
Quantity: One standard 10–11 oz bag is the right amount for a half-sheet pan in two layers. More than this and you’re stacking too deep — the middle chips insulate from heat, the cheese on top browns before the middle layer melts, and you end up with uneven results across the pan. If you want more nachos, make a second pan.
The Cheese Rule: Block, Not Bag
Pre-shredded cheese in bags has a coating — usually cellulose (wood pulp fiber) or potato starch — that prevents clumping in the bag. That same coating prevents clean melting. Instead of a smooth, flowing melt, you get patches of melted cheese between clumps of semi-melted shreds. The coating also gives the final product a slightly gluey texture.
Block cheese grated at home melts completely and evenly. The best melting cheeses for nachos:
- Monterey Jack: The benchmark for even, smooth melt. Mild flavor that works as a base or in combination.
- Sharp cheddar: More flavor than Jack, slightly less even melt — small cheddar pockets are acceptable. The depth of flavor is worth it.
- Colby: Similar to Monterey Jack, slightly softer flavor. Excellent melt.
- Pepper Jack: Adds heat directly to the cheese layer. Works well if you’re skipping fresh jalapeños.
The best combination for most nachos: 50/50 sharp cheddar and Monterey Jack. The Jack ensures smooth, full coverage; the cheddar provides the orange color and the flavor depth most people associate with loaded nachos. If you want a pourable layer instead of shredded melt, drizzle warm Taco Bell-style nacho cheese sauce over the chips after baking — it stays glossy where baked cheese sets up firm.
What Goes in the Oven and What Doesn’t
This is where most nacho failures happen. Toppings split into two categories based on what heat does to them.
Baked-on toppings (go in with the chips): Ground beef (pre-cooked), shredded chicken, black beans or refried beans, pickled jalapeños. These are already cooked or preserved and benefit from the heat — the beans warm through, the meat gets a slight crust on the edges. Pickled jalapeños hold up well to oven heat without releasing significant moisture.
Cold toppings (always go on after baking): Sour cream, pico de gallo, fresh salsa, diced tomatoes, guacamole (a batch of Chipotle-style guacamole is ideal here), avocado, fresh cilantro, green onion, shredded lettuce. Every single one of these releases water in a hot oven and steams the chips from above. Sour cream pools and breaks. Guacamole browns. Fresh herbs wilt. None of this is fixable once it happens.
The rule: if it’s cold and wet, it goes on after the pan comes out.
Draining the Beef Is Non-Negotiable
Ground beef at 80/20 fat content renders out roughly 2–3 tablespoons of liquid fat per pound during cooking — the exact amount varies with the cut and how hard you brown it. That liquid fat needs to come out of the pan before seasoning. If you season in the fat and then put it on chips, the chips absorb the grease during baking and go soft.
The easiest method: tilt the pan and spoon out the pooled fat, or transfer the beef to a paper-towel-lined plate briefly before returning to the pan for seasoning. A second or two on paper towels is enough.
The Double-Layer Technique in Detail
The logic behind layering twice: any toppings that only go on top will have chips underneath that get nothing. Two layers mean that even the bottom chips — which would otherwise be purely a structural base — have cheese and some topping coverage.
How to layer: First layer of chips, spread as a mostly-single layer with slight overlap. Scatter half the beans, half the beef, half the jalapeños, and half the cheese evenly — try to get cheese into the spaces between chips, not just on top of them. Second layer of chips over everything. Remaining beef, beans, jalapeños, and cheese. Check for naked chips in the top layer and pull them to spots with coverage.
How to bake: 400°F for 8–10 minutes until the cheese is fully melted and bubbling at the edges. Watch the color — pale melted cheese means 2 more minutes. Broil for 90 seconds at the end for browned spots and crispy edges on the cheese. Remove from the broiler the second you see the surface turn golden-brown in multiple spots.
The Sliding Cheese Method Step by Step
Line a sheet pan (or the back of a sheet pan) with foil and spray lightly with cooking spray. Spread the cooked, drained, seasoned beef across the foil. Scatter beans and jalapeños over the beef. Top with all the cheese, covering the surface evenly.
Bake at 400°F for 8–10 minutes until the cheese has fully melted into a single cohesive layer — no individual cheese shreds visible, just smooth coverage. While it bakes, spread chips in a single layer on a large cutting board, serving board, or a second sheet pan.
When the cheese comes out of the oven: work immediately. Grab both ends of the foil and tilt the pan so the cheese-and-meat layer slides to one end. In one motion, invert over the chips and slide it out of the foil. It releases cleanly from a well-sprayed foil surface. The molten cheese drapes over the chips; the weight presses it into every gap.
Add cold toppings within 60 seconds and serve immediately. The window between perfect and cooling-too-fast is short.
Variations Worth Making
Buffalo chicken nachos. Skip the ground beef. Toss 2 cups of shredded rotisserie chicken with 3 tablespoons Frank’s RedHot and 1 tablespoon melted butter. Use Monterey Jack and a little blue cheese crumbled on top. After baking, top with ranch dressing, diced celery, and more blue cheese crumbles.
BBQ pulled pork nachos. Substitute pulled pork (leftover or store-bought) for ground beef. Use sharp cheddar, skip the beans, add thinly sliced red onion and pickled jalapeños. After baking, drizzle BBQ sauce and ranch in alternating stripes. The sweet-smoky-tangy combination is one of the best nacho variations. For a Tex-Mex spin, swap the pork for crisped Chipotle-style carnitas and finish with a squeeze of lime instead of BBQ sauce.
Breakfast nachos. Scrambled eggs with chorizo, sharp cheddar, and diced jalapeños. Bake at 375°F (lower temperature protects the eggs) for 6 minutes, not 10. Top with pico de gallo, sour cream, and avocado. Serve with hot sauce.
Charcuterie nachos. A newer TikTok direction: skip meat and jalapeños entirely. Top chips with brie or gouda chunks, sliced salami or prosciutto, and halved grapes. Bake 6–7 minutes at 375°F until cheese just melts. Finish with fresh arugula, a drizzle of honey, and cracked black pepper. Sounds strange; works extremely well at parties.
The 10-Minute Window
Sheet pan nachos are at their peak for about 10 minutes after they come out of the oven. After that, the cheese begins to solidify, the chips start to absorb moisture from the toppings, and the whole thing loses the contrast that makes it work.
For a party: plan to make batches as needed rather than one large pan ahead of time. Keep the oven at 400°F and prep the beef and toppings in advance so each batch takes only 10–12 minutes start to finish. Two half-sheet pans gives you a constant rotation.