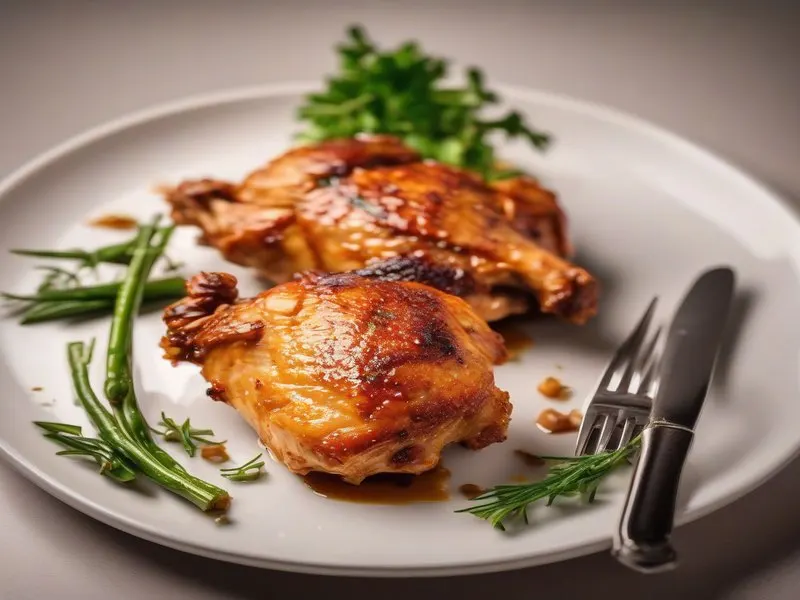
Air fryer chicken thighs became one of the most-watched dinner videos on TikTok because they solved a real problem: getting genuinely crispy chicken skin at home without a deep fryer, a cast-iron skillet full of oil, or any real effort. Videos of people tapping the skin and hearing it crackle went viral not because they were staged — it actually sounds like that — and the contrast of the shatteringly crisp exterior against the juicy, fall-off-the-bone interior is exactly the kind of result that makes people stop scrolling.
The recipe has two techniques that most home cooks have never heard explained: why bone-in thighs should be cooked to 185°F rather than the standard food-safety minimum of 165°F, and why you place the skin facing down first. Both have specific reasons, and understanding them is the difference between good chicken thighs and great ones.
Why Chicken Thighs Are the Best Cut for the Air Fryer
Not all chicken cuts perform equally in an air fryer. Thighs — specifically bone-in, skin-on — are uniquely well-suited.
They’re forgiving. Chicken breasts go from juicy to dry over a narrow window; one extra minute can make the difference. Thighs are dark meat, meaning more intramuscular fat and collagen. They stay moist even if you cook them a few minutes longer than planned.
The skin is ideal for air frying. The skin on a chicken thigh has a fat layer underneath it (subcutaneous fat). As the air fryer’s hot air circulates at 400°F, that fat renders out while the skin dehydrates and browns. The result is a thin, dry skin surface that crisps properly. Chicken breasts have less subcutaneous fat, so their skin tends to be leathery rather than shatter-crisp.
The bone concentrates flavor. Bones contain marrow and collagen; as the thigh cooks, these contribute to the flavor of the surrounding meat. Boneless thighs are convenient but taste noticeably milder.
They’re cheap. A 4-pack of bone-in thighs typically costs $3–6, making this one of the most cost-efficient proteins in the grocery store.
The 185°F Target — Why It Matters
The USDA sets 165°F as the minimum safe internal temperature for poultry. Most recipes stop there. Chicken thighs should not.
Dark meat — thighs, drumsticks, legs — contains significantly more connective tissue than white meat. That connective tissue is primarily collagen: a structural protein that at 165°F is still largely intact, which is why thighs pulled at that temperature have a slightly chewy, tight texture.
When collagen reaches sustained temperatures between 160–185°F, it begins converting to gelatin — a smooth, silky protein that lubricates the muscle fibers instead of binding them together. The result is what good BBQ cooks mean by “fall off the bone”: the meat doesn’t fall apart into mush, but the fibers separate cleanly when you pull them and the texture is noticeably more tender and moist.
In a 400°F air fryer, cooking bone-in thighs to 185°F takes approximately 22–25 minutes total. By the time the center of the thigh reaches 185°F, the collagen has had enough time and heat to fully convert. Pulling them at 165°F is safe but leaves that conversion incomplete.
A chicken breast works in reverse. Breast meat has almost no collagen and very little fat. Pulling it at exactly 165°F keeps it juicy; cooking it to 185°F dries it out significantly. The rules are different cuts and should be treated differently.
Drying the Skin — the Most Important Step
Crispy skin requires dry skin. These are not negotiable.
Chicken skin comes out of the package wet — surface moisture plus any packaging liquid. When you put damp skin in a 400°F air fryer, that water has to boil off before anything else can happen. While it’s evaporating, the skin surface stays pinned near 212°F — the boiling point of water — which is far too low for browning. You won’t get the Maillard reaction (the chemical reaction between proteins and sugars that produces brown color and roasted flavor) until the surface moisture is gone. Wet skin can spend the first 10–15 minutes in the air fryer just losing moisture, leaving almost no time to actually brown and crisp.
Dry skin goes straight to browning. At 400°F, a dry chicken skin surface can reach the Maillard reaction threshold quickly, producing the golden-brown color and the eventual shatter-crisp texture.
Two methods, ranked by effectiveness:
-
Overnight dry brine (best): Place thighs on a wire rack set in a baking sheet, uncovered, in the refrigerator for at least 2 hours and up to overnight. The cold, dry air in the fridge removes surface moisture more completely than any paper towel. The salt in the dry brine also draws out a small amount of internal moisture initially, then pulls it back in as a slightly seasoned brine — a secondary benefit. This is the method serious cooks use.
-
Paper towel dry (adequate): Pat aggressively with paper towels on all surfaces, multiple passes, right before cooking. Let the thighs sit uncovered at room temperature for 15–20 minutes before they go into the air fryer to air-dry slightly. Better than cooking straight from the package.
Either method works. The overnight method produces visibly crispier results.
Skin-Side Down First
The standard instinct is to cook chicken with the presentation side up so you can watch it brown. For air fryer chicken thighs, start skin-side down.
Bone-in chicken thighs have a layer of subcutaneous fat between the skin and the meat. If you start skin-side up, that fat layer spends the first 10 minutes slowly warming without rendering. Starting skin-side down presses the fat pocket against the hot basket surface, which begins rendering it out from below. By the time you flip to skin-side up for the final 12–15 minutes, the skin is sitting over a less fatty, already-partially-rendered surface. The circulating hot air in those final minutes hits skin that’s thinner, drier, and more able to crisp quickly.
The practical test: thighs started skin-side down produce noticeably less greasy, more uniformly crisp skin than thighs started skin-side up.
The Spice Mix and Variations
The base spice mix — garlic powder, smoked paprika, onion powder, salt, pepper — is mild and works with any serving direction. Here are six variations that change the flavor profile entirely, all at the same time and temperature:
Cajun: Replace the base mix with 1 tsp Cajun seasoning, 1 tsp smoked paprika, 1/2 tsp cayenne, 1/2 tsp garlic powder, salt. Spicy, smoky, good with rice and beans. Crack chicken fans tend to love this one.
Italian herb: 1 tsp dried Italian seasoning, 1 tsp garlic powder, 1/2 tsp onion powder, 1/4 tsp red pepper flake, salt. Add a squeeze of lemon right before serving. Pairs well with roasted vegetables or over pasta.
Korean-inspired: Combine 1 tsp gochugaru (Korean red pepper flakes), 1 tsp garlic powder, 1/2 tsp sesame oil (rubbed on instead of olive oil), 1 tsp soy sauce (reduces salt needed), 1/2 tsp ground ginger. Serve with sticky rice and sliced scallions.
Lemon pepper: 1 tbsp lemon zest (add to olive oil first), 1 tsp black pepper, 1 tsp garlic powder, salt. The zest chars slightly at 400°F, becoming intensely concentrated rather than bitter.
Za’atar: 2 tsp za’atar blend, 1/2 tsp garlic powder, salt. Za’atar is a Middle Eastern herb-sesame-sumac blend; it crisps beautifully in the air fryer and gives the skin an herbaceous, tangy crust.
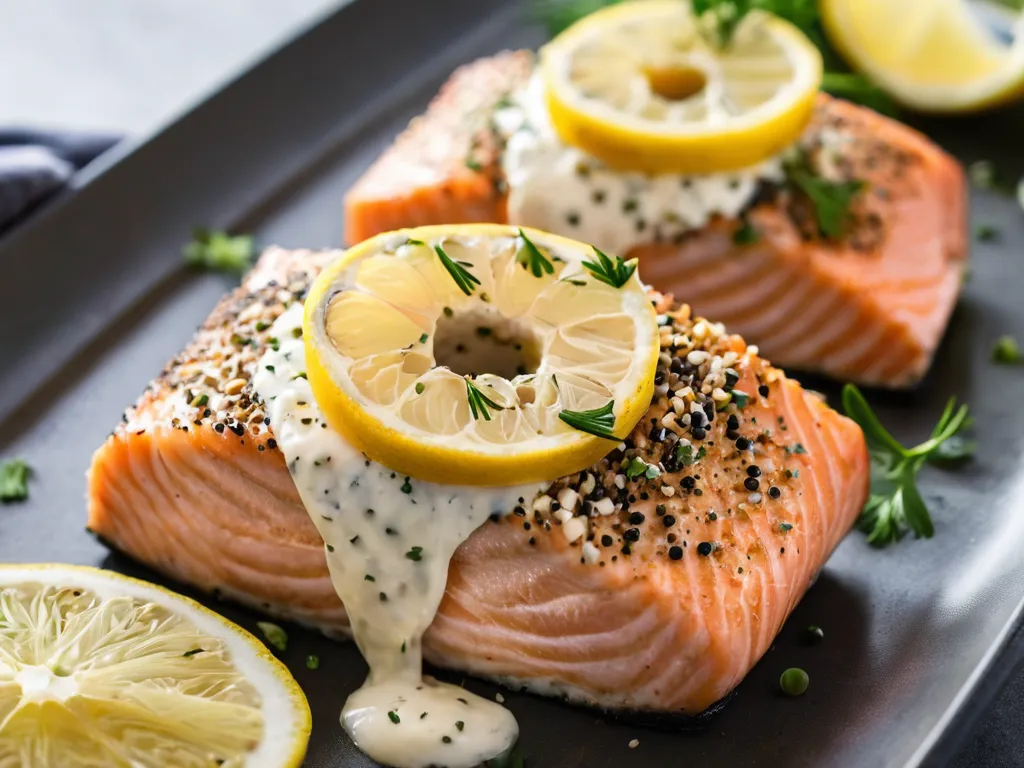
Honey garlic glaze (finish only): Use the base spice mix, but during the final 5 minutes of cooking, brush each thigh with a mixture of 1 tbsp honey + 1/2 tbsp soy sauce + 1 clove minced garlic. The glaze caramelizes quickly at 400°F — watch it. This is the same technique that makes air fryer salmon look glazed and professional.
Air Fryer Size and the Crowding Rule
Air fryer capacity is the primary variable that changes your results. The mechanism is simple: air fryers crisp food by blowing hot air across all exposed surfaces. When pieces touch each other or the basket walls, the air can’t reach those surfaces and they steam instead of crisping.
| Air fryer size | Bone-in thighs (single layer) |
|---|---|
| 4-qt basket | 3 thighs |
| 5.8-qt basket | 4 thighs |
| 6-qt+ basket | 5–6 thighs |
| Oven-style with 2 racks | 6–8 thighs (rotate racks halfway) |
If you’re cooking for more than 4, cook in batches and keep finished thighs warm in a 200°F oven while the second batch runs. Don’t try to fit 6 thighs in a 5.8-qt basket — you’ll end up with pale, soggy skin on the overlapping pieces.
Time and Temperature by Cut
| Cut | Temp | Time | Target internal temp |
|---|---|---|---|
| Bone-in skin-on thighs | 400°F | 22–25 min (flip at 10) | 185°F |
| Boneless skinless thighs | 400°F | 14–18 min (flip at 7) | 165°F–185°F |
| Chicken drumsticks | 400°F | 22–25 min (flip at 12) | 185°F |
| Bone-in skin-on breasts | 375°F | 20–25 min (flip at 12) | 165°F |
| Boneless skinless breasts | 375°F | 16–18 min (flip at 8) | 165°F |
Thighs, drumsticks, and legs: all dark meat, all benefit from 185°F. Breasts: white meat, pull at 165°F.
What to Do With Leftovers
Air fryer chicken thighs reheat well and work in multiple formats:
Tacos: Pull the meat off the bone and rough-chop it. Serve in corn tortillas with pickled red onion, cilantro, and crema. The smoky paprika base mix is a natural taco seasoning.
Grain bowls: Slice over farro, quinoa, or rice with roasted vegetables, a soft-boiled egg, and a drizzle of honey garlic sauce thinned with a little water.
Salads: Pull into rough shreds and add to a hearty salad — arugula, shaved parmesan, lemon vinaigrette. The rich dark meat stands up to bold dressings better than breast meat.
Buffalo chicken dip: Shred 2–3 leftover thighs into the dip instead of using rotisserie chicken. The smoked paprika adds a background complexity the rotisserie version doesn’t have.
Storage and Reheating
Leftovers keep up to 4 days in the fridge in an airtight container. The skin will soften as it sits — this is unavoidable once moisture from the meat contacts the skin surface.
To restore the skin’s crunch: air fryer at 375°F for 4–5 minutes from refrigerated temperature. This works significantly better than the microwave (which steams the skin rubbery) and slightly better than the oven.
If you’re using the leftovers in tacos, salads, or dip, reheat the pulled meat only — in the microwave or briefly on the stovetop in a covered pan — since the skin’s texture doesn’t matter once the meat is shredded.
Do not freeze and thaw fully cooked chicken thighs if you want crispy skin — the skin loses all its texture in the freezer. Freeze the raw seasoned thighs instead, then air fry from frozen at 400°F adding 5–8 minutes to the cook time.
Other Viral Chicken Recipes Worth Making
If the air fryer chicken thighs are a regular in your rotation, a few others that hit the same weeknight-easy register:
Lemon butter chicken — a pan sauce that takes 20 minutes and tastes like it came from a restaurant. Marry me chicken adds a sun-dried tomato cream sauce with the same effort level. Butter chicken from TikTok is a simplified version of the Indian dish that’s become one of the most-cooked weeknight dinners in home kitchens.