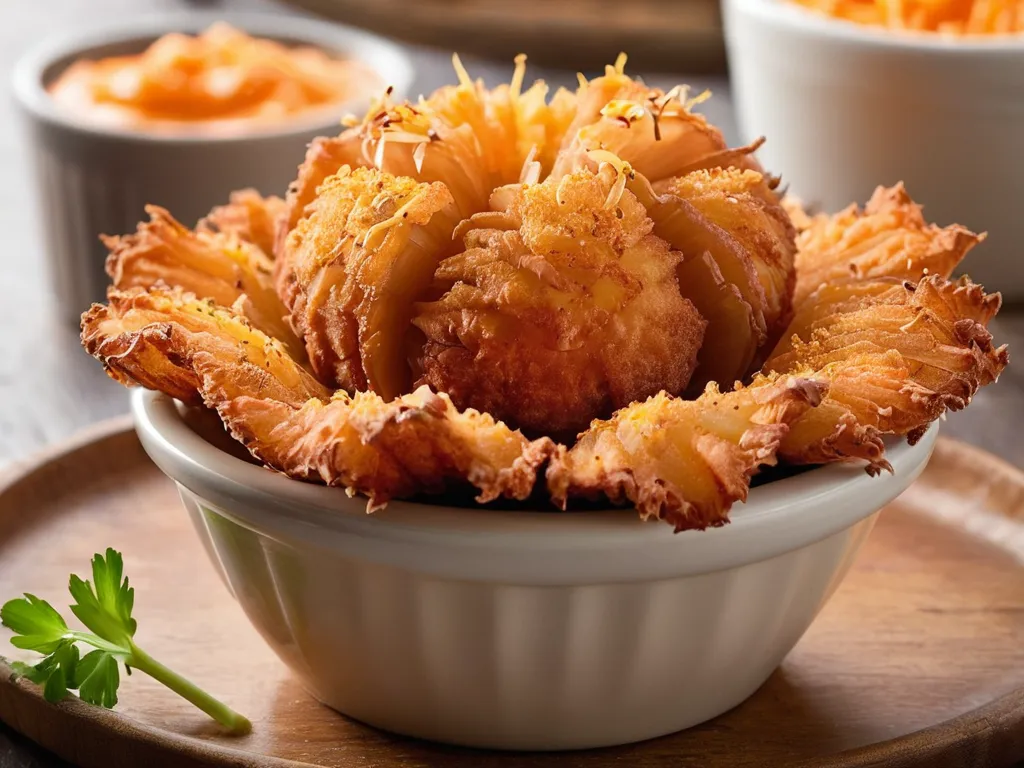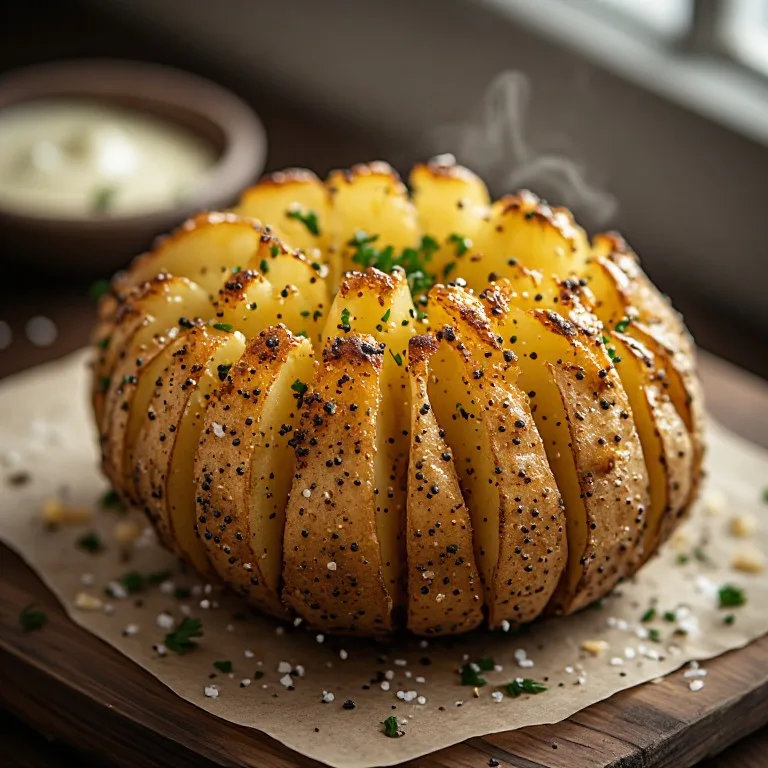
In 2024, TikTok’s food community figured out that the visual trick behind Outback Steakhouse’s Bloomin’ Onion — radial cuts that fan open into a dramatic flower shape under heat — worked even better on potatoes. The hashtag #bloominpotatoes took off and hasn’t stopped: the technique is simple, the visual payoff is outsized, and the result is a side dish where every exposed face gets crispy while the interior stays creamy. No deep fryer, no batter, no specialty ingredients.
The potato version solved a real problem with the Bloomin’ Onion concept: onions are fussy (they need ice water soaking, a seasoned batter, and a deep fryer to hit the right texture), while potatoes are forgiving — they roast naturally, caramelize on their own, and the cut faces crisp from the oven’s dry heat alone. About 10 minutes of hands-on prep, then the oven does the rest.
The Two Versions
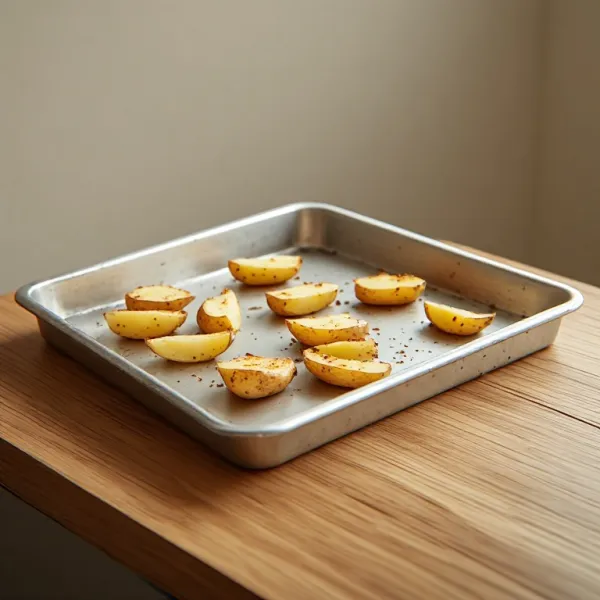
Baby potato version (the social-media one): Uses potatoes the size of a golf ball or smaller. Each potato becomes one individual bloom — about 3–4 petals, perfect for an appetizer spread or a party side. Roast time is 20–25 minutes total without the steam phase, since the small size means they cook through quickly. Four cuts per potato (not 8) because of the smaller size. Visually very clean and consistent.
Medium potato version (more dramatic): Uses Yukon Golds or round whites the size of a tennis ball. 6–8 cuts per potato, a full steam-then-roast sequence, a more dramatic opening bloom, and a bigger individual serving. Better as a plated side dish. Takes 40 minutes total but most of it is hands-off oven time.
Both use the same cutting technique and same seasoning — only the size, cut count, and roast time differ.
The Cutting Technique — The Only Part That Takes Any Care
This step looks intimidating and isn’t. The only rule is where to stop cutting.
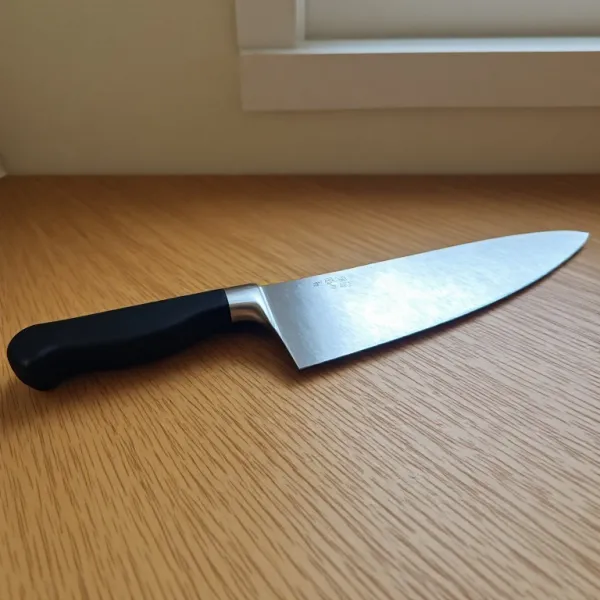
How to position the knife: Hold the potato firmly on a cutting board with one hand (or brace it between two chopsticks for guaranteed depth control — see FAQ). Starting at the top center, make a downward cut toward the base, stopping ¼ inch before you hit the board. Rotate the potato slightly and make another cut the same depth, parallel to the first but going in a different radial direction. Work around the potato until you have 6–8 evenly spaced cuts that form a star pattern when viewed from above.
Depth is everything: Too shallow (only cut halfway down) and the sections won’t have enough separation to fan open. Too deep (you cut all the way through) and the potato falls apart when you try to lift it. The target is about ¾ of the way through the potato — stop when you feel resistance from the cutting board but before the board contacts the knife tip.
Chopstick method: The easiest technique for anyone not confident in depth estimation — place a chopstick on each side of the potato running lengthwise. Your knife blade will stop against the chopsticks before reaching the board, guaranteeing consistent depth without thinking about it. This is exactly how hasselback potato makers cut precise slices, and it works the same way here.
After cutting: Use your fingertips to gently spread the sections — open them just a little, maybe 2–3mm gap between petals. Don’t force them; the oven does most of the opening. If one section tears at the base, don’t worry — it’ll still roast beautifully and look fine once golden.
Seasoning Strategy: Get Oil Into the Cuts
The seasoning mix (olive oil + grated garlic + smoked paprika + garlic powder + onion powder + salt + optional cayenne) needs to get down into the cuts, not just coat the outside. This is where the flavor actually concentrates — each interior surface is exposed to direct oven heat and needs its own oil coating to caramelize properly.
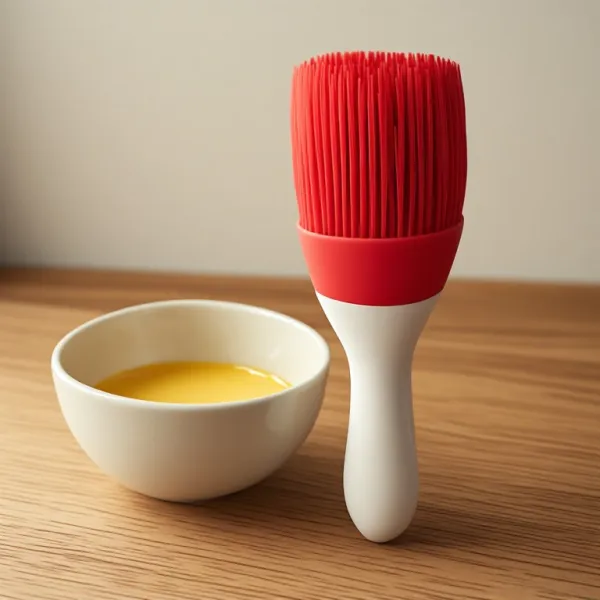
Use a pastry brush to paint the oil mixture all over the exterior and work it deliberately into each cut. Then turn the potato cut-side down briefly to let any excess oil run into the remaining cuts — then flip back to cut-side up for roasting.
The smoked paprika pulls double duty: it adds the Bloomin’ Onion–style warmth and it colors the petal edges a deep reddish-brown as they roast, which is most of the visual payoff.
The Two-Phase Roast
Phase 1 — foil-covered steam (20 minutes at 425°F): Traps moisture and cooks the potato through. Skip this and you get crispy outsides but hard, raw-tasting interiors. This phase is essential for medium and large potatoes; optional for baby potatoes under 1.5 inches.
Phase 2 — uncovered with butter brush (15–20 minutes): The butter on the surface accelerates browning and crisping. This is when the cuts fully fan open and the petal edges go golden. Watch from the 10-minute mark and pull when the tips of each petal are just starting to show char spots — that’s the peak of the texture curve.
Total active time: 10 minutes of prep, 5 seconds for the butter brush at the midpoint. Everything else is oven time.
Air Fryer Version
The air fryer makes the crispiest bloomin’ potatoes of any method — the circulating hot air hits every exposed petal face at once, and it cooks the interior through faster than a conventional oven, so you can skip the foil-covered steam phase entirely. Set it to 400°F, place the seasoned potatoes cut-side up in a single layer (don’t stack or crowd them), and cook 20–25 minutes for baby potatoes or 28–32 minutes for medium ones. Check at the 20-minute mark: if the tops are browning but the center still feels hard when pressed, tent loosely with foil and keep going. Brush with butter in the last 5 minutes for the finished look. It’s the fastest route to the crispiest result.
Three Dipping Sauces
The Bloomin’ Onion–style sauce (the recipe above) is the natural match — that horseradish-mayo foundation was designed for fried potatoes, and it works just as well for roasted ones. Make it at least 15 minutes ahead so the horseradish bite mellows slightly into the mayo base.
Sour cream and chive is the classic, no-effort option. Full-fat sour cream has enough tang to cut the potato’s richness without needing anything complex added.
Garlic aioli (mayo + raw garlic + lemon juice + olive oil) is the most sophisticated of the three. Use a microplane for the garlic so it incorporates smoothly rather than leaving chunks. A pinch of smoked paprika on top when you serve it echoes the potato’s seasoning.
All three keep refrigerated for a week and improve over time — make any of them while the potatoes roast.
Why These Beat Regular Roasted Potatoes
A halved or quartered roasted potato has one exposed surface per piece: one side caramelizes, the rest steams from trapped moisture. A bloomin’ potato has 6–8 exposed interior surfaces per piece, all facing up into the oven’s dry heat. That’s 6–8 sides getting simultaneous caramelization while the protected interior steams through from its own trapped moisture. You get the crispy edge yield of roasted potato wedges with the creamy interior texture of a baked potato, on one piece, from one potato.
The cuts also mean more surface area to hold seasoning and dipping sauce — there’s nowhere for the flavor to run off.
Make-Ahead and Storage
These are at their best immediately out of the oven, when the petal edges are still crackling. They reheat reasonably well: 375°F for 8–10 minutes in the oven or 350°F for 6 minutes in the air fryer, which revives most of the crispiness. Microwaving kills the crunch and is not recommended.
Prep up to 4 hours ahead: cut, season, cover, and refrigerate. Add 5 minutes to the steam phase when starting from cold.
Leftover bloomin’ potatoes make good additions to a grain bowl or broth soup the next day — break the petals apart, add to your bowl, and they contribute both texture and the roasted garlic-paprika seasoning they already carry.