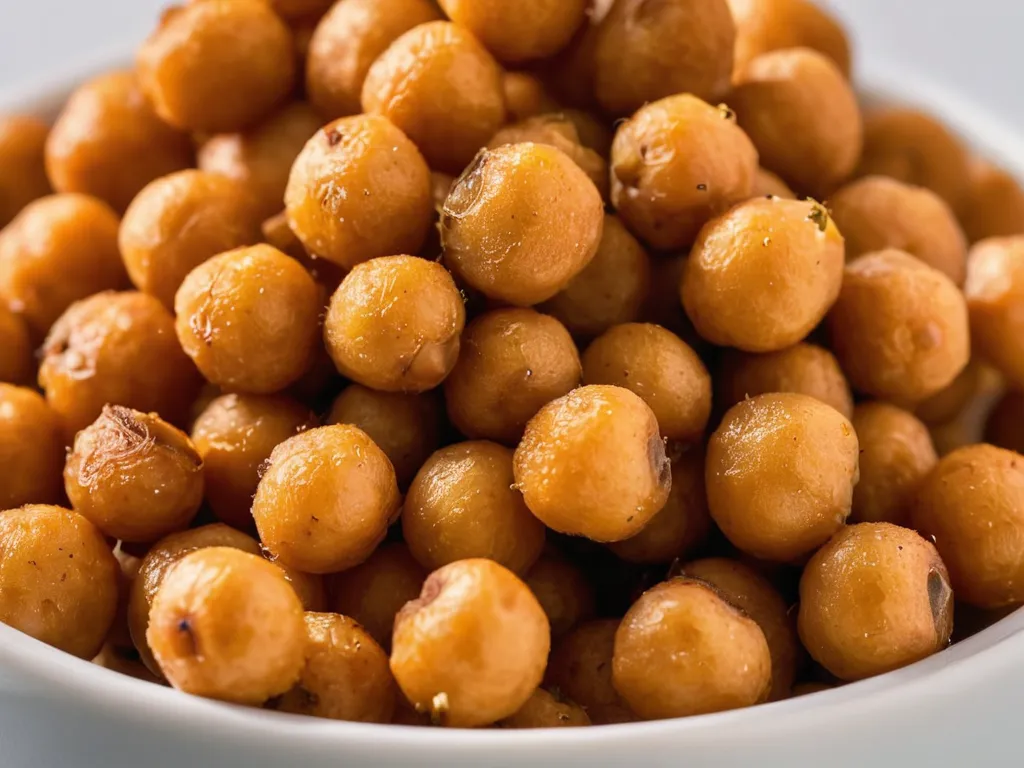
Crispy chickpeas went viral on TikTok because the premise sounds too good: a snack that’s genuinely crunchy, high in fiber and protein, plant-based, made from a $0.89 can of legumes, and takes less time to make than driving to the store for chips. The videos that traveled fastest showed the crunch test — an audible snap from a single air-fried chickpea — and viewers couldn’t believe something that simple and healthy could sound like that.
The trend spread across thousands of accounts without a single dominant creator. What all the successful versions have in common: they treat drying the chickpeas as a non-negotiable step, and they season after cooking, not before.
TL;DR
Drain and aggressively dry 2 cans of chickpeas (10–15 minutes on a towel). Toss with 2 tsp oil (1 tsp per can). Air fry at 400°F for 20 minutes, shaking every 5 minutes. Season while warm. That’s it. They’re crunchiest the day of.
The Only Thing That Matters: Bone-Dry Chickpeas
Every recipe failure with crispy chickpeas traces back to the same root cause: moisture.
Canned chickpeas are packed and stored in liquid. Even after draining and rinsing, they hold moisture on their surface and just inside their skin. When those wet chickpeas hit a 400°F air fryer, the first thing that happens is the surface water converts to steam. That steam is what makes chickpeas puff up, soften, and turn chewy. You have to eliminate the moisture before the air fryer sees them.
The method that works: spread them on a large kitchen towel, fold the towel over, and press and roll firmly for a full minute. This removes the outer skins (which also trap moisture) and aggressively wicks surface water. Then leave them uncovered for 10–15 more minutes. When you’re done, the chickpeas should look completely matte — no shine, no visible moisture. At that point, the air fryer does exactly what it’s supposed to do: crisp from the outside in.
A second mistake that kills crunch: overcrowding the basket. Chickpeas piled on top of each other trap steam between them. A single even layer, with a little space between pieces, is what lets the hot air do the work. If your air fryer is small, cook in two batches. The 5-minute wait per batch is worth it.
How Much Oil — And Why Less Is More
The recipe uses only 2 teaspoons of oil for two entire cans of chickpeas — about 1 teaspoon per can, less than you’d think. This is intentional.
Chickpeas already contain some natural oils and moisture in their flesh. Adding too much oil creates a coating that traps interior steam rather than allowing the chickpea to fully dry out and crisp. You want the surface to dehydrate in the air fryer, not steam from the inside.
Think of it this way: the oil creates a thin, even coating that helps the surface make good contact with the hot air. You’re not deep-frying — you’re essentially roasting with just enough fat for browning. Use no more than 1 teaspoon per can.
Air Fryer vs. Oven: Which Is Better?
Air fryer at 400°F for 20 minutes is the faster and more reliable method. The circulating hot air reaches every surface of each chickpea simultaneously, producing more even browning than an oven. Shaking the basket every 5 minutes ensures the chickpeas roll and expose different sides to the heat source.
Oven at 425°F for 25–35 minutes works well when you need to make a large batch (more than 3 cans). Use a wire rack set over a rimmed baking sheet — this allows hot air underneath the chickpeas, preventing the bottom surface from steaming against the pan. Shake or stir every 10 minutes. Skip the wire rack and you’ll get uneven crunch with a softer underside.
The two-minute test at either cooking time: pick up one chickpea and tap it against the basket or pan. If it sounds hollow and hard, it’s done. If it has any give or sounds dense, give it another 3–5 minutes.
The Six Best Seasoning Variations
Season with dry spice blends while the chickpeas are warm but not steaming — about 3–5 minutes after coming out of the air fryer. The residual heat helps spices bloom; the slight stickiness from the oil helps them cling without needing extra fat.
1. Smoky Paprika (the crowd favorite) — 1 tsp smoked paprika + ½ tsp garlic powder + ½ tsp onion powder + ¼ tsp cayenne + ½ tsp salt. This is the one that goes with everything and photographs the best.
2. Ranch — 1 tsp dried dill + ½ tsp garlic powder + ½ tsp onion powder + ½ tsp parsley + ¼ tsp black pepper + ½ tsp salt. Closest to store-bought “ranch chickpea” snacks at a fraction of the cost.
3. Everything Bagel — 2 tsp everything bagel seasoning (sesame seeds + poppy seeds + garlic flakes + onion flakes + flaky salt). Buy a jar from Trader Joe’s or make your own. Press it gently into the warm chickpeas so the seeds stick.
4. Buffalo — Skip dry spices entirely. While chickpeas are still warm, toss with 2 tablespoons of your favorite buffalo/hot sauce. Return to the air fryer at 375°F for 5 more minutes to set the sauce. The chickpeas get slightly stickier and less crackly, but the flavor is excellent.
5. Indian-Spiced (Chana Chaat) — 1 tsp cumin + ½ tsp coriander + ¼ tsp turmeric + ¼ tsp garam masala + pinch of chili powder + ½ tsp salt + squeeze of lime juice after plating. This variation works beautifully as a topping for grain bowls and salads.
6. Cinnamon Sugar — 1½ tsp cinnamon + 1 tsp coconut sugar or regular sugar + pinch of salt. The sweet variation. Works particularly well on slightly smaller, fully-crispy chickpeas with no residual chew.
What to Do With Crispy Chickpeas Beyond Snacking
Salad topper — they replace croutons. Toss them on any green salad for crunch, protein, and fiber without the refined carbs. The smoky paprika version is excellent over Caesar.
Grain bowl crunch layer — a small handful of crispy chickpeas on a quinoa or farro bowl adds texture contrast. Add at the last minute so they don’t soften in the bowl’s liquid. They work especially well alongside crack broccoli or balsamic Brussels sprouts in a roasted-vegetable bowl.
Soup garnish — float them on tomato soup, roasted red pepper soup, or lentil soup instead of crackers. They soften slightly but hold their shape for 10–15 minutes, which is plenty of time to finish a bowl.
Trail mix component — mix with nuts, dried cranberries, and dark chocolate chips for a high-protein trail mix. The smoky or cinnamon-sugar versions work best here.
If you’re building a full air fryer snack spread, bang bang cauliflower and air fryer chicken thighs use the same temperature and make a complete meal alongside a bowl of chickpeas.
Cost vs. Store-Bought
A 5 oz bag of roasted chickpea snacks (like Biena or Saffron Road) costs $4.50–6.00 and contains about 3–4 servings. Two cans of chickpeas cost $1.50–2.00 and make 4 generous servings. The home version is roughly 3–4× cheaper per serving and uses less sodium than most commercial brands.
The nutritional upside over chips is real: 9g protein and 8g fiber per serving versus the 1–2g fiber in most potato chips. It’s not a dietary miracle, but it’s genuinely more filling than the same calorie count of standard snack chips.
Storage and Re-Crisping
Crispy chickpeas are at their best within 4–6 hours of cooking. After that, they absorb ambient moisture from the air and soften. This is not a flaw — it’s just the nature of any legume without preservatives or coating agents.
For storage beyond the same day: keep in a loosely covered container (not airtight — a sealed lid traps steam and softens them quickly). A bowl with a paper towel draped over the top, or a container with the lid cracked, works well for 2–3 days at room temperature. Do not refrigerate — the cold, humid environment accelerates softening significantly.
To re-crisp: 400°F in the air fryer for 3–4 minutes brings back roughly 80% of the original crunch. They won’t be quite as crispy as fresh, but good enough for snacking or using as a salad topper.