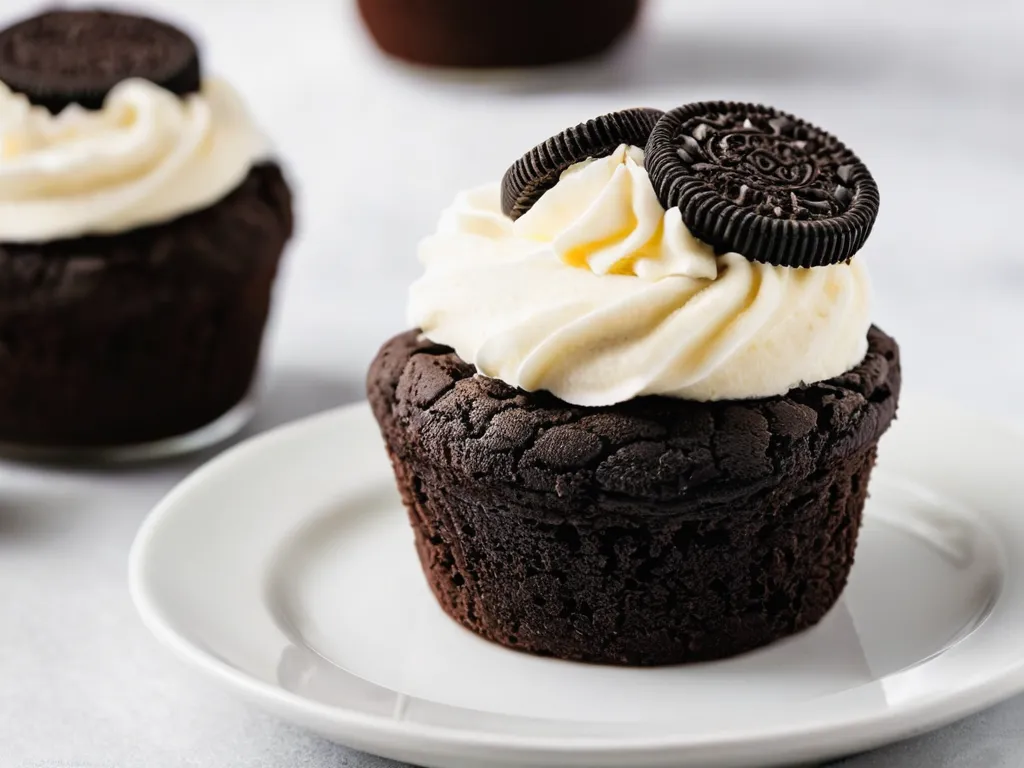
Oreo Mug Cake — The 3-Ingredient Dessert That Works in 90 Seconds
The Oreo mug cake shouldn’t work. Cookies, milk, and baking powder do not sound like cake ingredients. And yet: crush 4 Oreos, add a splash of milk and a pinch of baking powder, microwave for 90 seconds, and you get a warm, fluffy cookies-and-cream cake that tastes like it came from a real oven.
The trend spread across TikTok in 2020 and 2021, driven partly by @fitwaffle (FitWaffle Kitchen) who popularized the no-oven Oreo cake concept to tens of millions of views, and then proliferated across thousands of accounts who adapted it into the mug format. The reason it kept working across every remake: the recipe is actually based in real food science, not a trick. Once you understand why it works, you can make it better.
TL;DR: Crush 4 Oreos to fine crumbs. Add 3 tablespoons of milk + ¼ teaspoon baking powder. Stir just until combined — don’t overmix. Microwave 60–70 seconds at 1000W (adjust for your microwave; see wattage guide below). Rest 60 seconds. Top with whipped cream. The center should look slightly underdone when you pull it out — it finishes from residual heat.
Why the 3-Ingredient Recipe Actually Works
The secret is that Oreos are not just cookies. Check the official Nabisco ingredient list:
Unbleached enriched flour. Wheat flour is the structural backbone of any cake — it provides the gluten network that holds the batter together as it cooks. Oreos already contain it.
Palm and/or canola oil. Oil is what keeps cakes moist and tender. Oreos already contain it in the wafer and, in heavier concentration, in the cream filling.
Sugar. Oreos already contain it in significant amounts — both in the cookie wafer and concentrated in the cream.
Leavening agents (baking soda and/or calcium phosphate). The cookies already contain leavening. The added baking powder in the recipe amplifies this for extra rise, but even the 2-ingredient version (Oreos + milk only) produces some lift from the existing leavening in the cookie.
Cocoa processed with alkali. The chocolate flavor and dark color, already in the cookie.
What you’re actually doing when you crush 4 Oreos and add milk is rehydrating a compressed dry cake batter that was already pre-measured and pre-mixed. The milk provides the liquid the batter needs to activate, and the baking powder pushes the existing leavening further. No eggs required because the Oreo’s structure is already set; no added flour or sugar because the cookies already contain them.
The Three Ingredients — and What Each One Does
Oreos (4 cookies): The entire structure, flavor, fat content, and most of the sweetness. Use regular-size Oreos for this base recipe. Double Stuf adds more cream, which increases moisture but also adds richness that can make the cake feel heavy. Regular Oreos produce a better-balanced texture.
Milk (3 tablespoons): The hydration that activates everything. Whole milk produces the richest, moistest result. 2% works well. Plant milks (oat milk especially) work and some home cooks prefer them for a slightly different flavor. The critical thing: do not use more than 3 tablespoons. Extra milk produces a wet center that never fully sets in 90 seconds, and the common fix (more microwave time) just overcooks the outside into rubber.
Baking powder (¼ teaspoon): The lift. Oreo cookies already contain a small amount of leavening, but it’s not enough to produce a genuinely fluffy mug cake. The added baking powder reacts with the moisture to release CO2, which puffs the batter in the microwave. If your mug cake came out dense and didn’t rise, the baking powder is the variable to check — old baking powder loses its potency. Test it: drop ½ teaspoon into hot water. If it doesn’t bubble actively, replace it.
How to Make It: Step by Step
Step 1 — Size your mug correctly. Oreo mug cake batter rises to roughly double its volume during cooking. If your batter fills more than one-third of the mug, it will overflow. A 12-ounce mug is the absolute minimum; a 14 or 16-ounce mug gives comfortable headroom. This is the most common setup mistake.
Step 2 — Crush to fine, uniform crumbs. Place the cookies in the mug and crush with the handle of a rolling pin, a sturdy spoon, or the back of a fork. You want crumbs smaller than a pea — uniform, powdery-fine. The cream filling should be fully incorporated into the crumbs, not sitting in white lumps. Chunky crumbs create uneven pockets where some parts stay dense while others cook fine.
Step 3 — Add milk and baking powder and stir just until combined. Pour the milk over the crumbs and add the baking powder on top. Stir with a fork for about 20 strokes — enough to produce a uniform, thick batter with no visible dry spots. Stop as soon as it looks combined. Oreo cookies contain wheat flour, and overworking the batter develops the gluten, which makes the cooked cake dense and chewy rather than fluffy. This is the most important technique tip in the recipe.
Step 4 — Microwave for 60–90 seconds. See the wattage guide below. The cake is done when the top is set — no visible liquid on the surface — but the very center still has a faint give. Do not wait for the center to look completely dry. The microwave drives heat into the outer layers first; the center finishes cooking from the residual heat in the hot mug.
Step 5 — Rest 60 seconds before eating. This is not optional. The mug itself holds significant heat after the microwave stops. If you eat immediately, the center is genuinely undercooked and tastes wet. After 60 seconds of resting, it’s done.
Microwave Wattage Guide
Most recipes assume a 1000-watt microwave, which is the standard mid-range home model. The correct time shifts noticeably with wattage:
| Microwave Wattage | Start Time | Check and Adjust |
|---|---|---|
| 700–800W | 80–90 seconds | Add 5–10s if top still looks liquid |
| 900–1000W | 60–70 seconds | Pull when center has slight give |
| 1100W | 55–65 seconds | Check at 55 seconds |
| 1200W+ | 45–55 seconds | Check early; high wattage = fast overcooking |
When in doubt, pull it early. You can always add 5 more seconds. You cannot uncook a rubbery mug cake.
Five Mistakes That Ruin Oreo Mug Cake
1. Overcooking. The most common failure. Microwave energy penetrates from the outside in; the outer centimeter of the mug cake is always more cooked than the center. When you add more time trying to “set the center,” you’re actually turning the already-done exterior into a rubber ring. Solution: pull it at the first sign the top is set, rest for 60 seconds, and evaluate. The center will be fine.
2. Overmixing the batter. Oreos contain real wheat flour, and beating the batter develops the gluten network in it. A properly stirred batter (20 strokes, just combined) produces a fluffy, open crumb. An overmixed batter produces a dense, chewy disc. This mistake is more common than people realize because the tendency is to stir until completely smooth — but the batter doesn’t need to be completely smooth; it needs to be just combined.
3. Too much milk. Three tablespoons is the calibrated amount for 4 Oreos. Going to 4 or 5 tablespoons produces a thinner batter that never fully sets in 90 seconds — the center stays wet and gummy no matter how long you microwave it. The fix is to use more Oreos to absorb the extra liquid, but the ratio is worth respecting before experimenting.
4. Using a mug that’s too small. The batter doubles in the microwave. In a standard coffee mug, it will overflow, cook unevenly, and stick to the interior walls. A 12-ounce minimum is the size to look for; 16-ounce is better.
5. Stale baking powder. Baking powder loses potency over time — the standard is to replace it every 6 months to 1 year. A full teaspoon of old baking powder produces a dense, flat mug cake. Test: ½ teaspoon into hot water should bubble aggressively within a few seconds. If it doesn’t, buy fresh.
Flavor Variations
Golden Oreo (Vanilla Mug Cake): Use 4 Golden Oreos in place of regular Oreos. The result is a vanilla birthday-cake-flavored mug cake with a lighter color. Add 2–3 drops of yellow food coloring and a pinch of sprinkles to the batter for a funfetti version. Top with cream cheese frosting instead of whipped cream.
Stuffed Oreo Center: Make the batter with 3 Oreos, pour half into the mug, press one whole Oreo flat into the center, cover with the remaining batter. The whole Oreo doesn’t fully soften in 90 seconds — you get a distinct crispy Oreo middle embedded in soft cake. It’s a texture contrast that doesn’t work in every mug cake recipe but works here because the Oreo is designed to hold its structure.
Double Stuf Richness: Use 3 Double Stuf Oreos instead of 4 regular Oreos. Double Stuf cookies have roughly double the cream filling, which adds significant fat and sweetness. Reduce milk to 2 tablespoons to compensate. The result is richer, more fudge-like, and slightly denser than the standard version.
Mint Oreo: Works well because the mint flavor stays present through cooking. Same ratio; top with a drizzle of melted dark chocolate.
Peanut Butter Center: Add 1 tablespoon of peanut butter to the batter before microwaving. It doesn’t fully incorporate — it creates a peanut butter ribbon through the cake rather than a uniform flavor. Top with crushed Oreos and a drizzle of peanut butter.
Toppings
The base cake is mildly sweet and genuinely good on its own, but toppings take it to dessert territory:
Whipped cream: Classic. The cool cream against the warm cake is most of the experience.
Cream cheese frosting (2 tablespoons): Whip 1 tablespoon softened cream cheese with 1 tablespoon powdered sugar and ¼ teaspoon vanilla. Spread on the rested cake. This is FitWaffle Kitchen’s preferred topping for the no-oven Oreo cake and works equally well in the mug format.
Vanilla ice cream: Hot cake + cold ice cream is the best version. The ice cream melts into the crevices of the warm cake and creates a sauce.
Nutella drizzle: Microwave 1 tablespoon Nutella for 15 seconds, drizzle over the cake. The hazelnut plays well with the cocoa in the Oreo.
Crushed Oreo on top: The garnish that makes sense — you already have the package open.
The 2-Ingredient Version vs. the 3-Ingredient Version
The 2-ingredient version (Oreos + milk, no baking powder) is real and works. It produces a denser, fudgier result — more like a warm brownie or chocolate truffle than a fluffy cake. The texture is compact and rich rather than airy.
The 3-ingredient version (adding ¼ teaspoon baking powder) produces a notably different result: the cake rises 1.5–2 inches above the crumb line, the interior is open and fluffy with a light crumb, and the overall experience is more “chocolate cake” and less “melted cookie.”
If you’ve tried the 2-ingredient version and found it too dense, the baking powder addition is the change. If you prefer a richer, fudgier result and don’t care about lift, leave it out.
Calorie Reality Check
The current stub on many recipe sites lists 400–500 calories for this recipe. That’s overestimated if you count only the base cake. The actual math:
- 4 regular Oreos at 53 cal each: 212 cal
- 3 tablespoons whole milk: ~27 cal
- ¼ teaspoon baking powder: negligible
- 2 tablespoons whipped cream: ~15–20 cal
Total with modest topping: approximately 255–260 calories. If you’re generous with the whipped cream or add ice cream, that changes significantly — a 2-tablespoon scoop of vanilla ice cream adds 60–70 calories. But the base mug cake itself is not a 450-calorie dessert.
Related Oreo and Mug Cake Recipes
For the chocolate version made the traditional way (flour, cocoa, oil), see our chocolate mug cake guide — it takes slightly more ingredients but gives you more control over the sweetness and intensity. The churro mug cake is another 90-second variation if you want cinnamon sugar instead of chocolate.
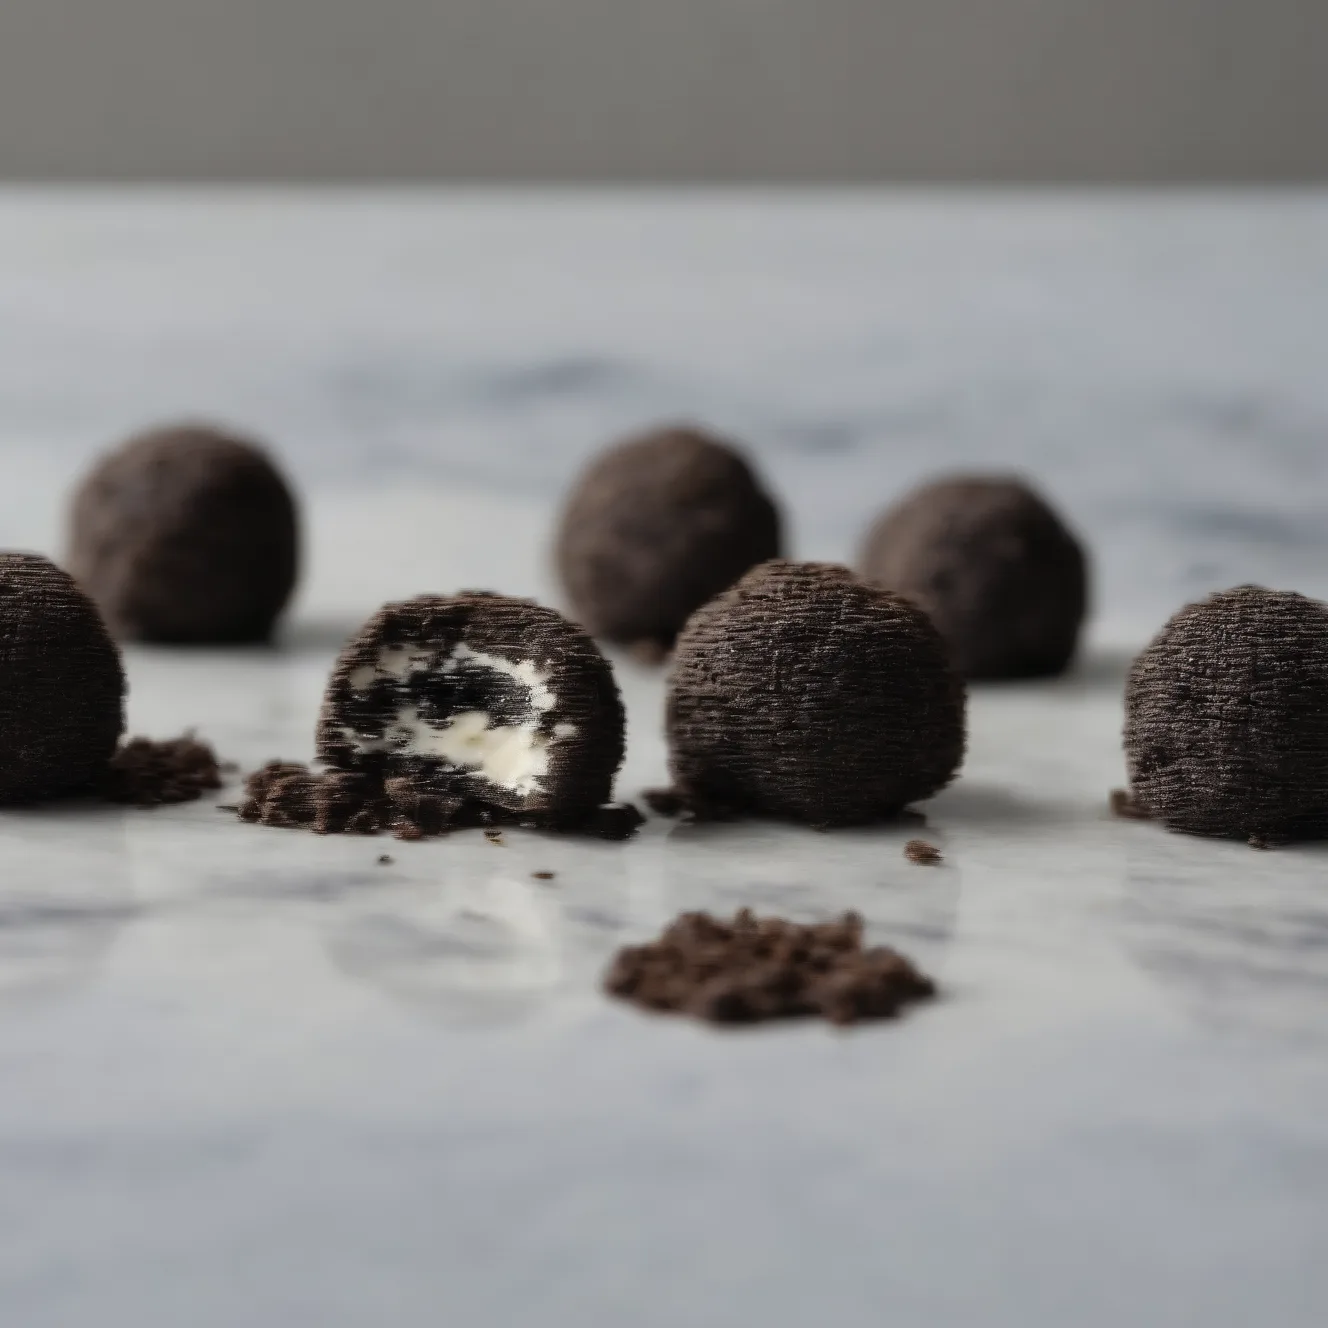
For more Oreo applications beyond the mug, Oreo truffles use the same 3-ingredient minimal approach and produce something that looks like it came from a candy shop. For a no-bake Oreo cheesecake that serves a crowd, see Cheesecake Factory Oreo cheesecake.