Copycat Cheesecake Factory Red Velvet Cheesecake
Prep time: 45 min Cook time: 80 min + overnight chill Servings: 12
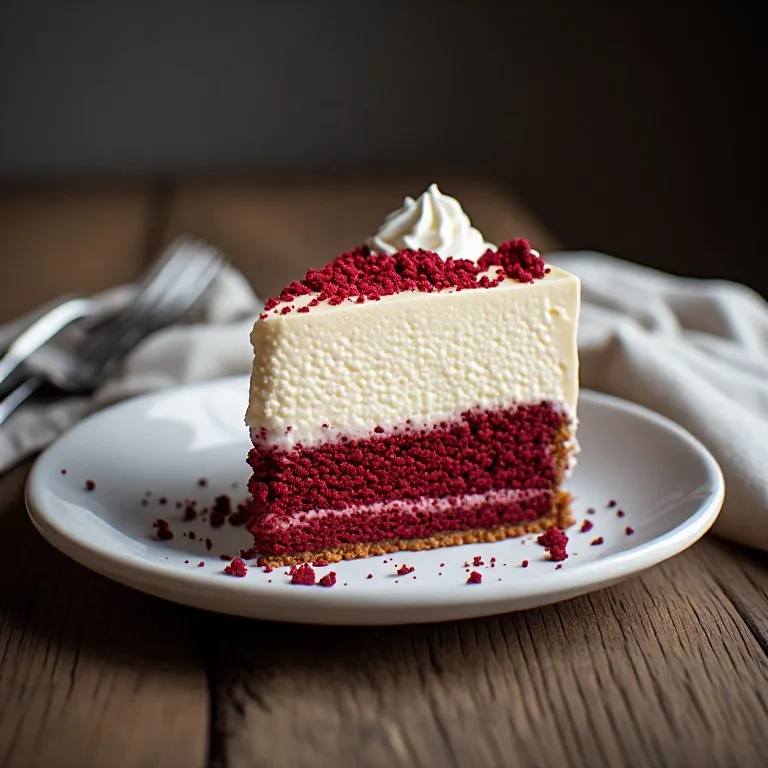
The Cheesecake Factory’s Red Velvet Cheesecake exists as an answer to an obvious question: what happens when you combine the two most searched-for American desserts into one slice? Red velvet cake below, New York cheesecake above, the whole thing frosted in cream cheese buttercream and finished with crimson crumbles on top. It is theatrical, rich, and — when sliced properly to show that layered cross-section — one of the most photographed desserts in American chain dining.
The restaurant calls it the “Ultimate Red Velvet Cake Cheesecake.” A single slice runs $10.95 to $12.95 at most locations. A full 12-slice batch at home costs about $18 in ingredients, or $1.50 per slice. The recipe is not fast — both batters need to be made, layered in a springform, baked together over a water bath, chilled overnight, and frosted the next day — but none of it is technically difficult if you understand what each layer is doing.
Why One Pan, Not Two
Most home versions of this dessert bake the red velvet cake and cheesecake separately, then assemble them like a layer cake. That approach produces more consistent individual textures but requires more equipment and introduces a structural weakness: the cheesecake layer can slide off the cake base when sliced, and the frosting has to work much harder as structural mortar.
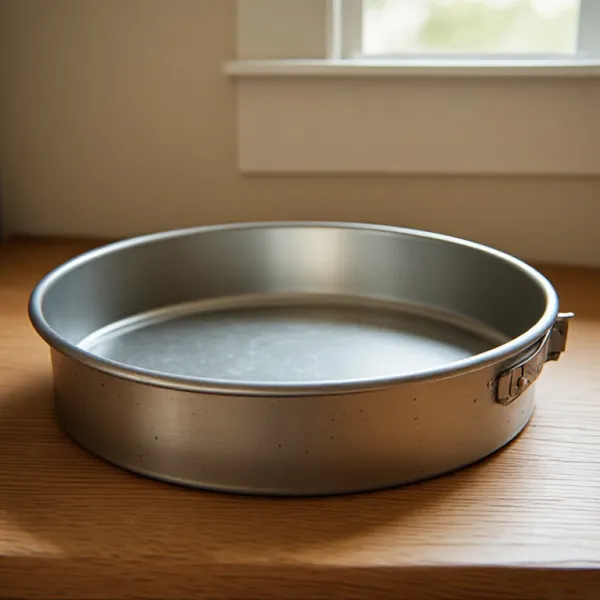
The single-pan method used here pours the red velvet batter first, then the cheesecake filling directly on top, and bakes both together in a water bath at 325°F. At this temperature, the dense, low-leavening red velvet batter bakes into a tight cake layer while the cream cheese filling above it sets like cheesecake. The result is a fused base — cake and cheesecake bonded together — that holds its structure cleanly when sliced and shows the layered cross-section without either component separating.
The key to making this work: both batters need to be at room temperature and similar viscosities when layered. Cold cheesecake batter sinks into warm cake batter; room-temperature fillings float correctly and bake in distinct layers.
The Red Velvet Layer: What It Is and Is Not
Red velvet is not red chocolate cake. The cocoa content is minimal — 1 tablespoon in the whole batter, compared to 3/4 cup in a chocolate cake recipe. The cocoa is there for a subtle earthiness and to interact chemically with the buttermilk and vinegar in the batter (the original natural-dye versions relied on anthocyanins in unprocessed cocoa reacting with acidic buttermilk to produce a reddish-brown tint). The red color in every modern version comes from gel food dye, not cocoa.
What defines red velvet is its texture, not its flavor: dense, tight crumb, minimal lift, almost fudgy. It achieves this through a very restrained leavening profile — only baking soda, activated by the vinegar added at the end — and a relatively high butter and egg ratio relative to the flour. This is intentional: a light, airy cake layer would crumble under the weight of the cheesecake above it. You want it dense.
Use Dutch-process cocoa if you can find it. It produces a slightly darker, less sharp cocoa flavor and a deeper red-brown color that holds up better after baking.
The Cheesecake Layer: Exactly the Original
The cheesecake filling in this recipe is the Cheesecake Factory’s Original Cheesecake filling without modification. Four blocks of full-fat cream cheese, one cup of sour cream, four eggs, one cup of sugar, vanilla, and no flour — the same proportions that make the Original the densest, creamiest cheesecake on their menu.
The sour cream is the key ingredient most home recipes use too little of. One cup provides the lactic acid tang that prevents the filling from tasting purely sweet, and its fat content contributes a velvety, silky texture that heavy cream alone cannot replicate. You notice when it’s absent.
The Frosting and the Crumbles
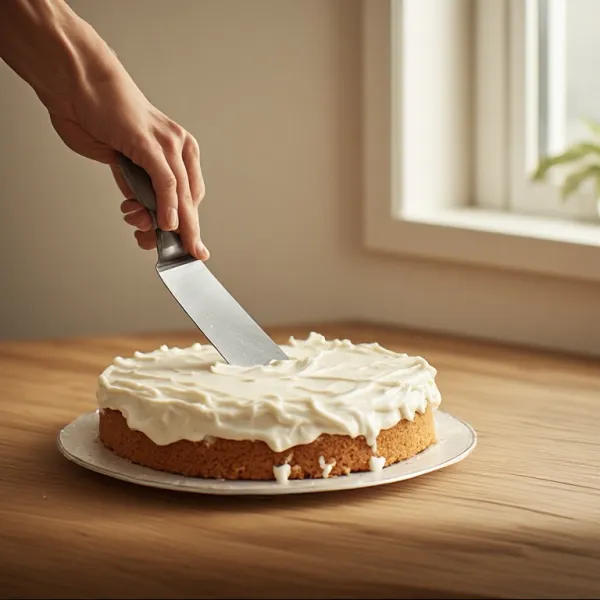
The cream cheese frosting is applied cold, directly to the refrigerated cheesecake. Cold frosting applied to a cold surface sets up quickly and holds its shape; room-temperature frosting applied to a cold surface weeps and slides. Refrigerate the frosting for 15–20 minutes if it seems too loose to hold its shape when applied.
The red velvet crumbles on top are the detail that distinguishes the restaurant version from home versions that use plain whipped cream or a smooth frosted top. They are not complicated — dried trimmings from the cake edge, or a small separately baked piece of red velvet batter, crumbled by hand and scattered over the frosted surface while the frosting is still slightly tacky. They provide textural contrast against the smooth frosting and visually signal what the dessert is before anyone takes a bite.
Cost Comparison: Home vs. Restaurant
| Cheesecake Factory | Homemade (12 slices) | |
|---|---|---|
| Per slice | $10.95–12.95 | — |
| Full cheesecake (12 slices) | $131–155 | ~$18 |
| Per serving | $10.95–12.95 | ~$1.50 |
| Savings per slice | — | ~$9–11 |
The Most Common Mistakes
Pouring cold cheesecake batter onto the red velvet layer. Room temperature matters more here than in any single-batter cheesecake because the two batters need to coexist in the same pan at the same oven temperature. Cold cheesecake batter is denser than warm and will tear or displace the cake batter below it as you pour. Both batters should be at 68–70°F before assembly.
Overbaking the cheesecake layer. The combined height of two batters in one pan means the cheesecake filling bakes slightly faster than it would alone. Check at 70 minutes: the center should still have a noticeable jiggle. A fully set center at baking time means an overcooked, slightly grainy cheesecake after it cools.
Applying frosting to a warm or partially cold cheesecake. Even slightly warm cheesecake will melt cream cheese frosting on contact. The cheesecake must be fully cold — minimum 8 hours, ideally overnight — before frosting.
Using liquid food dye instead of gel. Liquid dye adds water that dilutes the batter and produces an inconsistent color that can turn orange-brown during baking. Gel dye is far more concentrated — roughly 1 teaspoon of gel does the work of 1 tablespoon of liquid — so you get a deeper, more stable red without altering the batter’s moisture.
Storage
Refrigerator (covered): up to 5 days. The texture improves on days 2–3 as all components fully integrate.
Freezer (individual slices, tightly wrapped): up to 6 weeks. Freeze uncovered on a sheet pan until solid, then wrap in plastic wrap and foil. Thaw overnight in the refrigerator.
Do not store at room temperature — cream cheese filling and cream cheese frosting are both dairy products that deteriorate rapidly above 40°F.
More Cheesecake Factory Cheesecake Recipes
- Copycat Cheesecake Factory Original Cheesecake — the base filling this recipe uses; make it first to understand the texture you are aiming for in the cheesecake layer
- Copycat Cheesecake Factory White Chocolate Raspberry Truffle Cheesecake — chocolate cookie crust, white chocolate chunks, seedless raspberry swirl; the most dramatic-looking cheesecake on the menu
- Copycat Cheesecake Factory Pumpkin Cheesecake — seasonal fall version with warm spice; similar cream cheese frosting finish
- Copycat Cheesecake Factory Dulce de Leche Cheesecake — the Original base swirled with dulce de leche and a caramel drizzle