Pin It

Dairy Queen Ice Cream Cake

Dairy Queen Ice Cream Cake
Jump to Recipe
Prep 25 min Cook 10 min Serves 10
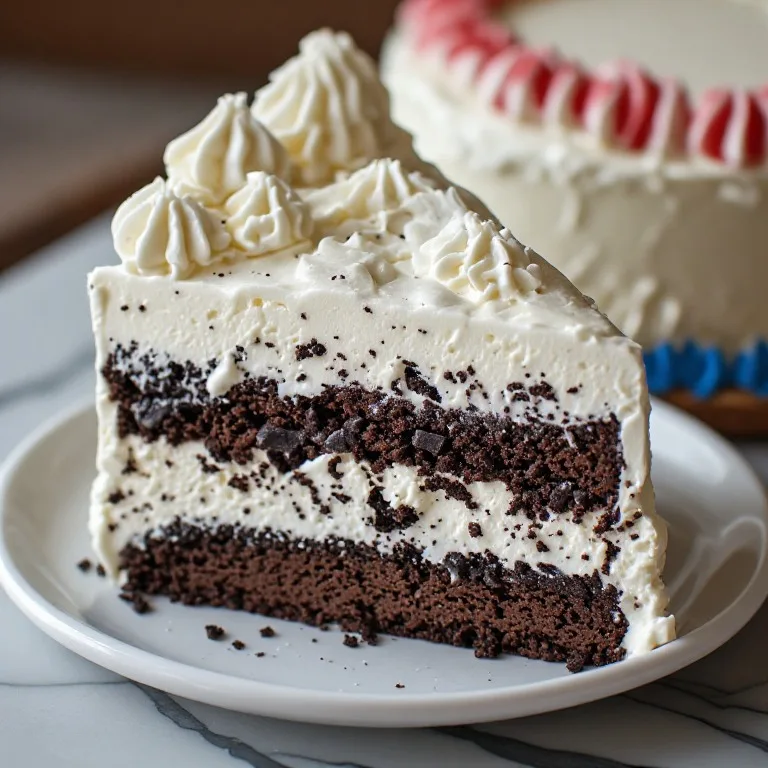
Quick answer: The Dairy Queen Ice Cream Cake is built in a springform pan: chocolate ice cream on the bottom, a baked Oreo-and-hot-fudge crunch layer in the middle, vanilla ice cream on top, then Cool Whip coating the exterior. Total active work is about 25 minutes; total freeze time is 6 hours minimum (overnight preferred). An 8-inch cake serves 8–10 and costs under $12 in ingredients versus $25–$29 at DQ.

Shop the tools

Gear matched to this recipe. These are Amazon affiliate links — we may earn a small commission if you buy, at no extra cost to you.

As an Amazon Associate, Copycat Spices earns from qualifying purchases. Product images are generic illustrations, not the exact item listed.

Dairy Queen Ice Cream Cake

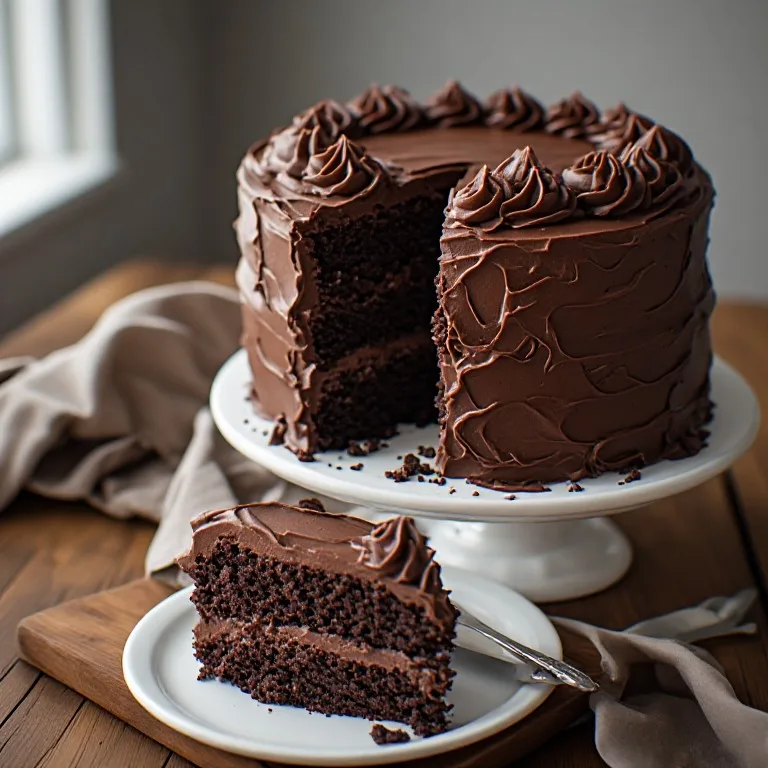
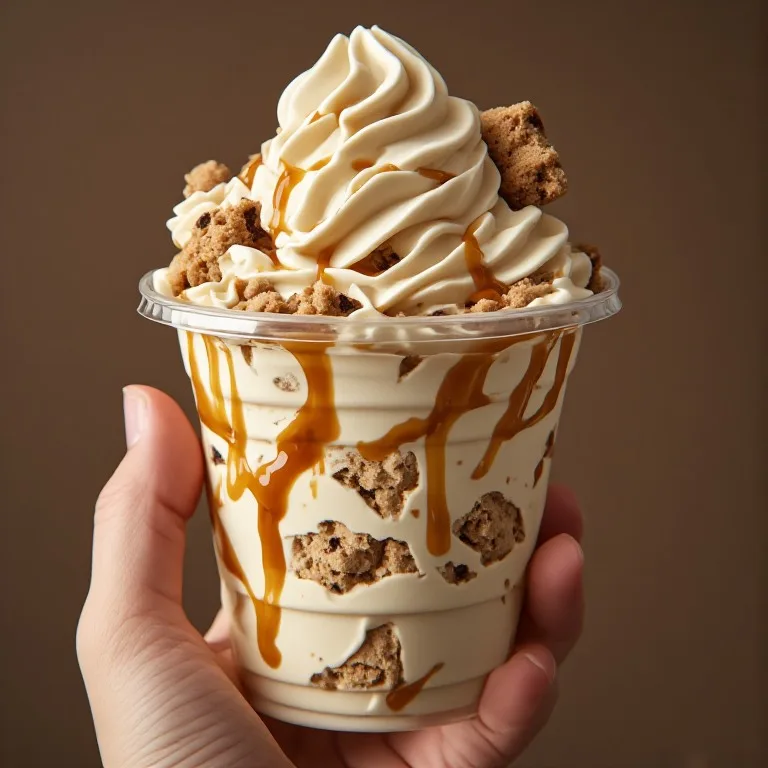
Make the Dairy Queen Ice Cream Cake at home — chocolate ice cream on the bottom, baked Oreo crunch layer in the middle, vanilla ice cream on top, all wrapped in a Cool Whip shell. The baked Oreo crunch is the secret that keeps it crispy for days.

Medium Prep: 25 min Cook: 10 min Total: 35 min10 servings ~$3.85/serving
Prep25 min
Cook10 min
Total35 min
Servings
10
At home~$3.85/serving
vs
Restaurant~$17.32/serving
You save ~78%

The Story Behind the Recipe

Dairy Queen introduced its custom Ice Cream Cake business in the early 1980s, and the personalized round cake has become the chain's most-recognized non-Blizzard product. The 8-inch version starts at around $25 today — mostly what you're paying for is the piped frosting message and the chain's branded décor. The cake underneath is simpler than it looks: two ice cream layers surrounding a fudge-and-crunch center, finished with a stabilized whipped topping.

The home version costs under $12 and tastes nearly identical — with one technique that most copycat recipes skip. DQ's crunch layer uses proprietary dried chocolate cone pieces that stay crispy through freeze-thaw cycles. At home, crushed Oreos work perfectly only if you bake them first. Raw Oreo crumbs absorb moisture from the surrounding ice cream and turn to paste within hours. Eight minutes in a 350°F oven dries them to a true crisp that holds for up to a week in the freezer — that single step is what separates a legit DQ copycat from a soggy disappointment.

Nutrition Facts

Per serving (10 servings)
Calories365
Total Fat17g
Total Carbs49g
Dietary Fiber1g
Sugars37g
Protein5g
Sodium265mg

* Estimated values based on standard recipe preparation. Actual values may vary.

Ingredients

Instructions

💡
Pro tip: This recipe tastes even better the next day. The flavors need time to meld together in the fridge.
❄️
Storage: Keeps in an airtight container in the fridge for up to 2 weeks. Freezer-friendly for up to 3 months.
🎃 Free Halloween cookbook — download now The Copycat Halloween Cookbook A ready-made, photo-illustrated PDF of our best halloween copycat recipes — free to download, no building required. Pay what you want to support if you love it.

Free PDF — instant download. We'll also send new seasonal copycat recipes now and then; unsubscribe anytime. Or just download it →

The Dairy Queen Ice Cream Cake looks like it requires professional equipment — a commercial soft-serve machine, industrial freezers, professional piping tools. It doesn’t. The entire thing comes down to four layers, one critical baking step that most copycat recipes skip, and patience between each freeze.

Why This Recipe Works

Baking the crunch is everything. DQ’s crunch layer uses proprietary chocolate cone pieces — a dried, crunchy chocolate wafer product engineered to stay crisp in a frozen environment. At home, crushed Oreos are the obvious substitute, but raw Oreo crumbs immediately absorb moisture from the surrounding ice cream and turn into a soft, paste-like layer within hours. Eight minutes in a 350°F oven evaporates that moisture so the crumbs stay genuinely crunchy for up to a week in the freezer. Nearly every disappointing homemade ice cream cake comes down to skipping this step.

Two flavors, not one. DQ uses two different soft-serve flavors — chocolate on the bottom, vanilla on top. The contrast is part of the cake’s character; using the same flavor throughout produces a flat, single-note result. Any full-fat ice cream works, but the less water a brand has, the fewer ice crystals form during the multiple freeze-thaw cycles of assembly — so a premium pint (Häagen-Dazs, Ben & Jerry’s) gives a smoother slice if you want to spend a little more. A standard 48 oz carton keeps the whole cake well under $12.

Cool Whip, not fresh cream, for the exterior. Real whipped cream deflates and weeps as the cake thaws slightly during serving. Cool Whip is stabilized with guar gum and carrageenan specifically to resist this — which is why DQ and every commercial ice cream cake manufacturer uses a stabilized topping. If you want real cream, see the FAQ on how to stabilize it with gelatin.

Each layer must be frozen solid before the next. This is not optional. Building layers before the previous one is solid pushes the softer ice cream sideways and collapses the structure. The minimum freeze times in this recipe are conservative on purpose — longer is always better.

Cost Breakdown (vs. Restaurant)
Home (8-inch, 10 slices)DQ 8-inch round
Chocolate ice cream (3 cups, ½ carton)~$2.75—
Vanilla ice cream (3 cups, ½ carton)~$2.75—
25 Oreos + butter~$1.80—
Hot fudge + Cool Whip~$2.00—
Total~$9.30~$25–29
Per slice~$0.93~$2.50–3.60

The DQ cake’s price reflects labor, custom piping, and the chain’s cake décor kit — not the ingredients. The home version is structurally identical for a fraction of the cost.

Make-Ahead Timeline

Ice cream cakes are genuinely better made ahead because the layers have more time to bond. A practical timeline:

  • Day 1 (evening): Bake Oreo crumbs, build and freeze chocolate layer overnight.
  • Day 2 (morning): Add crunch layer, freeze 45 min. Build and freeze vanilla layer — ideally overnight again, minimum 4 hours.
  • Day 2 (afternoon/evening): Apply Cool Whip exterior, freeze 30 min to set, then wrap for storage.
  • Day 3 onward: Cake holds in the freezer for up to 2 weeks if wrapped tightly.

Add decorations (colored gel frosting messages, fresh sprinkles) on the day of serving so they look sharp and the colors don’t bleed into the Cool Whip.
🥗

Make It Healthier

Love Dairy Queen Ice Cream Cake but want a lighter version? Try these simple swaps:

  • ✓Use reduced-fat ice cream for both layers — cuts about 40 calories per slice with minimal flavor difference in a layered cake.
  • ✓Reduce the Oreo crumb layer from 25 cookies to 15 and add 1 tablespoon of unsweetened cocoa powder to the crumbs — less sugar, same chocolate depth.
  • ✓Replace the Cool Whip exterior with 2 cups of freshly whipped heavy cream (no powdered sugar) for a shorter ingredient list — plan to serve the same day since it won't hold overnight.
  • ✓Cutting 10 thinner slices instead of 8 keeps each portion naturally under 300 calories without changing the recipe.

Frequently Asked Questions

What is the crunch layer in a Dairy Queen Ice Cream Cake made of?

DQ uses proprietary chocolate cone crunch pieces — dried, crunchy chocolate wafer fragments bound with fudge. At home, crushed Oreo cookies baked for 8–10 minutes at 350°F produce an almost identical texture. The bake is non-negotiable: raw Oreo crumbs absorb moisture from the ice cream and turn to paste within a day. A quick oven pass dries them so they stay crisp for up to a week in the freezer.

Why is chocolate ice cream on the bottom of a DQ Ice Cream Cake?

DQ fills their molds with chocolate first, then builds the crunch and vanilla layers on top. When the cake is inverted onto the serving board, chocolate ends up on the bottom (closest to the serving surface) and vanilla on top. At home in a springform pan you build it the same way — chocolate first, crunch in the middle, vanilla on top — so the finished cake matches DQ's appearance without any inversion.

Can I use Cool Whip instead of real whipped cream for the outside?

Yes — and for a frozen ice cream cake, Cool Whip is the better choice. Real whipped cream deflates within a few hours in the freezer, especially through freeze-thaw cycles. Cool Whip (stabilized with guar gum and carrageenan) holds its shape, which is why DQ's own bakeries use a stabilized topping rather than fresh cream. If you prefer real cream, stabilize it: bloom 1 teaspoon unflavored gelatin in 1 tablespoon cold water, melt it gently, then whisk into 2 cups heavy cream while whipping to stiff peaks.

How far in advance can I make a Dairy Queen Ice Cream Cake?

Up to 2 weeks in advance if wrapped tightly. Once the final Cool Whip layer is applied and frozen solid (about 2 hours), wrap the entire cake in plastic wrap then foil and return to the freezer. Remove 10–15 minutes before serving so slices cut cleanly. Add colored frosting decorations on the day of serving — not in advance — so the colors don't bleed through the white Cool Whip layer.

How do you cut an ice cream cake cleanly?

Use a large serrated knife dipped in hot water and wiped dry between each slice. The hot knife melts a thin surface layer on contact for a clean cut rather than dragging. Work quickly — the cake softens fast once out of the freezer. For serving a crowd, return the cake to the freezer between rounds. Cut wedges the same way you'd cut a cheesecake: one confident downward press per slice, no sawing.

What pan size should I use for a homemade DQ Ice Cream Cake?

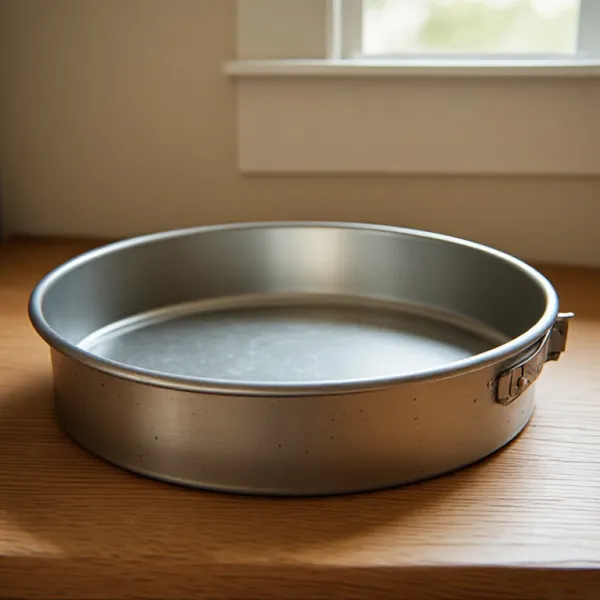
An 8-inch springform pan matches DQ's standard round cake size and serves 8–10 slices. It's the most common size and fits easily in a standard home freezer. For a smaller version (6-inch, serves 4–6), use 1.5 cups of ice cream per layer, 15 Oreos, and 2 tablespoons each of hot fudge and butter. For a larger 10-inch cake serving 12–16, scale all quantities up by 1.5x and add an additional 30 minutes freeze time per layer.

Love this recipe? Share it!

Free PDF: our 12 most-wanted copycat recipes — instant download.

Made it? Buy us a coffee

Every recipe here is free, with no paywalls. If this one was a hit at your table, a small tip keeps new copycats coming.

$

Dairy Queen is a trademark of its owner, used here only to describe the dish this recipe recreates. This is an independent copycat written in our own words — Copycat Spices is not affiliated with, endorsed by or sponsored by Dairy Queen.

Ratings & Reviews

—
No ratings yet

Rate this recipe

Click a star to rate

Leave a Review

0/500

CS

Copycat Spices Editorial

Researched + fact-checked. Every recipe on Copycat Spices is built from published sources — official ingredient lists, brand-published recipes, interviews and food-science references — and fact-checked before it goes live, then written as clear, step-by-step instructions for home cooks of all skill levels.

Learn more about our mission →