Pin It

Restaurant-Crispy Chicken Skin — The Drying Technique That Changes Everything

Restaurant-Crispy Chicken Skin — The Drying Technique That Changes Everything
Jump to Recipe
Prep 10 min Cook 50 min Serves 4
Quick answer: Pat chicken dry, rub with salt and a tiny amount of baking powder, then refrigerate uncovered on a wire rack for 12–24 hours. Roast at 425°F on the same wire rack without basting or covering. The overnight air-drying plus baking powder pH shift produces skin that shatters.

Shop the tools

Gear matched to this recipe. These are Amazon affiliate links — we may earn a small commission if you buy, at no extra cost to you.

As an Amazon Associate, Copycat Spices earns from qualifying purchases. Product images are generic illustrations, not the exact item listed.

Restaurant-Crispy Chicken Skin — The Drying Technique That Changes Everything

The pro technique for getting shatteringly crispy chicken skin at home: salt-dry overnight, dry brine, then roast without steaming. No more rubbery skin.

Medium Prep: 10 min Cook: 50 min Total: 1h 0m4 servings ~$2.80/serving
Prep10 min
Cook50 min
Total1h 0m
Servings
4
At home~$2.80/serving
vs
Restaurant~$12.60/serving
You save ~78%

The Story Behind the Recipe

The pro technique for getting shatteringly crispy chicken skin at home: salt-dry overnight, dry brine, then roast without steaming. No more rubbery skin.

Nutrition Facts

Per serving (4 servings)
Calories380
Total Fat29g
Total Carbs1g
Dietary Fiber0g
Sugars0g
Protein28g
Sodium580mg

* Estimated values based on standard recipe preparation. Actual values may vary.

Ingredients

Instructions

💡
Pro tip: This recipe tastes even better the next day. The flavors need time to meld together in the fridge.
❄️
Storage: Keeps in an airtight container in the fridge for up to 2 weeks. Freezer-friendly for up to 3 months.
🎃 Free Halloween cookbook — download now The Copycat Halloween Cookbook A ready-made, photo-illustrated PDF of our best halloween copycat recipes — free to download, no building required. Pay what you want to support if you love it.

Free PDF — instant download. We'll also send new seasonal copycat recipes now and then; unsubscribe anytime. Or just download it →

Restaurant-Crispy Chicken Skin — The Two-Day Technique Worth Every Minute of Patience

The crispiest chicken skin you’ve ever eaten — the kind that shatters when you bite it, that sounds like breaking glass, that stays crackly even after 10 minutes of resting — didn’t happen by accident. It happened because someone, somewhere, figured out that the enemy of crispy skin is moisture, and that eliminating moisture requires time rather than tricks.

TikTok cooking accounts love this technique because the before-and-after is dramatic. Properly executed, the skin looks different from the moment it comes out of the oven — it’s matte instead of glossy, deeply golden instead of pale, visibly taut and blistered. And when someone bites it on camera and gets that crunch? That’s the video.

The Fundamental Problem: Where Skin Moisture Comes From

Chicken skin is primarily collagen, fat, and water — roughly 45–55% water by weight when raw. That moisture is in two places: dissolved in the fat and collagen tissue itself, and sitting on the surface from handling and storage.

When you put wet chicken skin into a hot oven, two things happen: the surface water evaporates (creating steam), and as the collagen breaks down and the fat renders, additional moisture is released. All of that steam has to go somewhere. It goes upward, through and around the skin, keeping the skin’s surface temperature below the browning point until it has fully evaporated.

A dry oven crisps the skin. A moist oven steams it. Most home roasting environments become moist ovens before the chicken is fully cooked — especially in smaller ovens — because the rendered fat and escaping moisture have nowhere to go.

The Two Techniques That Solve It

Air-drying overnight: Placing the chicken uncovered in the refrigerator on a wire rack for 12–24 hours removes the surface moisture through evaporation. The refrigerator runs as a dehumidifier, constantly drawing moisture away from the chicken’s exposed surface. By the time you put the chicken in the oven, the surface of the skin is nearly dry — meaning almost no evaporation is needed before browning can begin.

Feel the skin after 24 hours in the fridge, before cooking. It should feel almost papery and slightly tacky rather than wet and slippery. That’s the texture of skin that will crisp.

Baking powder: This is the professional technique that home cooks rarely know about. Baking powder is sodium bicarbonate plus cream of tartar — it’s alkaline. The Maillard reaction — the protein-sugar browning reaction responsible for color and flavor — proceeds faster in alkaline (higher pH) environments.

By coating the skin with a tiny amount of baking powder, you increase the skin’s surface pH, which allows Maillard browning to begin at lower temperatures and with less complete dehydration. The result is more browning, more color, and more crunch even before the skin is completely dry. It also creates a slightly more porous, blistered surface texture as the alkaline environment generates small amounts of CO2 during cooking.

The quantity matters: too little does nothing, too much tastes soapy. About 1/4 tsp per pound of chicken is the correct ratio.

The Wire Rack: Non-Negotiable

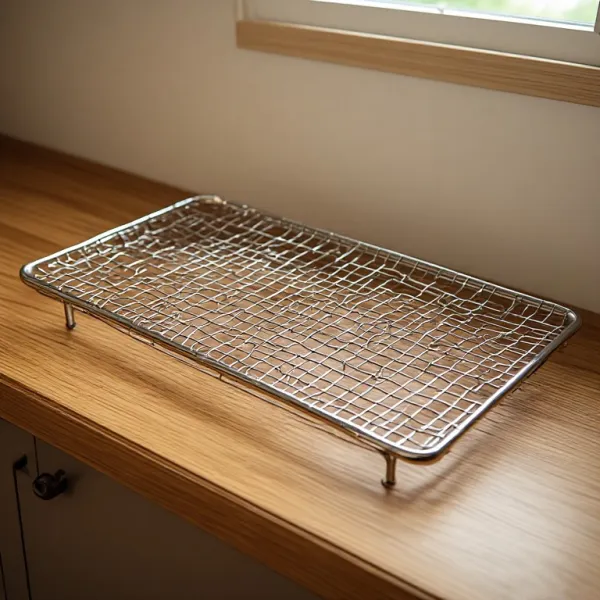
Chicken placed skin-side down on a flat pan sits in a pool of its own rendered fat. The fat conducts heat efficiently but also keeps the skin moist and prevents airflow underneath. Even skin-side up on a flat pan, the space beneath the chicken fills with steam from the rendered fat, which rises and keeps the skin surface humid.

The wire rack elevates the chicken so the rendered fat drips away and air circulates completely around every surface. The underside of the thigh — where the meat meets the rack — gets airflow. The skin on top gets dry heat from above. Every surface dries and crisps.

If you don’t own a wire rack, the technique still produces improvements through the overnight dry-brine, but the rack is what takes crispy chicken from good to great.

The Broiler Finish: Optional but Dramatic

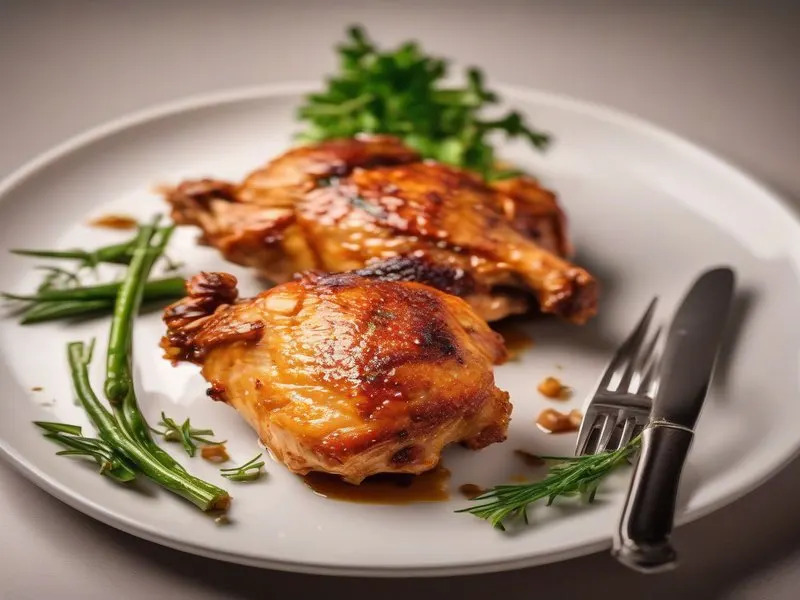
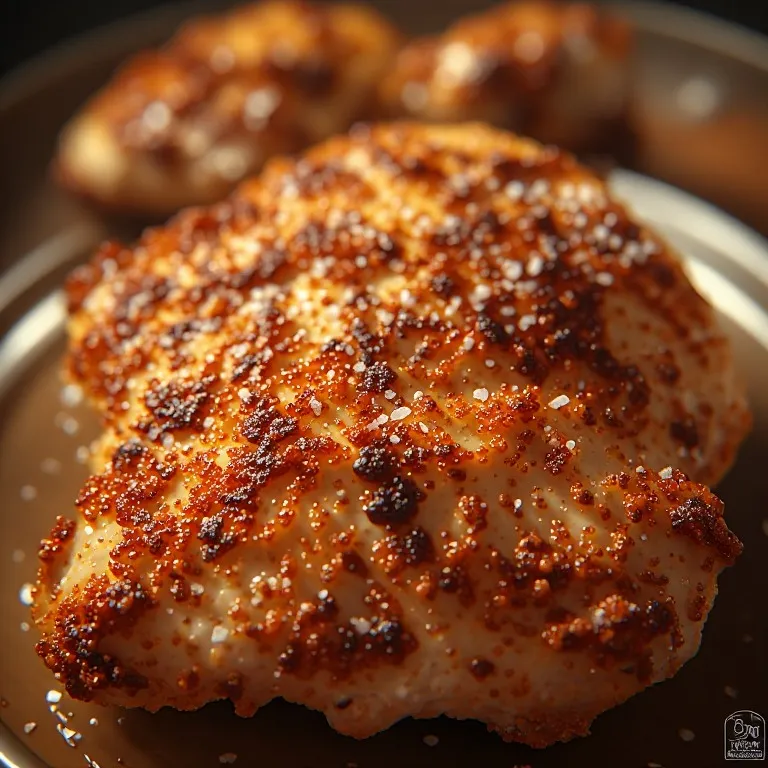
The oven at 425°F produces excellent results. The broiler on high at the end produces shattering results. The direct radiant heat from a broiler is more intense and more drying than circulated oven heat, and it blisters the skin surface in a way that oven roasting can’t quite match.

Use it for the last 3–5 minutes only, and watch constantly. The transition from beautifully golden to burned under a broiler takes about 90 seconds. This isn’t the time to walk away.

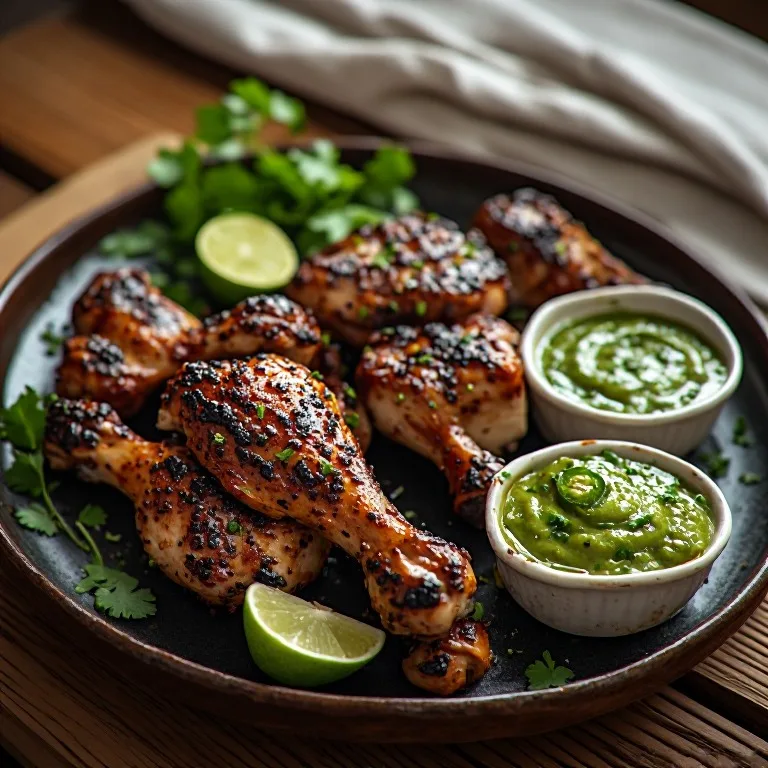
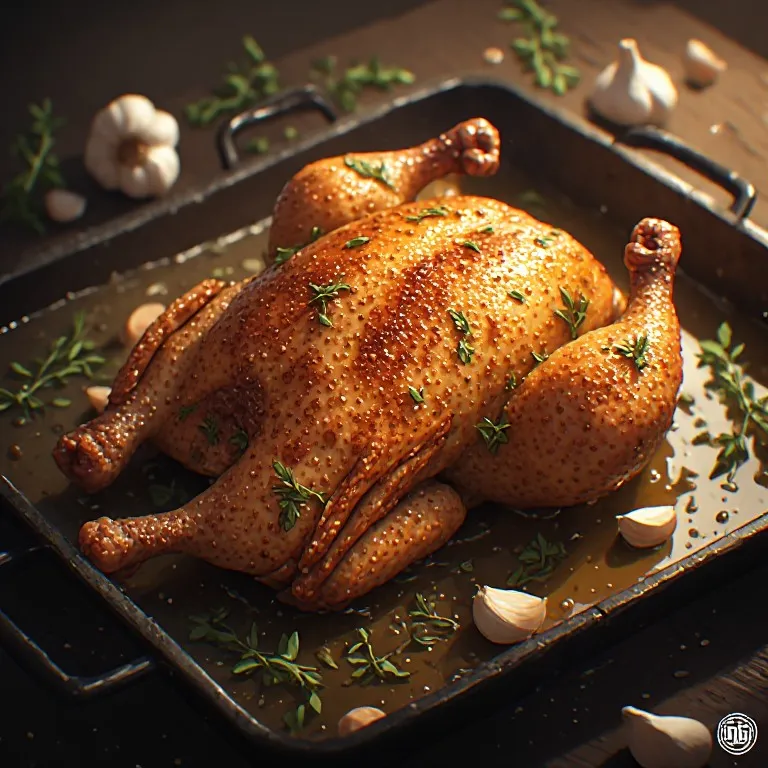
When it works — and it works when you’ve done the overnight dry and the wire rack — the resulting skin is structural. It holds its crunch for 15–20 minutes after coming out of the oven. Restaurant-quality. Every time.
🥗

Make It Healthier

Love Restaurant-Crispy Chicken Skin — The Drying Technique That Changes Everything but want a lighter version? Try these simple swaps:

  • ✓Most of the fat in chicken skin is unsaturated — it's less unhealthy than its reputation suggests, especially on a dry-roasted skin
  • ✓Remove skin before eating to dramatically reduce calorie and fat content while still benefiting from the moisture the skin protected during cooking
  • ✓Chicken breasts can use this technique too — the skin-on, bone-in breast holds moisture far better than a skinless breast and produces the same crispy surface
  • ✓The rendered fat that drips into the sheet pan is excellent for sauteing vegetables — don't discard it

Frequently Asked Questions

What does baking powder actually do to chicken skin?

Baking powder is alkaline (basic pH). Maillard browning happens faster in alkaline environments. By raising the pH of the chicken skin's surface, baking powder allows browning to begin at lower temperatures and with less surface drying, producing a more even, deeper color and crunch. The amount used is tiny — 1/2 tsp for 4 pieces — so there's no taste impact. More than about 1 tsp per pound would produce a soapy or metallic taste.

Why uncovered in the fridge? Won't the chicken pick up fridge odors?

The uncovered rest is essential — it's the air-drying phase. A wrapped or covered chicken creates a humid microenvironment that prevents surface drying. Yes, the chicken is exposed to fridge air, but it's seasoned and salt-brined, not raw. The smell concern is valid for strongly odored refrigerators — keep it away from fish and open containers. A second rimmed pan underneath creates a barrier to airflow from lower shelves.

Can I skip the overnight rest and just cook it immediately?

You'll get better results than unseasoned chicken, but not the full technique payoff. The overnight air-dry is responsible for roughly 60% of the crispy skin improvement. If you're cooking same-day, at minimum: dry thoroughly, season with the salt-baking-powder mixture, and let it sit uncovered on a rack for 1–2 hours at room temperature before roasting.

My skin looks crispy in the oven but softens when I rest the chicken. What's going wrong?

Two common causes: the chicken is being rested skin-side down (don't do this — steam from the hot meat softens the skin from underneath), or it's being covered with foil to rest (never cover chicken meant to have crispy skin). Rest skin-side up, uncovered, on the wire rack, for 5–10 minutes.

Love this recipe? Share it!

Free PDF: our 12 most-wanted copycat recipes — instant download.

Made it? Buy us a coffee

Every recipe here is free, with no paywalls. If this one was a hit at your table, a small tip keeps new copycats coming.

$

Ratings & Reviews

—
No ratings yet

Rate this recipe

Click a star to rate

Leave a Review

0/500

CS

Copycat Spices Editorial

Researched + fact-checked. Every recipe on Copycat Spices is built from published sources — official ingredient lists, brand-published recipes, interviews and food-science references — and fact-checked before it goes live, then written as clear, step-by-step instructions for home cooks of all skill levels.

Learn more about our mission →