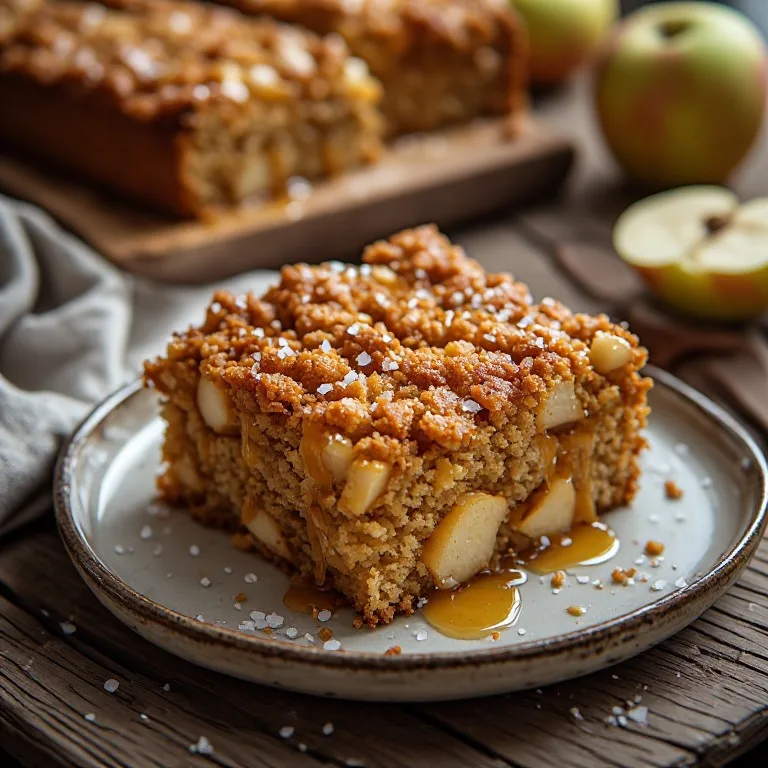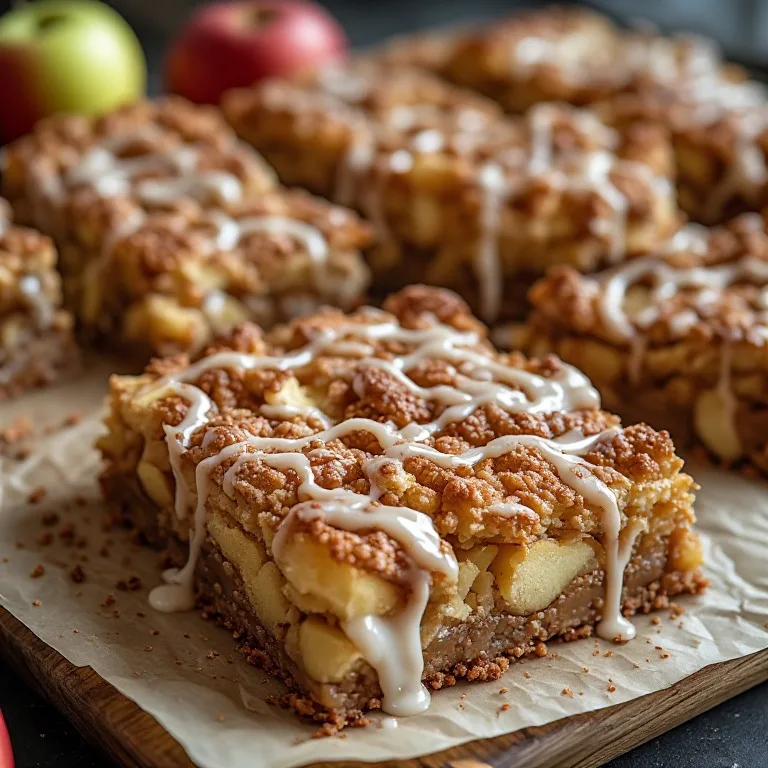
Baked apple fritter bars are what happens when TikTok’s fall baking obsession collides with the problem everyone has with apple fritters: you want the glazed, cinnamon-apple, craggy-exterior donut flavor, but heating two inches of oil at seven in the morning is not happening. The bars solve this by reproducing the specific textures and flavor of a glazed apple fritter — the crunchy, irregular outer crust; the tender, dense interior; the pools of vanilla glaze in the crevices — in a baked 8×8-inch slab that takes 35 minutes and produces 16 squares.
The reason most baked versions fall short comes down to three overlooked details: the apples go in raw (wrong — they make the batter gummy), the oven temperature is set too high (wrong — the brown sugar batter overbrowns before the center sets), and the glaze is applied at the wrong time (wrong — it either soaks in and disappears or sits rigid on top). Get those three right and the result is genuinely close to the real thing.
Why you have to sauté the apples first
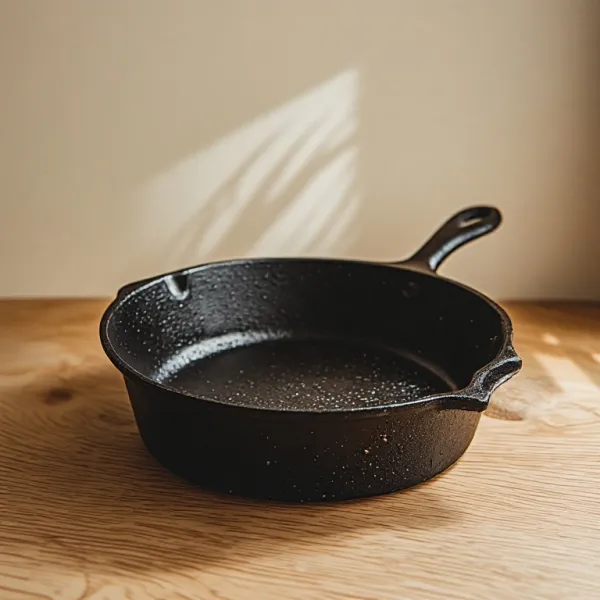
This is the step that home bakers skip and it’s why most baked apple fritter recipes produce gummy, wet pockets in the batter. Raw apple chunks release a significant amount of steam and moisture as their cell walls break down under heat. That moisture saturates the batter directly surrounding each piece — the batter there never fully sets, leaving rubbery, raw-tasting rings around each apple. Three to four minutes in a hot skillet with butter, brown sugar, and cinnamon drives off the excess moisture before the apples go in, and the brief caramelization creates a slightly firmer exterior on each piece that holds up through the full 35-minute bake.
The timing is specific: you want the edges of the apple chunks to turn just barely translucent, but the centers to still feel firm when pressed. Over-sautéed apples turn to applesauce and lose their shape in the finished bars. Under-sautéed apples are still gummy. The three-to-four-minute window, over medium heat, produces pieces that finish perfectly when the batter around them also finishes. Pull them when the edges go translucent and spread them on a plate to cool — they carry over quickly from the residual pan heat.
The temperature: 325°F is not interchangeable with 350°F
Brown sugar-based batters brown faster than white sugar batters because of the molasses content. At 350°F — the temperature most bar cookie recipes use — the top surface of these bars will be golden and done before the dense, egg-rich interior has set. You get a browned crust over a gooey, underbaked center. At 325°F the heat moves through the batter slowly and evenly; the surface reaches a deep golden color at the same time the center finishes setting. The bars take about 5–8 minutes longer, but the result is a fully-set, moist interior under a properly-browned top.
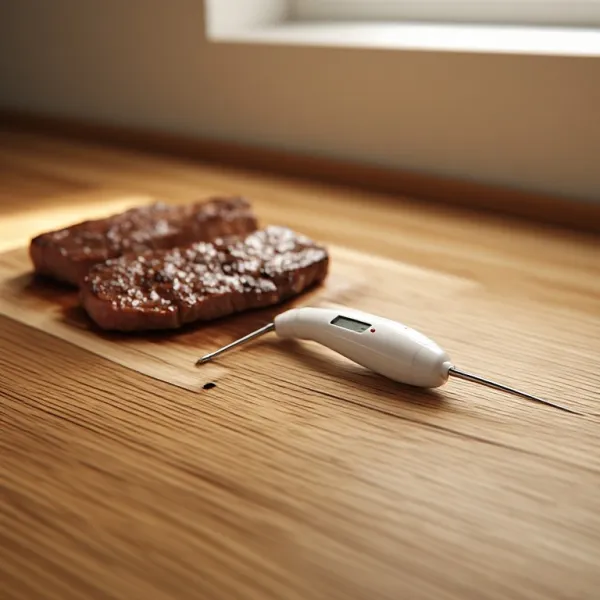
Use an oven thermometer if you bake frequently; most home ovens run 15–25°F hot or cool. A 325°F setting on an oven that actually runs 345°F gives you essentially the same problem as setting it to 350°F on a calibrated oven.
The dimple step and what it actually does
Before the pan goes in the oven, wet your fingertips and press them into the surface of the batter — deep, irregular dimples, every inch. This is what makes these bars look and partially taste like a fritter rather than a blondie.
During baking, the dimpled surface browns unevenly. The raised edges and ridges receive more direct heat and brown faster; the depressed valleys brown more slowly and stay slightly softer. The contrast between the slightly crispy ridges and the softer dimple valleys reproduces — imperfectly but recognizably — the craggy exterior of a real fried fritter where the crust blistered and browned in the hot oil. Without dimpling, the bar bakes up flat with no surface variation; it tastes correct but doesn’t read as a fritter.
The dimples also work as reservoirs for the glaze. On a flat surface, glaze runs off the sides and collects at the bottom edges. In the dimples, it pools — you get the opaque, thick deposits of glaze in the lows and a thinner film over the highs, which is visually identical to the glazed finish on a classic apple fritter or old-fashioned donut.
When to apply the glaze (and why timing matters)
The glaze window is 8–12 minutes after the bars come out of the oven. This is warm, not hot.
Too hot (immediately out of the oven): the glaze liquefies completely on contact with the hot bars, soaks into the crumb, and disappears. The top looks bare and the glaze flavor is present but there is no visible glazed finish.
Too cold (bars fully cooled to room temperature): the glaze stays where you pour it in a thick, rigid layer that doesn’t pool in the dimples and doesn’t crinkle as it sets. It looks like you poured frosting on top of a bar, which is different from a glazed fritter look.
At 10 minutes: the bars are warm enough that the glaze thins slightly on contact and flows into the dimples, but not so hot that it soaks through. As the glaze cools over the next 20 minutes, the surface crinkles slightly — the semi-set glaze contracts as it firms up — and you get the slightly uneven, crinkled glaze surface of a real glazed apple fritter. This is the finish that photographs well on TikTok and that people are trying to reproduce.
How to cut cleanly through the glaze
Wait until the glaze is fully set — matte and firm to a light press, not tacky. Use the parchment overhang to lift the entire slab out of the pan onto a cutting board. Wipe your knife blade clean and dry between each cut; the glaze will stick and drag if the blade is coated with residue from the previous cut. A straight up-and-down cut (not dragging) keeps the glaze from cracking. If the glaze shatters rather than cutting cleanly, it was applied too thick — thin the glaze further next time (add milk ½ teaspoon at a time until it runs like heavy cream before pouring).
The apple cider donuts connection
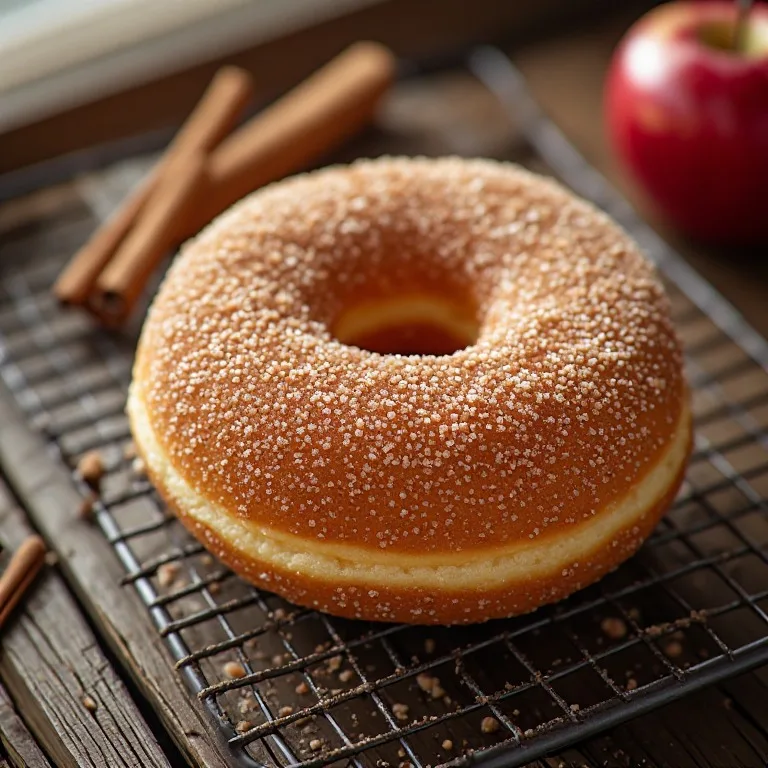
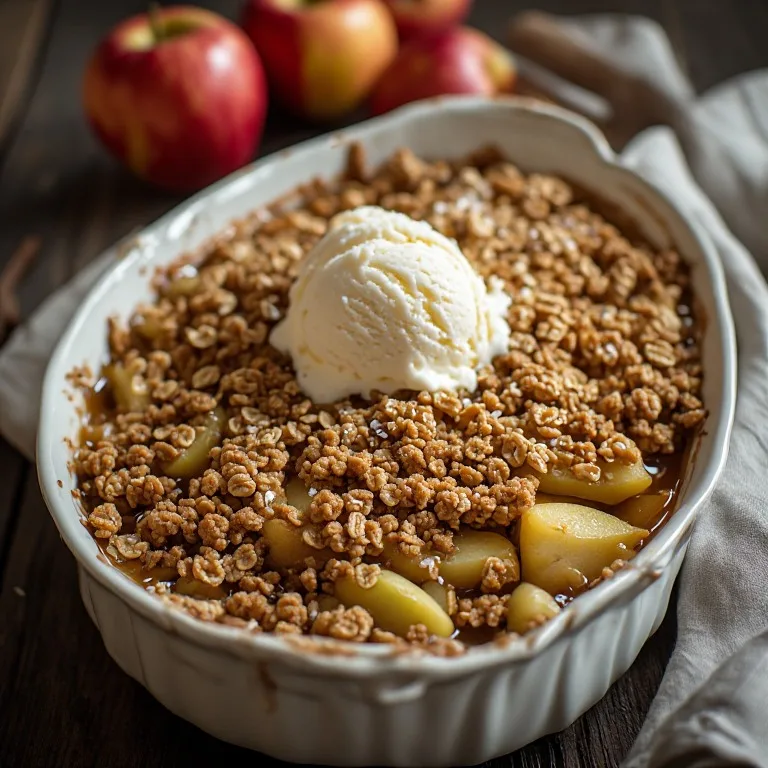
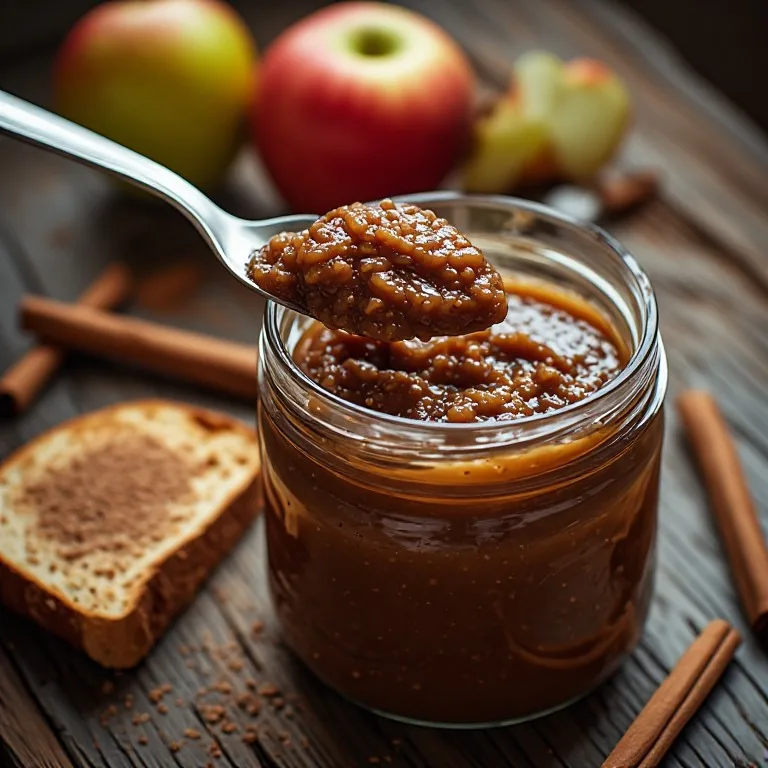
If you like these bars, the baked apple cider donut uses a similar technique — apple flavor concentrated by reduction rather than chunks, but the same low-and-slow bake and glaze-on-warm principle applies. The apple crisp and the bars exist at opposite ends of the fall baking spectrum: brown butter apple crisp is all about the topping-to-filling ratio and the clean cornstarch-thickened sauce; the apple fritter bars are about producing a fully-set, portable, glazed square with all the apple and cinnamon flavor of a fritter in the bar format. Both have the same fix for the most common failure mode — excess moisture from improperly prepped apples — just approached from different angles. If you’re working through fall baking this week, the crockpot apple butter from the same apple cluster is zero active work and makes a good glaze addition (substitute 2 tablespoons of apple butter for 1 tablespoon of the milk in the glaze).