Pin It

Viral TikTok Brown Butter Apple Crisp (No Gummy Filling, Crispy Topping Every Time)

Viral TikTok Brown Butter Apple Crisp (No Gummy Filling, Crispy Topping Every Time)
Jump to Recipe
Prep 20 min Cook 40–45 min Serves 8
Quick answer: Brown 6 tablespoons unsalted butter in a light-colored pan over medium heat until nutty and amber — watch for the color change, then immediately pour into a bowl and cool 10 minutes. Peel and slice 3 lbs of apples (about 6–7 medium; best combo is Granny Smith and Honeycrisp in roughly equal parts) into ¼-inch slices. Toss the apples with 3 tablespoons brown sugar, 2 tablespoons cornstarch, 1½ teaspoons cinnamon, ¼ teaspoon cardamom, 1 tablespoon lemon juice, 1 teaspoon vanilla extract, and ¼ teaspoon salt. Pour into a greased 9×13-inch or equivalent 2-quart baking dish. For the topping: combine the cooled brown butter with 1 cup old-fashioned rolled oats, ¾ cup all-purpose flour, ½ cup packed brown sugar, ½ teaspoon cinnamon, and ½ teaspoon salt. Mix until the mixture holds together in clumps when pressed. Distribute the topping evenly over the apples — go for uneven chunks, not a smooth layer (the irregular surface gives you more crisp surface area). Bake at 375°F for 40–45 minutes until the topping is deep golden brown and the filling is visibly bubbling around the edges. Rest 10 minutes before serving. Finish with flaky sea salt over the topping, a scoop of vanilla ice cream per serving, and optionally a drizzle of salted caramel.

Shop the tools

Gear matched to this recipe. These are Amazon affiliate links — we may earn a small commission if you buy, at no extra cost to you.

As an Amazon Associate, Copycat Spices earns from qualifying purchases. Product images are generic illustrations, not the exact item listed.

Viral TikTok Brown Butter Apple Crisp (No Gummy Filling, Crispy Topping Every Time)

The brown butter apple crisp taking over TikTok's #FallBaking — rolled oats and flour topping built on nutty browned butter instead of plain melted, a cornstarch-thickened filling that sauces clean instead of going gummy, and a Granny Smith + Honeycrisp apple split that holds structure without turning to mush. Why brown butter makes the difference, the one temperature mistake that ruins the topping, and the three-ingredient reveal shot everyone is recreating.

Easy Prep: 20 min Cook: 40–45 min Total: 1h 5m8 servings ~$4.50/serving
Prep20 min
Cook40–45 min
Total1h 5m
Servings
8
At home~$4.50/serving
vs
Restaurant~$20.25/serving
You save ~78%

The Story Behind the Recipe

The brown butter apple crisp taking over TikTok's #FallBaking — rolled oats and flour topping built on nutty browned butter instead of plain melted, a cornstarch-thickened filling that sauces clean instead of going gummy, and a Granny Smith + Honeycrisp apple split that holds structure without turning to mush. Why brown butter makes the difference, the one temperature mistake that ruins the topping, and the three-ingredient reveal shot everyone is recreating.

Nutrition Facts

Per serving (8 servings)
Calories385
Total Fat14g
Total Carbs62g
Dietary Fiber4g
Sugars38g
Protein4g
Sodium220mg

* Estimated values based on standard recipe preparation. Actual values may vary.

Ingredients

  • For the apple filling
  • For the brown butter oat topping
  • To finish

Instructions

💡
Pro tip: This recipe tastes even better the next day. The flavors need time to meld together in the fridge.
❄️
Storage: Keeps in an airtight container in the fridge for up to 2 weeks. Freezer-friendly for up to 3 months.
🎃 Free Halloween cookbook — download now The Copycat Halloween Cookbook A ready-made, photo-illustrated PDF of our best halloween copycat recipes — free to download, no building required. Pay what you want to support if you love it.

Free PDF — instant download. We'll also send new seasonal copycat recipes now and then; unsubscribe anytime. Or just download it →

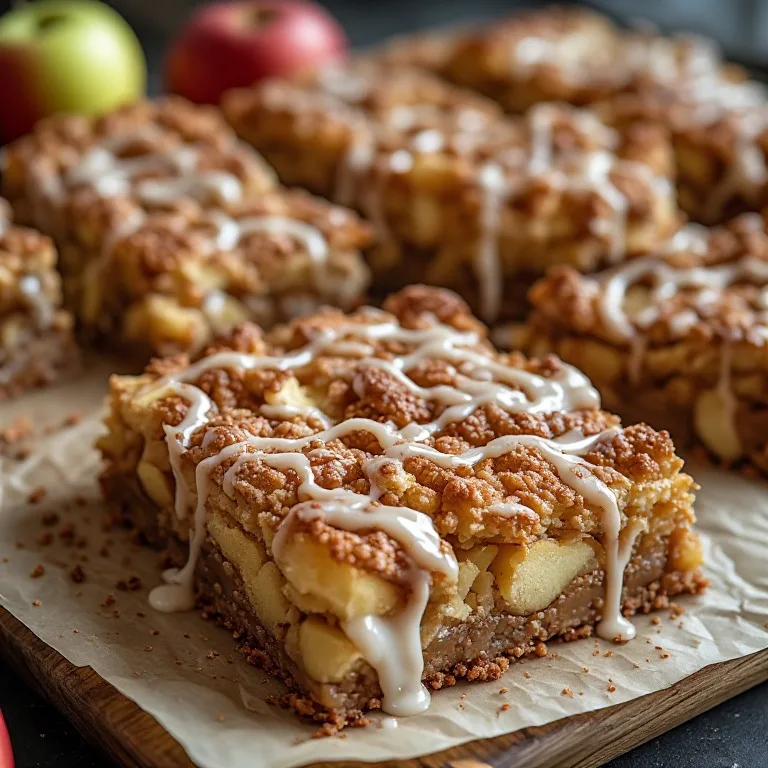
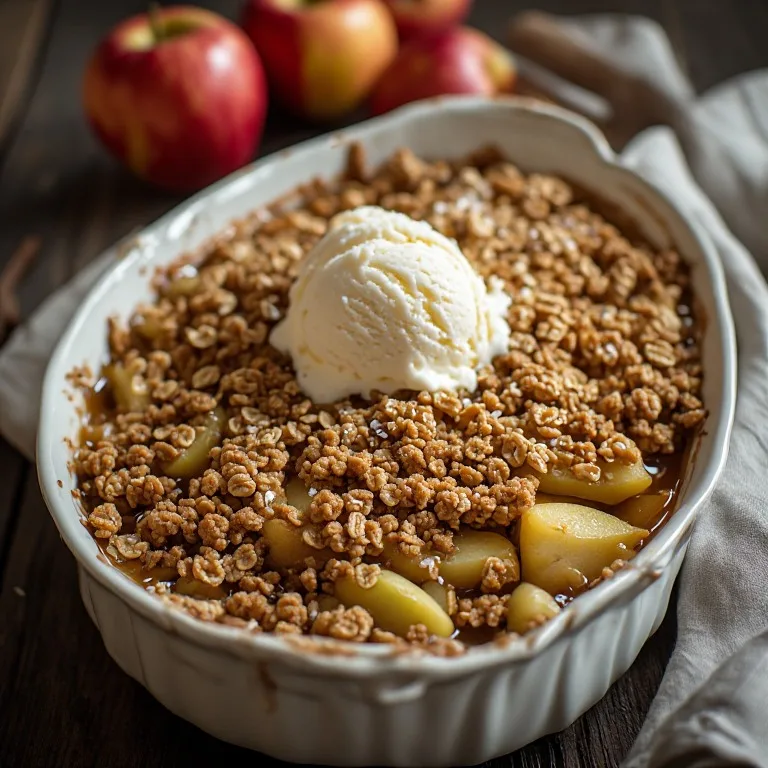
Brown butter apple crisp is where fall TikTok lands every September, and the reason it keeps resurfacing isn’t novelty — it’s the brown butter swap. A standard apple crisp is a fine thing. Swap the melted butter in the topping for brown butter and it becomes something that smells like a caramel shop when it’s baking, produces a topping that tastes like it was seasoned with something extra, and makes the ice cream moment look genuinely dramatic when the cream melts into the warm nutty oat crust. That, plus the three-ingredient finish (crisp, vanilla ice cream, flaky salt, sometimes a caramel thread), is what makes the reveal shot work on camera and at the table.

Why brown butter changes the topping

Regular melted butter in a crisp topping tastes like butter — which is good but one-dimensional. Browning the butter does something specific: it drives off the water (butter is about 16–17% water by weight) and caramelizes the milk proteins into hundreds of new flavor compounds, including those responsible for the nutty, toasty, hazelnut-adjacent flavors. The result in the topping is a sandy, slightly more cohesive mixture that bakes into clumps with genuine depth — the flavor suggests caramel even though there’s no caramel in it. The contrast with a tart Granny Smith filling is why this version photographs and tastes the way it does.

The technique is less fragile than it sounds. You need a light-colored pan so you can see the color change (milk solids going from golden to amber), you need to watch the last 90 seconds carefully, and you need to pour it out of the hot pan immediately so residual heat doesn’t push it to burnt. Past that, it’s three minutes of active work. The brown butter technique page covers all the failure modes in detail if this is your first time.

The cornstarch-versus-flour question for the filling

Most traditional apple crisp recipes thicken the filling with flour. Flour works, but it produces an opaque, slightly pasty sauce that coats the apples in a film that reads as “floury” in texture. Cornstarch produces a clear, glossy sauce that looks like a loose caramel — the apple slices sit in a translucent liquid that you can see through rather than under. The texture is cleaner and the apple flavor comes through more purely because the thickening agent is less present.

The ratio matters: 2 tablespoons of cornstarch for 3 lbs of apples is enough to thicken the released juices without making the filling stiff or pasty. The one thing to know: cornstarch doesn’t activate until it reaches approximately 150°F, which is why the filling needs to visibly bubble before the crisp comes out. Bubbling = activated cornstarch = sauce that will set properly as it rests. A crisp pulled before the filling bubbles will have a watery, slightly starchy quality that the cornstarch never resolved.

The apple split and why it matters

Apples are not interchangeable in baking. The relevant variables are sugar content (affects sweetness of the finished filling), acid level (affects brightness and counterbalance to the brown sugar), and pectin content (affects how much the apple holds its shape versus disintegrates). Granny Smiths are high-acid, lower-sugar, firm, and high-pectin — they hold their shape through 45 minutes of oven heat and stay recognizably apple-slice in the finished dish. Honeycrisps are aromatic, sweeter, medium-firm, and slightly lower-pectin — they soften more during baking, contributing to the saucy, fragrant quality of the filling.

Together, the Granny Smiths provide structure and tartness; the Honeycrisps provide sweetness and aroma. The filling tastes more complex than either apple alone. If you can only get one: Granny Smith is the better single choice (add 1 tablespoon more brown sugar to compensate for the tartness), and any variety is better than the mealy, watery result from Red Delicious.

The one temperature detail that separates crispy from chewy

375°F, not 350°F. At 350°F, the moisture released from the apples has more time to steam up through the topping before the surface sets — the topping absorbs the steam and goes chewy rather than crisping. At 375°F, the topping surface browns and sets faster, trapping the steam below the sealed surface while the top layer crisps. The difference is real: a side-by-side bake produces a noticeably crunchier topping at 375°F. The trade-off is that you need to watch the last 10 minutes more carefully because golden turns to overdone faster at higher heat — but a visual check (topping is deep amber, filling bubbles at the edge) is all you need.

The three-ingredient finish

The brown butter topping carries enough complexity that the crisp is complete without anything else. But the TikTok version always ends in the same shot: a scoop of cold vanilla ice cream placed directly on the warm crisp so it starts melting on contact, the brown-butter oat clumps visible through the cream, and a pinch of flaky salt scattered over everything. The salt isn’t decorative — it punctuates the sweetness and makes the caramel-nutty flavor of the brown butter land harder. Maldon or any large-flake salt works; fine table salt doesn’t give you the intermittent textural hit that flaky salt does.

The caramel drizzle (if you’re doing it) goes on at this stage too — not baked in, but threaded over the ice cream and topping right before the photo. It’s entirely optional, but if you’re shooting this and want the reveal to read clearly, the caramel thread gives the composition a visual anchor.

Three ways to change it up

Salted caramel apple crisp. Toss 3 tablespoons of salted caramel sauce into the apple filling at the seasoning step, before it goes in the dish. The caramel deepens the filling into butterscotch territory, distinct from the plain brown-sugar baseline, and its salt note echoes the flaky salt on the topping. Drizzle more over each serving. Store-bought caramel is genuinely fine here.

Apple pear crisp. Swap 1 lb of the apple for 1 lb of ripe-but-firm Bosc or Anjou pears, sliced to the same ¼-inch thickness. Pears go softer than apples and bring a floral, honey-like sweetness, so the finished filling has real textural contrast between the firm Granny Smith pieces and the melting pear. Add ⅛ teaspoon ground ginger to the spice mix. Bake time is unchanged.

Single-serve ramekins — the TikTok serving format. Divide everything among four 6-oz ramekins, filling each about two-thirds with seasoned apples and topping with the brown-butter oats. Bake at 375°F for 25–30 minutes, until the topping is golden and the filling bubbles (start checking at 25). One ramekin per plate, ice cream scooped straight in, is the shot that carries this recipe on camera — the cream melting over the topping in a small contained dish reads far more dramatically than a scoop out of a big pan. The same brown-butter banana bread trick works if you want a loaf to go with the leftovers.

Make-ahead and storage

Apple crisp is one of the easiest baked desserts to make ahead. Assemble the entire raw crisp — seasoned apples in the dish, topping distributed over them — cover tightly with plastic wrap and refrigerate for up to 24 hours. Pull it from the fridge 30 minutes before baking; bake as directed but add 10–12 minutes to the bake time to compensate for the cold start. Alternatively, bake it fully, cool completely, and refrigerate for up to 3 days. Reheat at 350°F for 20 minutes uncovered — the topping will re-crisp adequately, though not to its original just-baked state. The filling actually deepens and improves overnight, which is the genuinely pleasant surprise about day-two apple crisp.

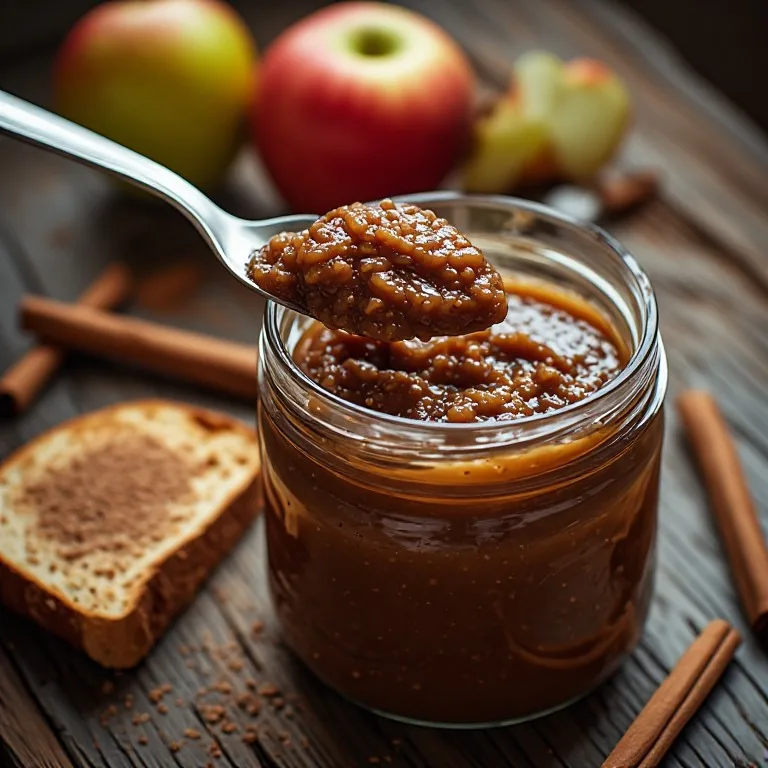
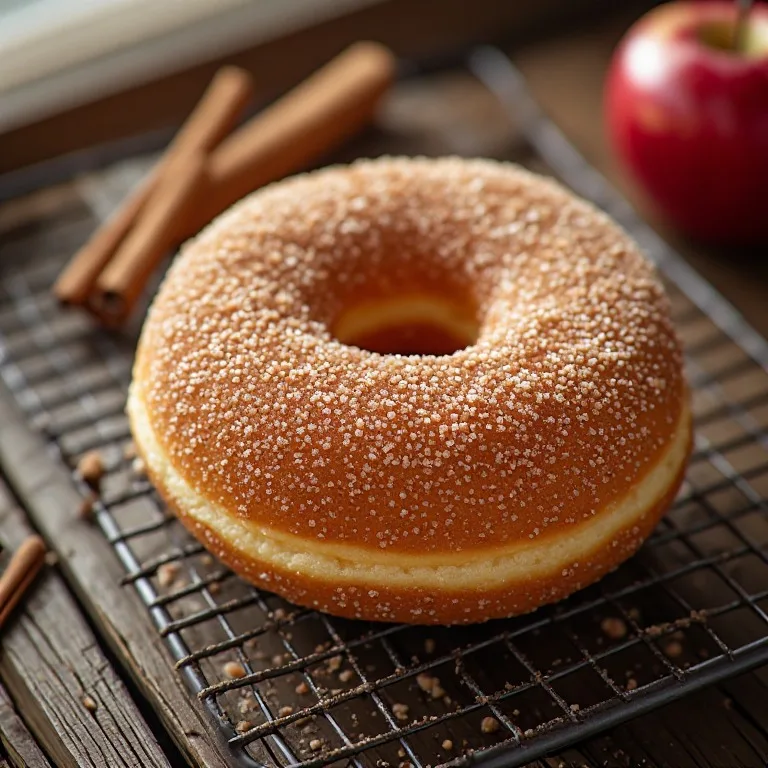
Looking for more apple-season recipes? The crockpot apple butter converts an overload of fall apples into a spiced spread with zero active work, and the apple cider donuts are the other September food TikTok returns to every year.
🥗

Make It Healthier

Love Viral TikTok Brown Butter Apple Crisp (No Gummy Filling, Crispy Topping Every Time) but want a lighter version? Try these simple swaps:

  • ✓Replace half the all-purpose flour in the topping with whole wheat flour — the nuttiness pairs naturally with the brown butter and you get a modest fiber bump without changing the crisp texture.
  • ✓Reduce the brown sugar in the topping to ⅓ cup (from ½ cup) if your Honeycrisp apples are very ripe and sweet — the filling will already be contributing significant sugar and the topping doesn't need to compete.
  • ✓The vanilla ice cream is the biggest calorie add-on (~200 calories per ½-cup scoop). A dollop of plain Greek yogurt provides a similar cold/creamy contrast with dramatically less fat and sugar, and the tang against the sweet apple filling is genuinely good.
  • ✓Skip the caramel drizzle entirely — the brown butter in the topping already provides caramel-adjacent flavor notes, so the drizzle is purely aesthetic for the photo.

Frequently Asked Questions

Why brown butter instead of regular melted butter or cold butter?

Three reasons. Flavor: browning removes water and transforms the milk proteins into hundreds of flavor compounds, including nutty, caramel, and toasty notes that plain melted butter does not have. Standard melted butter tastes buttery but neutral in the topping; brown butter tastes like it has been seasoned with something extra. Texture: brown butter produces a sandier, more cohesive topping compared to melted butter (which can go greasy) or cold cut-in butter (which makes the topping flakier, more pie-like). The brown butter topping clumps in a way that gives you irregular crisp-chewy texture throughout. The TikTok appeal: the browning step is visible, aromatic, and slightly theatrical — the transformation from foam to nutty amber reads well on camera and makes the recipe feel like a technique rather than just a dump-and-bake.

My topping is soft and chewy instead of crispy. What went wrong?

One of three things: (1) The brown butter was too hot when you mixed it with the oats and flour, which caused the sugar to partially dissolve and the mixture to compact — cool the butter to room temperature before mixing. (2) The topping layer is too thick in spots, which means the bottom stays soft and steamed while only the top surface crisps. Spread it to a relatively even 1/2-inch depth, leaving some irregular texture but not thick mounds. (3) The oven temperature is too low — at 350°F the topping bakes more slowly and can steam rather than crisp. Use 375°F specifically. The crisp will also soften after 20–30 minutes out of the oven as the steam from the warm filling rises through the topping; this is normal and unavoidable. Serve within that window.

Can I make this ahead?

Yes, with one trade-off. Make the entire crisp up to 24 hours ahead: assemble it unbaked, cover and refrigerate. Remove from the fridge 30 minutes before baking to take the chill off the dish. Bake from cold will require an extra 10–15 minutes. Alternatively, bake it fully, cool completely, and refrigerate — reheat at 350°F for 20 minutes uncovered to re-crisp the topping. The reheated version is about 85% as crispy as fresh, which is still excellent. Do not assemble the raw crisp more than 24 hours ahead — the apples will macerate in the sugar, release too much liquid, and the cornstarch will start activating, giving you a gummy, wet filling.

Which apples really matter — can I use just what I have?

Yes, with adjustments. A single apple: Granny Smith alone gives a tart, firm filling that holds up well but needs a bit more sugar in the filling (add 1 extra tablespoon brown sugar). Honeycrisp alone is sweet and aromatic but goes softer — it produces a saucier, more jam-like filling that's delicious but less textured. Braeburn, Jonagold, or Pink Lady are all good single-variety choices that fall between tart and sweet. Avoid mealy apples (Red Delicious, McIntosh) — they have too much water and the wrong starch profile, producing a wet, applesauce-like filling rather than slices in a sauce. Also avoid Fuji for the filling (fine raw, but doesn't hold up to baking and goes sugary).

Can I use quick oats or steel-cut oats instead of rolled oats?

Not ideally. Quick oats hydrate rapidly and largely dissolve into the butter-flour mixture, leaving you with a dense crumble rather than a crisp with distinct oat pieces. The texture difference is significant. Steel-cut oats go to the opposite extreme — they don't hydrate enough in 40 minutes of baking and stay hard and raw in the center of thick pieces. Old-fashioned rolled oats (also labeled 'regular oats') are specifically the right thickness — they hydrate enough to soften at the edges while keeping their shape and giving the topping its characteristic chew-and-crisp texture. If you only have quick oats, use ¾ cup quick oats plus an extra 2 tablespoons flour to compensate for the lost texture — the result is closer to a crumble than a crisp, but still good.

The filling is still watery/liquid in the center even though the topping is done. Is it undercooked?

Check whether the filling is bubbling at the edges. Active bubbling means the filling has reached temperature and the cornstarch is activated — the center may look liquid but is actually thickening. Let the crisp rest 10–15 minutes after baking; the cornstarch continues to set as the dish cools slightly. A crisp that bubbles at the edges, rests properly, and still has a loose center usually means the apples released more juice than expected (very ripe fruit, more Honeycrisp than Granny Smith) — the filling will still taste right, just saucier. If the filling is truly raw-tasting (starchy, not cooked through) and the apples are still firm, your dish was too cold going in or bake time was too short.

Love this recipe? Share it!

Free PDF: our 12 most-wanted copycat recipes — instant download.

Made it? Buy us a coffee

Every recipe here is free, with no paywalls. If this one was a hit at your table, a small tip keeps new copycats coming.

$

Ratings & Reviews

—
No ratings yet

Rate this recipe

Click a star to rate

Leave a Review

0/500

CS

Copycat Spices Editorial

Researched + fact-checked. Every recipe on Copycat Spices is built from published sources — official ingredient lists, brand-published recipes, interviews and food-science references — and fact-checked before it goes live, then written as clear, step-by-step instructions for home cooks of all skill levels.

Learn more about our mission →