Pin It

Viral TikTok Ground Beef Bulgogi (10-Minute Korean Rice Bowl)

Viral TikTok Ground Beef Bulgogi (10-Minute Korean Rice Bowl)
Jump to Recipe
Prep 5 min Cook 10 min Serves 3
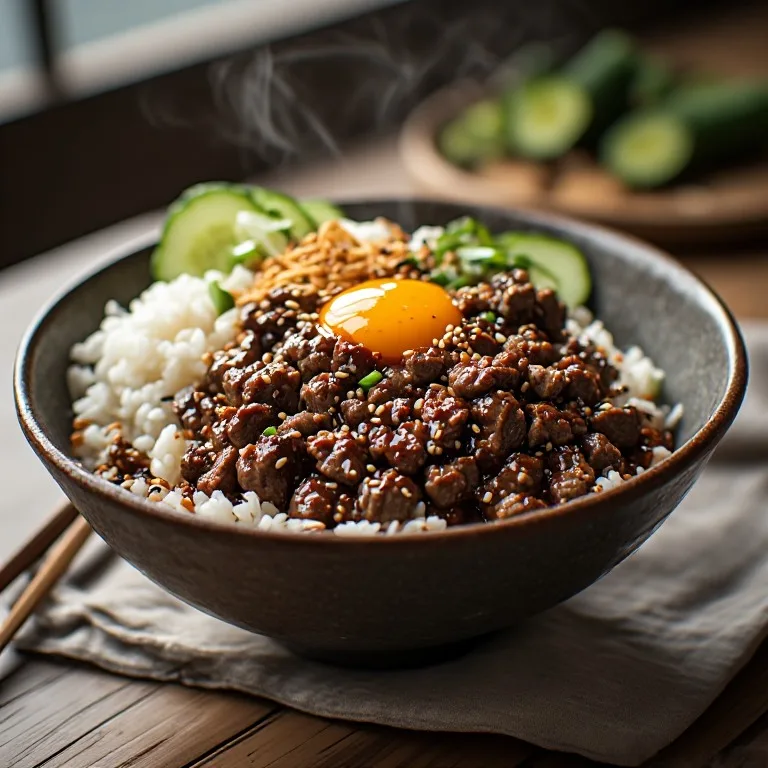
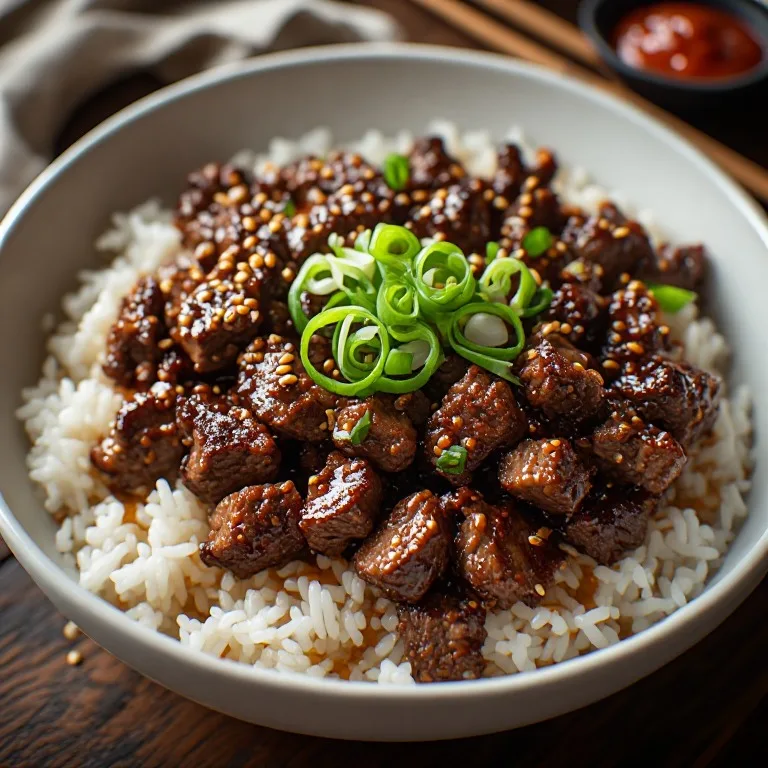
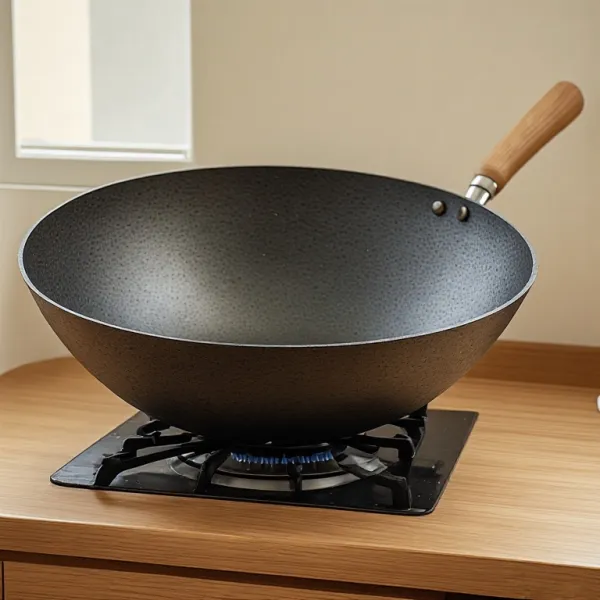
Quick answer: Whisk together the sauce: 3 tablespoons soy sauce, 1½ tablespoons brown sugar, 1 tablespoon toasted sesame oil, 5 cloves garlic (minced or grated), 1 teaspoon finely grated fresh ginger, 2 tablespoons grated ripe Asian pear or regular pear (about ¼ pear — or sub 1 tablespoon pear juice), 1 tablespoon gochujang (or ½ teaspoon red pepper flakes for milder heat), and 2 teaspoons vegetable oil. Set aside. Heat a large heavy skillet or wok over high heat until it just starts to smoke. Add a thin film of vegetable oil. Add 1 pound 80/20 ground beef and press it flat into a single layer with a spatula. Let it sear undisturbed for 2 minutes until the bottom is deeply browned. Break up the beef into coarse crumbles, pour the sauce over the top, and toss to coat. Cook 3–4 more minutes, tossing occasionally, until the sauce is mostly absorbed and you see caramelized, glossy edges on the beef. Serve immediately over hot steamed white rice, topped with 4 thinly sliced scallions, 1 tablespoon toasted sesame seeds, a drizzle of extra sesame oil, and optional gochujang on the side.

Viral TikTok Ground Beef Bulgogi (10-Minute Korean Rice Bowl)

The TikTok hack that makes Korean bulgogi a real weeknight dinner — ground beef stands in for sliced ribeye, the sauce doubles as the marinade, and the whole thing is on the table in under 15 minutes with all the sweet-savory-sesame flavor of the original.

Easy Prep: 5 min Cook: 10 min Total: 15 min3 servings ~$4.50/serving
Prep5 min
Cook10 min
Total15 min
Servings
3
At home~$4.50/serving
vs
Restaurant~$20.25/serving
You save ~78%

The Story Behind the Recipe

The TikTok hack that makes Korean bulgogi a real weeknight dinner — ground beef stands in for sliced ribeye, the sauce doubles as the marinade, and the whole thing is on the table in under 15 minutes with all the sweet-savory-sesame flavor of the original.

Nutrition Facts

Per serving (3 servings)
Calories520
Total Fat24g
Total Carbs42g
Dietary Fiber1g
Sugars9g
Protein28g
Sodium780mg

* Estimated values based on standard recipe preparation. Actual values may vary.

Ingredients

  • Ground beef bulgogi
  • Sauce
  • To serve

Instructions

💡
Pro tip: This recipe tastes even better the next day. The flavors need time to meld together in the fridge.
❄️
Storage: Keeps in an airtight container in the fridge for up to 2 weeks. Freezer-friendly for up to 3 months.
🎃 Free Halloween cookbook — download now The Copycat Halloween Cookbook A ready-made, photo-illustrated PDF of our best halloween copycat recipes — free to download, no building required. Pay what you want to support if you love it.

Free PDF — instant download. We'll also send new seasonal copycat recipes now and then; unsubscribe anytime. Or just download it →

Korean bulgogi has been on TikTok for years, but most of the videos show the traditional version — thinly shaved beef, a long marinade, a trip to a Korean grocery store for the right cut. All of that is worth doing. It’s also worth knowing there’s a version that requires none of it.

The ground beef bulgogi wave hit TikTok somewhere around 2023, when creators started showing that the same sweet-savory-sesame bulgogi sauce you’d build for a ribeye marinade works equally well — and a lot faster — when you simply cook it into ground beef over high heat. The TikTok comments on these videos run universally positive: people who made it for the first time reporting that it tastes far better than the effort level suggests, that they made it three times in the first week, that their kids demolished it.

There’s a reason: the sauce is genuinely great. Soy sauce, brown sugar, sesame oil, garlic, ginger, gochujang, and a small amount of grated Asian pear — it produces a flavor that is savory, sweet, aromatic, and slightly spicy, with a caramelized quality when it hits a very hot pan. That sauce will make an excellent bowl of anything. Ground beef just happens to be the fastest and cheapest vehicle for it.

This page covers the full recipe plus the two technique points that determine whether the result is mediocre or genuinely excellent: getting the pan hot enough to sear, and pulling the dish at the exact right moment before the sauce overcooks.

The Two Technique Points That Actually Matter

1. Get the pan genuinely hot before the beef goes in.

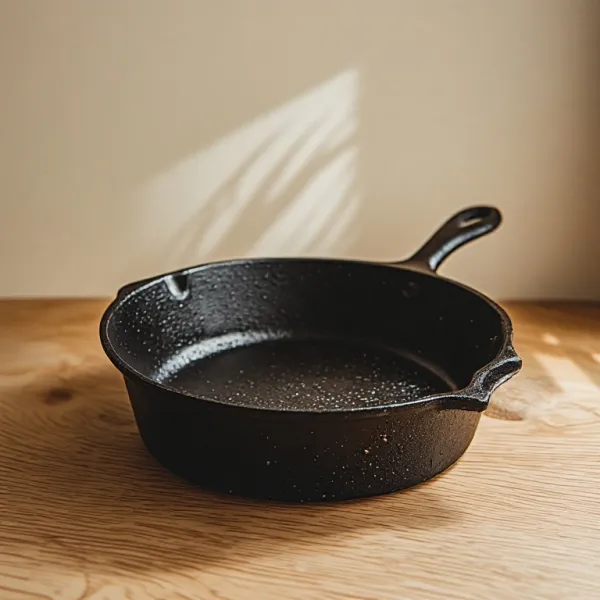
Most home stovetops don’t get as hot as a commercial range, which means you have to compensate by preheating longer and more aggressively than feels necessary. For this dish, set the pan over high heat and walk away for 90 seconds. When you come back, hover your hand 3 inches above the surface — it should feel like opening an oven. Add oil and watch it: it should shimmer immediately and, on cast iron or stainless steel, lightly smoke within 10–15 seconds. That’s your signal to add the beef.

Why does this matter? The deep brown crust on the underside of the beef in the first two minutes is the flavor foundation of the entire dish. Maillard browning — the reaction between amino acids and sugars that produces that roasted, complex flavor — only happens above 300°F, and it happens best at high heat on a dry surface. A lukewarm pan produces gray, steamed beef that never recovers even with good sauce. A screaming hot pan produces deep brown, intensely flavored crust.

2. Watch the sauce and pull at the right moment.

After you add the sauce and start tossing, you go through three stages:

  • Stage 1 (first 1–2 minutes): The sauce is wet and sizzling. The beef looks dark and glossy but the sauce is still liquid.
  • Stage 2 (minutes 2–3): The liquid evaporates. The sauce starts to concentrate. You’ll notice the sizzle changes from a high-pitched liquid boil to a lower, drier hiss.
  • Stage 3 (minute 3–4): The sauce is mostly absorbed. The edges of the beef touching the pan start to caramelize. The beef looks glossy and slightly sticky rather than wet.

Pull the pan off the heat immediately when you hit Stage 3. Brown sugar in the sauce will go from caramelized to burnt within 30 seconds past this point, and once it burns it turns bitter and you can’t fix it. Stage 3 is the sweet spot: intensely flavored, glossy, with slightly caramelized edges.

Why Asian Pear Is in the Sauce

Traditional bulgogi marinades include Asian pear for two reasons: natural sweetness and enzymes that tenderize meat. In a long marinade for sliced ribeye, both effects matter. In a 10-minute ground beef version, the tenderizing is less critical — but the pear pulp still contributes something the sauce wouldn’t have without it: a clean, mildly floral sweetness that’s distinct from the brown sugar and soy.

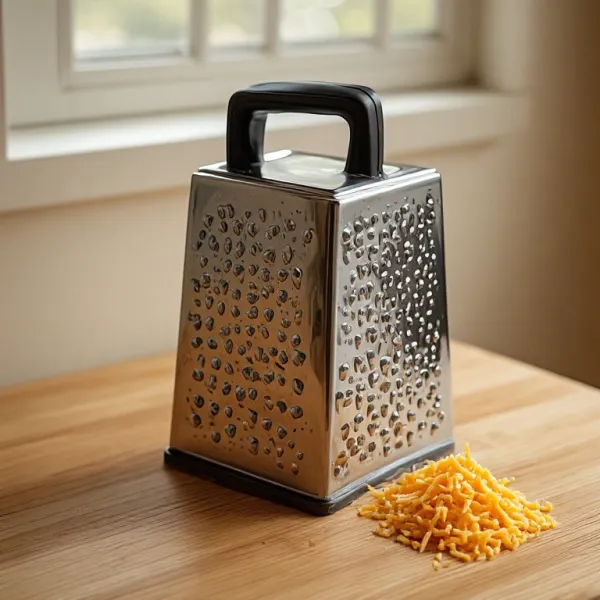
Asian pear tastes like a cross between a pear and an apple — less acidic and more neutral than a Western pear, very clean. Grated on a box grater and added to the sauce, it dissolves almost completely into the liquid. You don’t taste “pear.” You taste a sauce that’s slightly brighter and fresher than you’d expect.

Can you skip it? Yes. Add ½ teaspoon extra brown sugar and a small splash of rice vinegar in its place — the vinegar approximates the subtle tartness. The dish will still be very good. But if you have a pear in the house, use 2 tablespoons of it.

What to Serve It With

The most common TikTok format is a simple rice bowl: white rice, bulgogi on top, scallions, sesame seeds, and gochujang on the side. That’s genuinely the best version for a weeknight.

A few other routes worth trying:

Korean lettuce wraps (ssam): Serve the bulgogi with a bowl of rice, a plate of butter lettuce or perilla leaves, and small containers of gochujang and sliced scallions. Each person wraps a bit of rice and bulgogi in a leaf, adds condiments, and eats it in one bite. This is how bulgogi is often eaten in Korean restaurants.

Korean-ish tacos: Flour tortillas, a spoonful of bulgogi, pickled cucumbers (slice thinly, toss with rice vinegar and a pinch of salt), shredded cabbage, and gochujang mayo (1 tablespoon kewpie mayo + 1 teaspoon gochujang). Fusion, but genuinely good.

Sliders: Brioche slider buns, a thin smear of kewpie mayo, bulgogi, and a piece of quick-pickled daikon. For a party.

Grain bowl: Farro or quinoa instead of rice. The bulgogi’s strong flavor can handle a nuttier grain.

The Kimchi Question

Kimchi and bulgogi belong together. If you have kimchi in the fridge — store-bought is completely fine, and most large grocery stores carry it — serve it directly from the jar alongside the bowl. The fermented funk and acidity of kimchi cuts right through the sweetness of the bulgogi sauce and makes the combination significantly better than either component alone.

If you don’t have kimchi, quick-pickled cucumbers are the closest practical substitute: slice half an English cucumber paper-thin, toss with 1 tablespoon rice vinegar, 1 teaspoon sugar, and a pinch of salt, and let it sit for 10 minutes while the bulgogi cooks. The result — crunchy, acidic, slightly sweet — does the same flavor-contrast job.
🥗

Make It Healthier

Love Viral TikTok Ground Beef Bulgogi (10-Minute Korean Rice Bowl) but want a lighter version? Try these simple swaps:

  • ✓Use 93/7 lean ground beef to cut fat by roughly 10g per serving — you'll lose some of the richness but the sauce more than compensates. If using very lean beef, add an extra teaspoon of sesame oil to the sauce so the finished dish doesn't taste dry.
  • ✓Swap half the beef for finely chopped shiitake mushrooms (pulse in a food processor or chop by hand). The mushrooms add umami and texture while reducing the calorie count; most people can't tell the difference once everything is sauced.
  • ✓Serve over cauliflower rice instead of white rice to cut carbohydrates significantly — the bulgogi is saucy enough to work on a lighter base.
  • ✓Reduce the brown sugar to 1 tablespoon (instead of 1½) and add a teaspoon of rice vinegar to the sauce. You lose a small amount of sweetness but the flavor is still complex and slightly brighter.
  • ✓Load the bowl: shredded napa cabbage, julienned carrots, cucumber spears, and avocado slices all add volume and nutrition without meaningfully changing the calorie profile of the bulgogi itself.

Frequently Asked Questions

What is bulgogi and why does the ground beef version work?

Bulgogi (불고기) literally means 'fire meat' in Korean — it's one of the most iconic Korean dishes, traditionally made from thinly shaved ribeye or sirloin marinated for hours in a sweet-savory sauce of soy sauce, sugar, sesame oil, garlic, ginger, and Asian pear, then grilled or pan-cooked at high heat. The result is tender, intensely flavored, slightly caramelized beef. The TikTok ground beef version shortcuts two things: the thinly sliced beef (which requires a specialty butcher or very sharp knife and partially frozen meat) and the long marinating time. Ground beef works because it absorbs sauce instantly during cooking rather than needing to marinate, and its high surface area browns quickly and evenly. The result isn't identical to traditional bulgogi — the texture is coarser, more like a Korean taco meat — but the flavor profile is genuinely close, and you can make it on a random Tuesday with supermarket ground beef.

Why does the recipe use Asian pear? Can I skip it?

Asian pear is traditional in bulgogi marinades for two reasons: natural sweetness and the enzyme actinidin, which helps break down muscle proteins and tenderize meat. In a long marinade for sliced beef, both effects are significant. In this 10-minute ground beef version, the tenderizing enzyme matters less (ground beef is already tender), but the pear pulp contributes a clean, mildly sweet fruitiness that balances the soy sauce without tasting like fruit. You can absolutely skip it — the dish will still be very good. If you want to approximate the flavor, add ½ teaspoon of apple juice concentrate or an extra ½ teaspoon of brown sugar and a small splash of rice vinegar (the acidity mimics pear's tartness). Asian pear is available at most Asian grocery stores and increasingly at mainstream supermarkets.

What's the best ground beef fat percentage to use?

80/20 (80% lean, 20% fat) is the best choice for this recipe. The fat renders out during the high-heat sear and creates a flavorful liquid that mixes with the sauce to produce a glossy, rich coating on the beef. 85/15 works well too. 90/10 or leaner ground beef tends to be drier — the pan will look greasy but the beef itself can be a bit tight. If you only have very lean ground beef, add an extra teaspoon of sesame oil to the sauce to compensate for the missing fat. The small amount of rendered fat from 80/20 is important for the texture of the finished dish — it's what makes the sauce look glossy rather than dry.

My sauce is burning before the beef is done. What's going wrong?

Two likely causes: heat is too high after adding the sauce, or you're cooking past the caramelization window. After you add the sauce, keep the heat on high for the first minute, then reduce to medium-high. The sauce should sizzle actively but not smoke or blacken. Stirring every 45–60 seconds helps prevent any one spot from burning while another is still wet. Also: brown sugar burns faster than white sugar. If you find the dish is consistently burning, switch to white sugar or reduce the brown sugar by ½ tablespoon. The cooked sauce is done when it looks glossy and mostly absorbed — pull the pan off the heat immediately once you hit that stage.

Can I use this for meal prep?

Yes — this is one of the best weeknight meal-prep dishes. The cooked bulgogi refrigerates well for up to 4 days and reheats in a skillet over medium heat in 2–3 minutes with a splash of water to loosen the sauce. It also freezes well for up to 3 months: portion into zip-lock bags flat, squeeze out air, and freeze. Thaw overnight in the refrigerator. For meal prep bowls, store the bulgogi and rice separately in the fridge and combine just before eating so the rice doesn't get soggy from the sauce. The sauce itself can be made in a large batch and kept in the fridge for a week — double or triple it and you have weeknight dinner sauce ready to go at any time.

How do I serve this traditionally — what sides go with it?

In Korean cooking, bulgogi is often served as part of a banchan spread: several small side dishes eaten alongside the main. The most common pairings are kimchi (fermented spicy napa cabbage or radish), steamed white rice, a simple cucumber namul (thin-sliced cucumber tossed with rice vinegar, sesame oil, garlic, and a pinch of sugar), bean sprout namul, and a fried or soft-boiled egg on top of the rice bowl. For a simpler weeknight version, kimchi from a jar plus scallions and sesame seeds on the rice bowl is enough. For a lettuce wrap style (ssam), serve the bulgogi with butter lettuce leaves, a bit of rice, gochujang, and sliced scallions — wrap and eat. This is one of the most common ways it's served on TikTok.

Is this spicy? Can I adjust the heat?

As written with 1 tablespoon of gochujang, the heat level is mild to medium — noticeable warmth, not burning. Gochujang is a fermented chili paste that's sweeter and more complex than straight chili sauce, so even at 1 tablespoon it adds more flavor than heat. To increase heat: add a second tablespoon of gochujang, or add ½ teaspoon of gochugaru (Korean red pepper flakes — coarser and fruitier than regular red pepper flakes) to the sauce. To decrease heat: reduce gochujang to 1 teaspoon, or omit entirely and use ½ teaspoon of regular soy sauce instead. No heat at all: omit both gochujang and red pepper flakes. The dish is still delicious without any heat — it shifts from Korean-inspired to more neutral savory.

Can I use this for tacos, sliders, or lettuce wraps instead of a rice bowl?

Absolutely — this is one of the dish's advantages over traditional sliced bulgogi. The coarse, saucy ground beef works well in flour tortillas with quick-pickled cucumbers, shredded cabbage, and gochujang mayo (mix 1 tablespoon mayo with 1 teaspoon gochujang). In lettuce cups (butter or romaine) with rice, it becomes a Korean ssam-style wrap. On slider buns with a schmear of kewpie mayo and kimchi, it's a crowd-pleasing party dish. The high sauce content means the beef is forgiving in all these formats — it stays moist and flavorful even after sitting at room temperature for 20–30 minutes.

Love this recipe? Share it!

Free PDF: our 12 most-wanted copycat recipes — instant download.

Made it? Buy us a coffee

Every recipe here is free, with no paywalls. If this one was a hit at your table, a small tip keeps new copycats coming.

$

Ratings & Reviews

—
No ratings yet

Rate this recipe

Click a star to rate

Leave a Review

0/500

CS

Copycat Spices Editorial

Researched + fact-checked. Every recipe on Copycat Spices is built from published sources — official ingredient lists, brand-published recipes, interviews and food-science references — and fact-checked before it goes live, then written as clear, step-by-step instructions for home cooks of all skill levels.

Learn more about our mission →