Pin It

Viral TikTok Sticky Sesame Chicken — Better Than Takeout in 20 Minutes

Viral TikTok Sticky Sesame Chicken — Better Than Takeout in 20 Minutes
Jump to Recipe
Prep 10 min Cook 15 min Serves 4
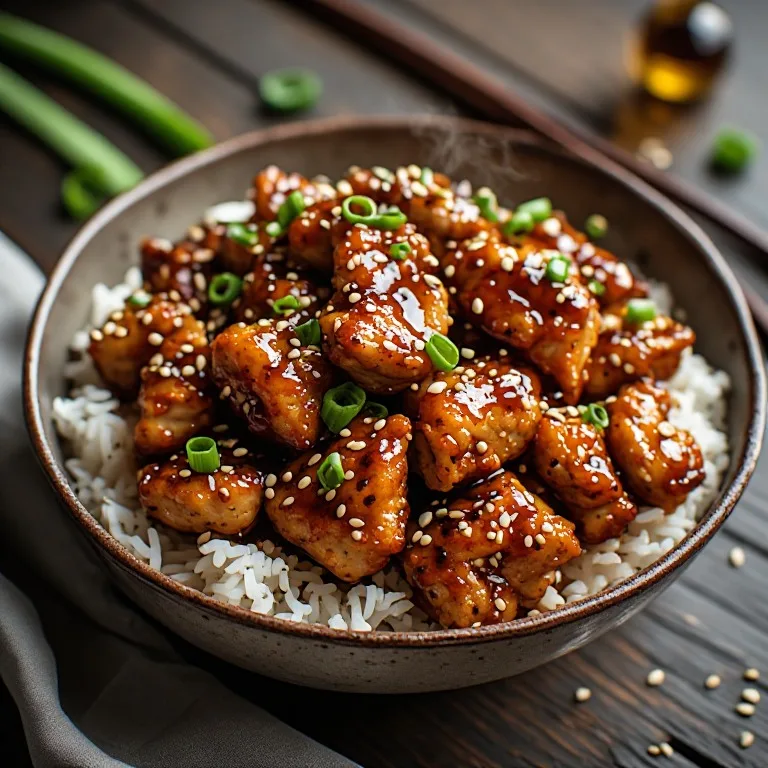
Quick answer: Cut 1.5 lbs boneless chicken thighs into 1.5-inch pieces, pat completely dry, then toss with 3 tablespoons cornstarch, ½ teaspoon garlic powder, ½ teaspoon salt, and a pinch of white pepper. Whisk your sauce: 3 tablespoons low-sodium soy sauce, 2 tablespoons honey, 1 tablespoon toasted sesame oil, 1 tablespoon rice vinegar, 2 minced garlic cloves, 1 teaspoon grated ginger, and 1 teaspoon gochujang (optional). Heat 2 tablespoons of neutral oil in a large skillet over high heat until shimmering. Cook the chicken in a single layer — do not crowd, cook in two batches — for 3 to 4 minutes per side until golden and cooked through. Return all chicken to the pan, remove from heat, pour the sauce over, toss to coat, then return to medium heat for 90 seconds until the sauce thickens and clings to every piece. Scatter toasted sesame seeds and sliced scallions over the top and serve over rice. The cornstarch coating is what creates the sticky-clingy surface the sauce grabs — skip it and the sauce slides off.

Shop the tools

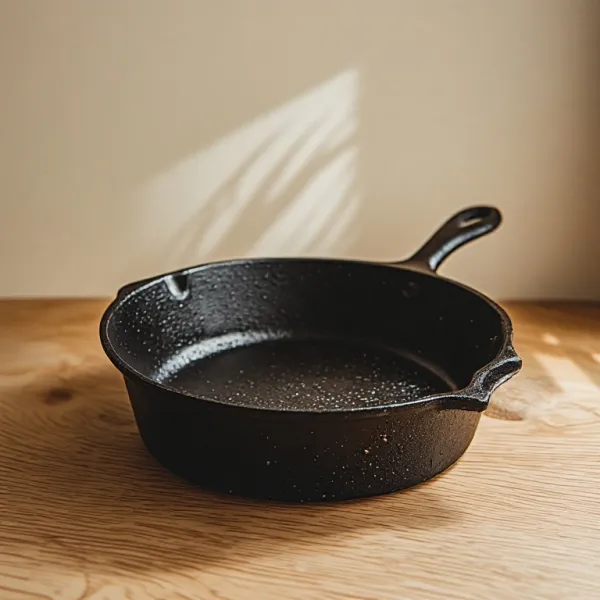
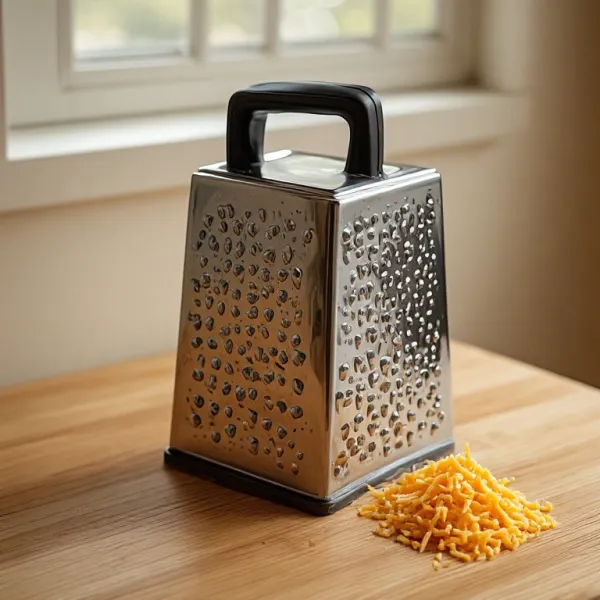
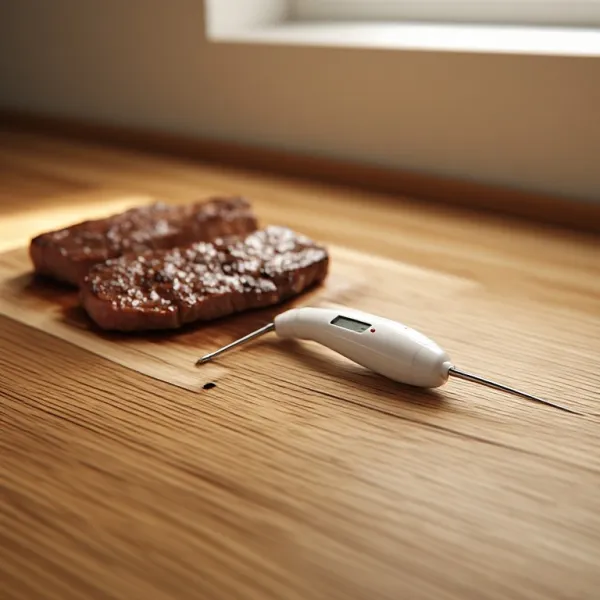
Gear matched to this recipe. These are Amazon affiliate links — we may earn a small commission if you buy, at no extra cost to you.

As an Amazon Associate, Copycat Spices earns from qualifying purchases. Product images are generic illustrations, not the exact item listed.

Viral TikTok Sticky Sesame Chicken — Better Than Takeout in 20 Minutes

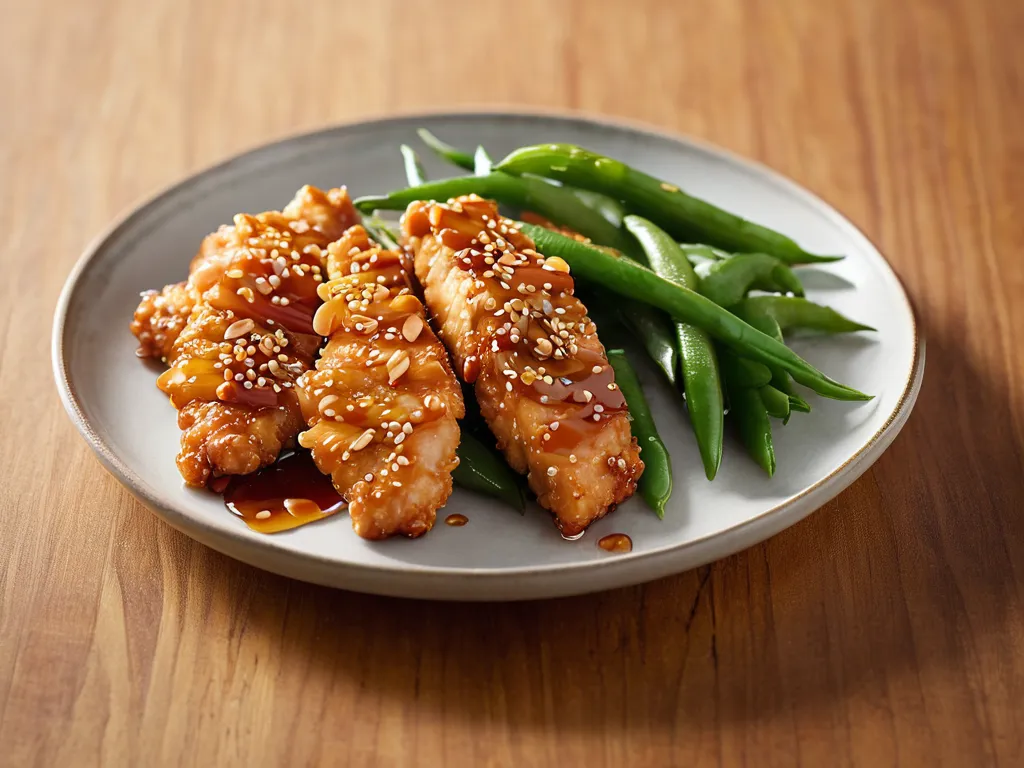
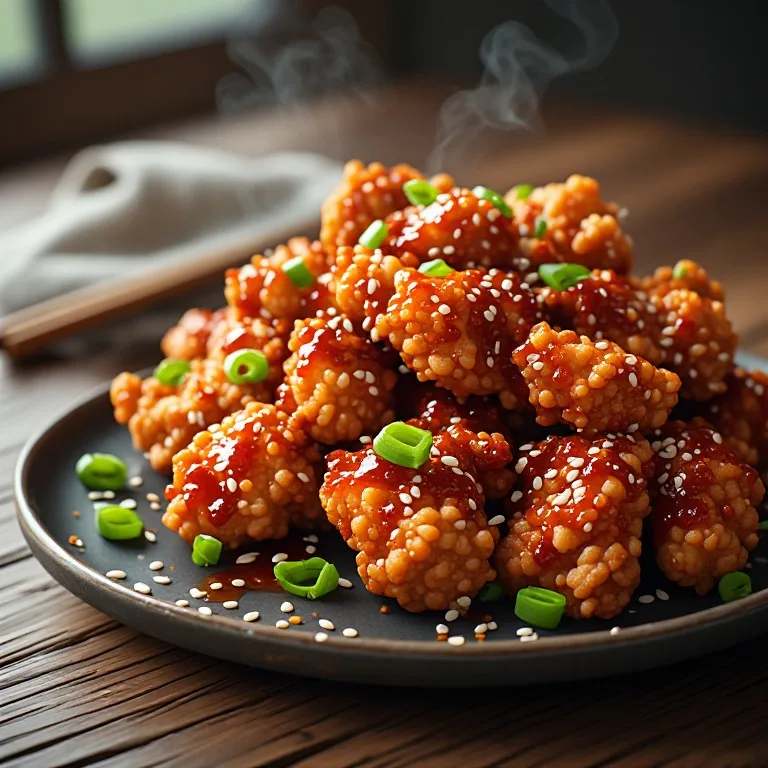
The sticky sesame chicken taking over FoodTok: bite-sized chicken pieces pan-seared in a cornstarch coating, tossed in a glossy soy-honey-sesame glaze. The cornstarch trick, the sauce ratio, why you cook in batches, and the three mistakes that turn crispy into soggy.

Easy Prep: 10 min Cook: 15 min Total: 25 min4 servings ~$4.50/serving
Prep10 min
Cook15 min
Total25 min
Servings
4
At home~$4.50/serving
vs
Restaurant~$20.25/serving
You save ~78%

The Story Behind the Recipe

The sticky sesame chicken taking over FoodTok: bite-sized chicken pieces pan-seared in a cornstarch coating, tossed in a glossy soy-honey-sesame glaze. The cornstarch trick, the sauce ratio, why you cook in batches, and the three mistakes that turn crispy into soggy.

Nutrition Facts

Per serving (4 servings)
Calories415
Total Fat22g
Total Carbs18g
Dietary Fiber0g
Sugars12g
Protein36g
Sodium810mg

* Estimated values based on standard recipe preparation. Actual values may vary.

Ingredients

  • For the chicken
  • For the sticky sesame sauce
  • To serve

Instructions

💡
Pro tip: This recipe tastes even better the next day. The flavors need time to meld together in the fridge.
❄️
Storage: Keeps in an airtight container in the fridge for up to 2 weeks. Freezer-friendly for up to 3 months.
🎃 Free Halloween cookbook — download now The Copycat Halloween Cookbook A ready-made, photo-illustrated PDF of our best halloween copycat recipes — free to download, no building required. Pay what you want to support if you love it.

Free PDF — instant download. We'll also send new seasonal copycat recipes now and then; unsubscribe anytime. Or just download it →

The sticky sesame chicken videos that go viral on TikTok have one thing in common: the glaze shot. Pan pulls back from the heat. Sauce hits the chicken and instantly coats every piece in a glossy, amber-brown lacquer. Sesame seeds scatter over the top. It looks like something that took 45 minutes and a restaurant kitchen, and the entire video is 30 seconds long.

The recipe is genuinely that fast. Twenty minutes from raw chicken to plated. And the technique — cornstarch coating, batch searing, sauce off the heat — is a set of transferable skills that will improve every weeknight stir-fry you make from here.

The Cornstarch Coating: What It’s Actually Doing

Raw chicken has a slick, moist surface. Sauce poured directly onto that surface slides off. What cornstarch does is mechanical: it creates a slightly rough, porous surface that gives the sauce something to adhere to, and when it hits hot oil, it forms a thin crust that develops a textural contrast — lightly crispy outside, juicy inside.

The coating in this recipe is not a batter. It’s a dry dredge — a thin, even coating of pure starch. That matters because a batter would soften and absorb the sauce rather than holding it. The cornstarch crust stays intact under the glaze and contributes the slight chew that makes each piece satisfying.

Two mistakes to avoid:

  • Too much cornstarch, unevenly applied. Clumps of cornstarch cook into gummy patches that won’t brown properly. Toss to coat evenly, then shake off any visible excess.
  • Wet chicken. Moisture turns cornstarch into paste on contact. Pat the chicken completely dry before coating — if you’re in a rush, spread the pieces on a paper towel-lined plate and dab the tops.
Batch Cooking: Why It’s Not Optional

This is the step most home cooks skip, and it’s the one that makes or breaks the dish.

When chicken is crowded in a pan, two things happen. First, the pan temperature drops dramatically when cold meat hits it, dropping from 450°F to sometimes below 300°F. Second, the moisture that cooks off the chicken — and there’s a lot of it — can’t evaporate because the pieces are too close together. That moisture becomes steam, and steam creates a moist cooking environment instead of a dry-heat sear.

The result is pale, soft-sided chicken with no crust. The cornstarch coating becomes pasty instead of crisped, and the sauce won’t cling properly to a soft surface.

Cook in two batches. The second batch will cook faster because the pan is already fully hot. The total time is maybe 4 extra minutes — worth it for the result.

The Sauce: What Each Ingredient Does

Soy sauce is the salt and umami base. Low-sodium is strongly recommended because the sauce reduces and concentrates on the chicken — full-sodium can tip into too salty as it tightens.

Honey is the sticky. It’s what coats the chicken surface and creates the glossy TikTok finish as it reduces. Don’t reduce it — keep the full 2 tablespoons.

Toasted sesame oil is the aroma. It goes in raw (not cooked in the pan from the start) because its volatile compounds burn off quickly at high heat. Added to the pre-mixed sauce, it hits the chicken during the brief glaze step and stays fragrant.

Rice vinegar brightens. Without it, the sauce tastes like a sweet soy glaze — the acid cuts through and makes the flavors more distinct from each other.

Garlic and ginger are the aromatics. Minced fine — they spend only 90 seconds in the pan and need to be small enough to cook through in that time.

Gochujang is optional but worth it. A single teaspoon adds fermented depth and a very mild heat. It’s what separates a clean, three-note sauce (sweet-salty-sesame) from a layered one. At one tablespoon, it becomes the dominant flavor; at one teaspoon, it’s background complexity.

The Glaze Step: Timing Is Everything

After batch-searing all the chicken, return it all to the pan and take the pan off the heat. This is the critical sequencing.

Honey in a 450°F pan burns within 30 seconds. The goal is to coat every piece of chicken in the sauce before returning to heat — a task that takes about 20 seconds of tossing. If the pan is still at full temperature, the sauce seizes and darkens before you’ve finished coating.

Remove from heat. Add sauce. Toss to coat every piece. Then return to medium (not high) heat for 60 to 90 seconds while continuing to toss. Watch the sauce: it will go from thin and glossy to visibly thicker and clingy. Pull the pan when every piece looks lacquered and the sauce no longer pools at the bottom.

If you leave it 30 seconds too long, the honey will start burning. The smell shifts from sweet-savory to acrid. If that happens, immediately add 2 tablespoons of water to the pan and toss quickly to dilute.

Variations

Spicy version: Increase gochujang to 1 tablespoon or add 1 to 2 teaspoons of sambal oelek. The heat becomes forward but the sauce structure stays the same.

Orange sesame: Add 2 tablespoons of fresh orange juice and 1 teaspoon of orange zest to the sauce. This tilts it closer to the orange-chicken territory while keeping the sesame character.

With vegetables: Add blanched broccoli florets, snap peas, or sliced bell pepper during the glaze step. They coat in the same sauce and round out the dish without a separate cooking step.

Tofu version: Press extra-firm tofu for 20 minutes, cube it, and follow the exact same method. Tofu absorbs the sauce more aggressively than chicken — reduce the soy sauce by half a tablespoon if you find it too salty.

How to Serve

The classic pairing is steamed jasmine or short-grain white rice — the neutral starch absorbs the extra glaze that runs off the chicken. Brown rice works but has more structural resistance to the sauce.

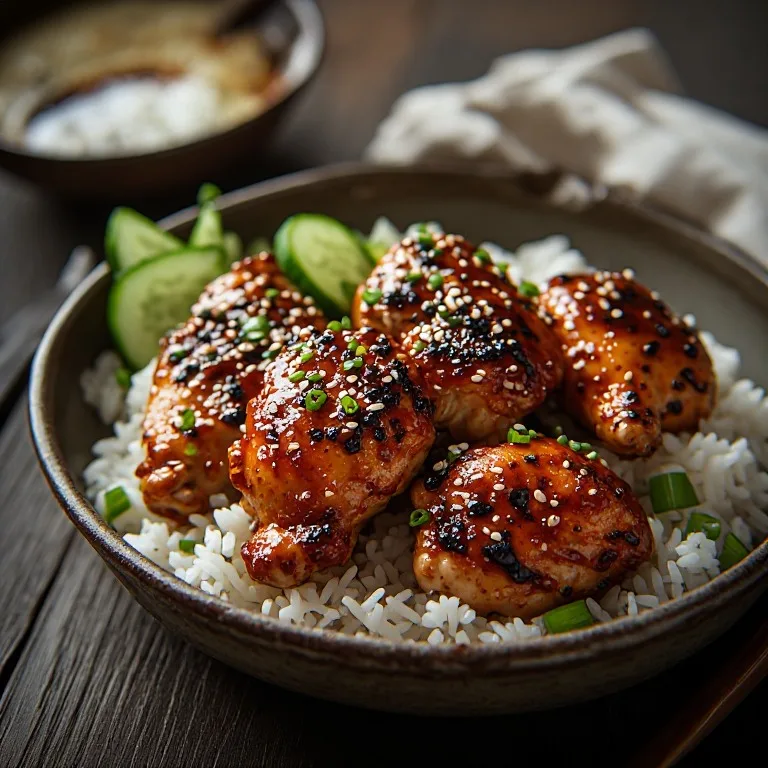
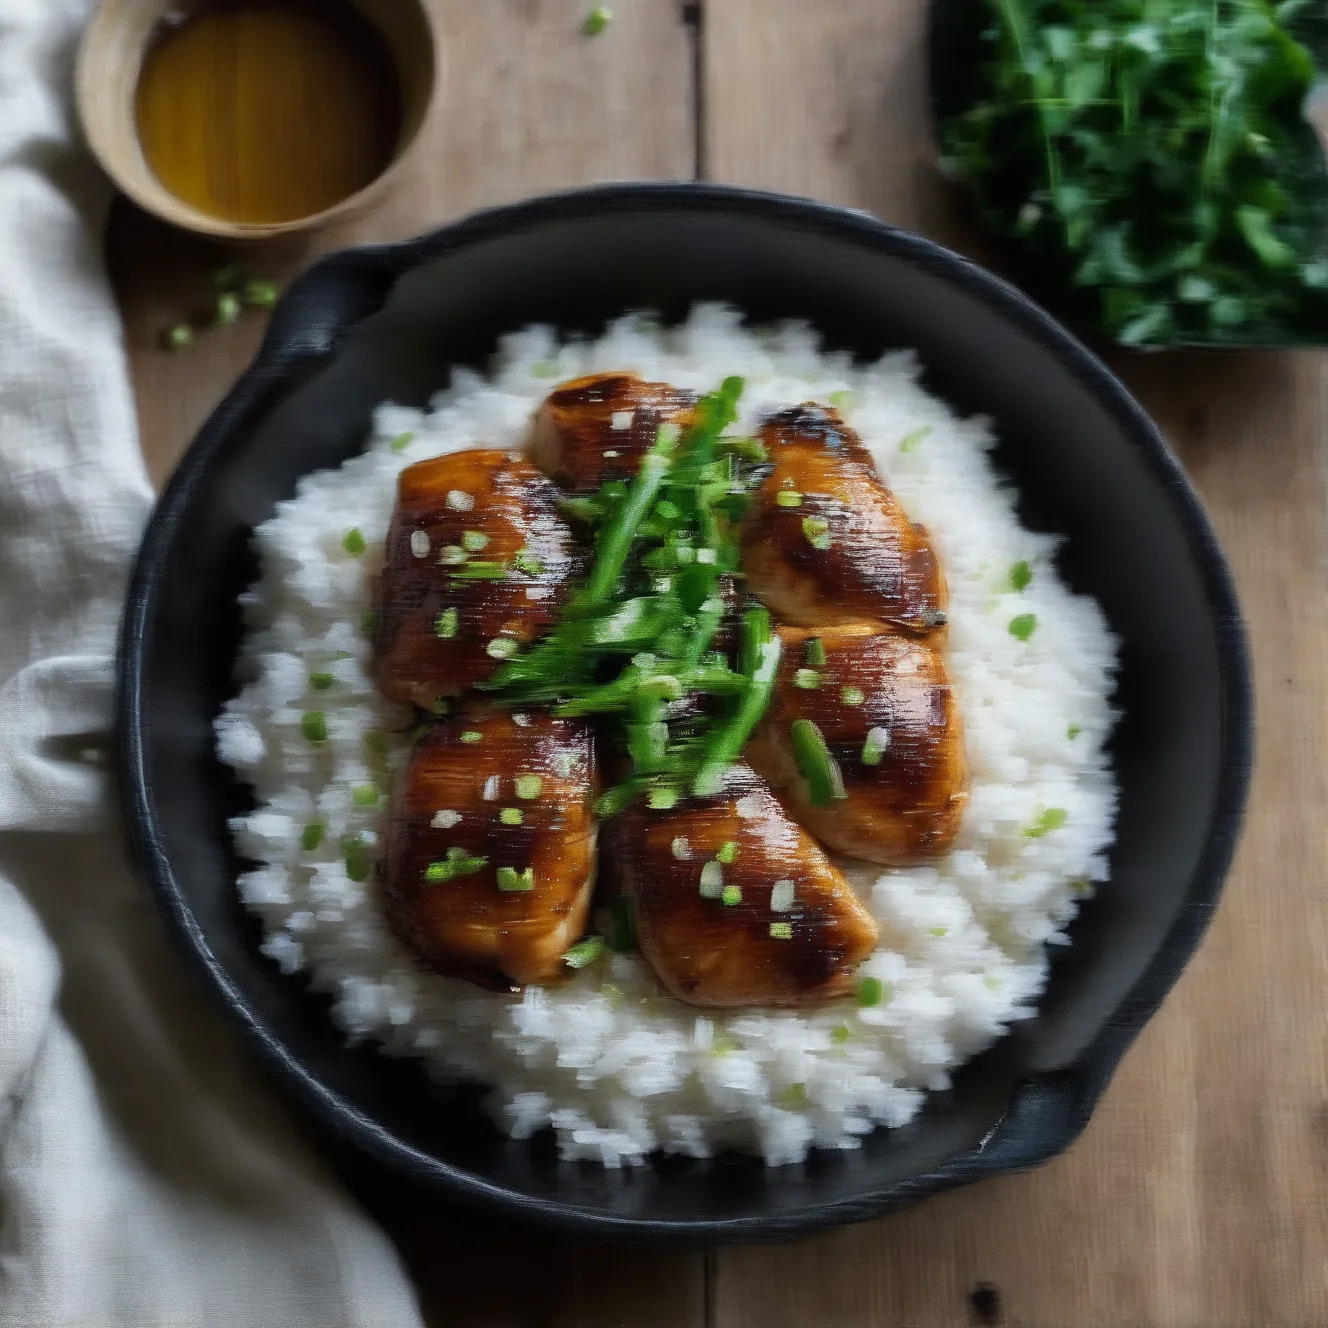
For serving: pile the rice in bowls, arrange the chicken over the top (don’t bury it under the rice — the visual is part of the appeal), scatter sesame seeds and scallions generously, and serve within a few minutes of cooking. The crispy-sticky texture has a 15 to 20-minute window before the crust softens.

Quick-pickled cucumber alongside — thin-sliced cucumber with rice vinegar, sugar, and salt, left for 10 minutes — cuts the richness of the glaze and makes each bite feel lighter.
🥗

Make It Healthier

Love Viral TikTok Sticky Sesame Chicken — Better Than Takeout in 20 Minutes but want a lighter version? Try these simple swaps:

  • ✓Use chicken breast instead of thighs to save roughly 60 calories and 7g of fat per serving — pull it at exactly 165°F internal so it doesn't dry out (breast has no fat buffer against overcooking).
  • ✓Reduce the honey to 1 tablespoon and add 1 tablespoon of unsweetened orange juice for a lighter glaze with similar viscosity.
  • ✓Use tamari instead of soy sauce and ensure your gochujang is gluten-free labeled to make the dish fully gluten-free.
  • ✓Serve over cauliflower rice or a mix of riced cauliflower and jasmine rice to cut carbs while keeping the dish satisfying.

Frequently Asked Questions

What's the difference between this and the Panda Express honey sesame chicken?

The Panda Express version uses a thicker tempura-style batter and is deep-fried, then tossed in a distinctly sweet, slightly orange-forward sauce with bell peppers and snap peas. The TikTok sticky sesame version is pan-seared with a light cornstarch coating (not a batter), the sauce is soy-forward with sesame as the primary flavor, and there are no vegetables in the base dish — it's a simpler, faster, more adaptable weeknight format. Both are good; they taste meaningfully different.

Thighs or breast — does it actually matter?

For this specific recipe, thighs are better. The high heat required for a proper sear, combined with the short glaze time, dries out breast quickly. Chicken thighs have more fat and connective tissue, which means they can take aggressive pan heat without going chalky. If you prefer breast, cut the pieces slightly smaller (1-inch), pull them from the pan at 160°F internal (they carry over to 165°F while resting), and don't skip the sauce-off-heat step — the window for overcooking breast in a hot pan is narrow.

Why does the sauce need to go on off the heat?

Honey is mostly sugar. In a pan that's been running at high heat for 8 to 10 minutes, the surface temperature can be 450°F or higher. Honey starts to caramelize around 340°F and burns above 375°F — a matter of seconds on a very hot pan. Removing from the heat first drops the surface temperature by about 100°F in 20 to 30 seconds, which gives you a controlled window to coat the chicken before returning to medium heat for a controlled thickening. This is also why you don't pour sauce in at the start of cooking — it would burn before the chicken is done.

My sauce is too thick and sticky before the chicken is fully coated — what happened?

The pan was still too hot when you added the sauce. Next time, wait 30 full seconds after removing from the heat before adding the sauce. If this happens mid-recipe, add 1 to 2 tablespoons of water to the pan and toss quickly — the water will thin the sauce and buy you another 30 to 60 seconds before it tightens again. Also check that you didn't use too much cornstarch on the chicken — the excess starch that falls into the pan combines with the sauce and accelerates thickening.

Can I make this ahead?

The chicken is best eaten immediately — the cornstarch crust softens within 15 to 20 minutes of being coated in sauce, especially in a closed container. For meal prep, store the cooked chicken and sauce separately (don't toss together), refrigerate up to 3 days, and reheat the chicken in a hot dry pan or air fryer to re-crisp before adding a fresh batch of sauce. Pre-mixed sauce keeps refrigerated for up to a week.

What can I add to this?

The base recipe is intentionally spare to let the sauce and chicken be the focus. The most natural additions: broccoli florets (blanched, added during the glaze step), snap peas (added raw to the pan with the last batch of chicken, they cook in 90 seconds), sliced bell pepper (added 2 minutes before the chicken is done), or baby bok choy (halved, seared cut-side down before the chicken, set aside, returned with the glaze). Avoid adding aromatics like whole garlic cloves to the hot oil — they'll burn in the same high-heat environment the chicken needs.

Is the gochujang important?

It's the optional ingredient that most separates a good version from a great one. A teaspoon of gochujang doesn't make this spicy — it adds fermented depth, a slight smokiness, and a mild umami baseline that makes the sauce taste more layered than soy-honey alone. If you skip it, add an extra ½ teaspoon sesame oil and a small pinch of smoked paprika to approximate the depth. If you want the full gochujang-forward experience, increase to 1 tablespoon — at that level, the heat becomes noticeable and the fermented character dominates. The original viral TikTok versions vary; some include it, many don't.

Love this recipe? Share it!

Free PDF: our 12 most-wanted copycat recipes — instant download.

Made it? Buy us a coffee

Every recipe here is free, with no paywalls. If this one was a hit at your table, a small tip keeps new copycats coming.

$

Ratings & Reviews

—
No ratings yet

Rate this recipe

Click a star to rate

Leave a Review

0/500

CS

Copycat Spices Editorial

Researched + fact-checked. Every recipe on Copycat Spices is built from published sources — official ingredient lists, brand-published recipes, interviews and food-science references — and fact-checked before it goes live, then written as clear, step-by-step instructions for home cooks of all skill levels.

Learn more about our mission →