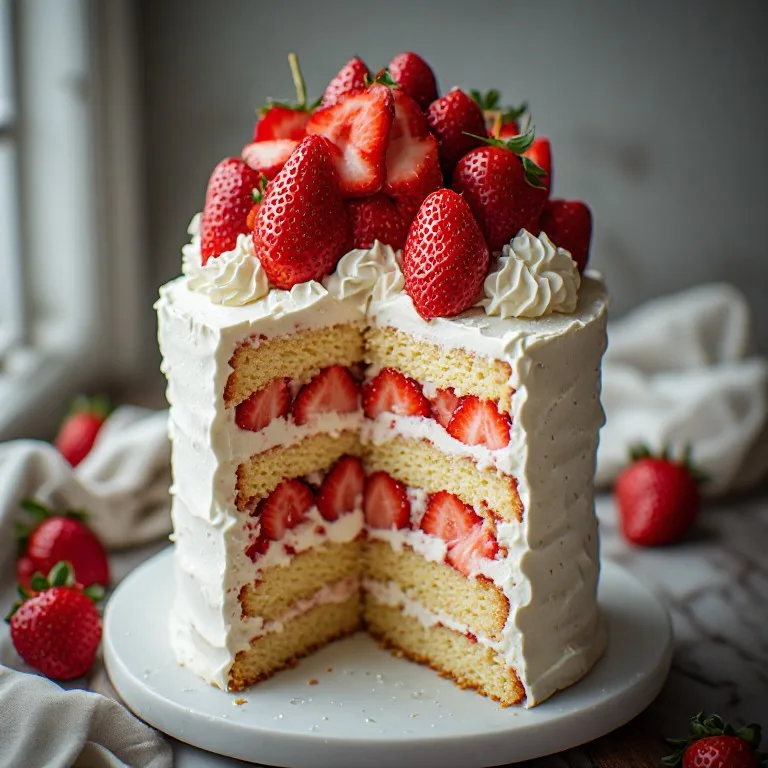
Japanese strawberry shortcake is not what the name suggests to an American baker. It’s not a crumbly biscuit with strawberries and whipped cream. It’s a full layered celebration cake: three rounds of cloud-soft genoise sponge, lightly sweetened cream that melts rather than sits on your tongue, and fresh strawberries that hold their texture and sweetness instead of collapsing into syrup.
TikTok’s baking community has made it viral in 2026, driven partly by the growing fascination with Japanese pastry technique and partly by the visual — the clean white exterior, the ring of bright red strawberries on top, the soft layers visible when you cut a slice. The gap between how achievable it looks and how technically careful it requires you to be is exactly the kind of thing that generates both aspirational views and follow-up “what went wrong” videos.
Here’s what you actually need to know to get it right the first time.
What Makes It Different from American Shortcake
American shortcake is a biscuit or scone — crumbly, rich with butter and baking powder, a vehicle for macerated strawberries and heavily whipped cream. It’s intentionally rustic and substantial.
Japanese strawberry shortcake is the opposite of all of those things. The sponge is a genoise: no baking powder, very little butter, leavened entirely by the air beaten into the eggs. The result is almost weightless — a crumb so fine and tender that it compresses slightly under a fork rather than breaking into pieces. The cream is barely sweetened and whipped only to soft peaks, so it has the texture of cold foam rather than stabilized whipped topping. The strawberries are fresh and firm, sliced for the interior and arranged whole on top.
The flavor is lighter, less sweet, and more delicate than American shortcake. A slice of Japanese shortcake after dinner doesn’t feel heavy.
The Sponge: Two Techniques That Matter
The warm water bath
Genoise requires eggs to be beaten to what pastry cooks call “ribbon stage” — pale, thick, and roughly triple the original volume. Getting there is much faster and more reliable if the eggs are warm when you start.
The technique: whisk the eggs and sugar together in a heatproof bowl, then set the bowl over a pot of barely simmering water (don’t let the bottom touch the water). Whisk continuously while the mixture warms — about 4–5 minutes — until it’s warm to the touch and the sugar has dissolved. Then remove from the water bath and beat with an electric mixer on high for 5–8 minutes.
The warm eggs foam more readily and produce a more stable foam than cold eggs. They also help the sugar dissolve fully, which produces a smoother, more cohesive batter.
You’ll know you’ve hit ribbon stage when the batter falls from the lifted beater in a thick, pale ribbon that holds its shape on the surface for 3 seconds before dissolving. If it falls in thin streams that disappear immediately, keep beating.
Tempering the butter
Genoise uses melted butter for richness and moisture, but fat and foam are adversaries. Adding cold or even warm butter directly to an egg foam collapses it — the dense fat punches through the bubble structure faster than you can fold.
The solution is tempering: scoop ¼ cup of the beaten batter into the bowl of warm butter and stir vigorously until smooth. Now the butter is diluted with the batter — its density is reduced and it incorporates without collapsing the foam. Pour this tempered mixture along the edge of the main batter and fold in with 8–10 strokes.
Skip this step and the butter will sink through the batter to the bottom of the pan, producing a cake with a gummy, dense layer at the base and an airy but flavorless top.
The Simple Syrup: Why It’s Non-Negotiable
A genoise is lean. It has no fat to speak of (a few tablespoons of butter for the whole cake) and almost no moisture except what the eggs provide. It dries out within hours after baking, especially once cut.
Japanese bakeries brush every cut sponge surface with simple syrup before filling. This is standard professional practice for any lean sponge cake, not a Japanese-specific technique. The syrup absorbs into the porous surface of the cut layer and keeps the crumb soft and moist for hours after assembly.
Classic versions use plain syrup plus a small amount of kirsch — a cherry brandy that adds a subtle fruit note without tasting boozy. Vanilla is a fine substitute if you’re making this for children or prefer to skip the alcohol.
Don’t brush the exterior of assembled layers with syrup — only the cut surfaces that will be in contact with the filling. The exterior is covered with cream, which provides its own moisture.
The Cream: Soft Peaks, Not Stiff
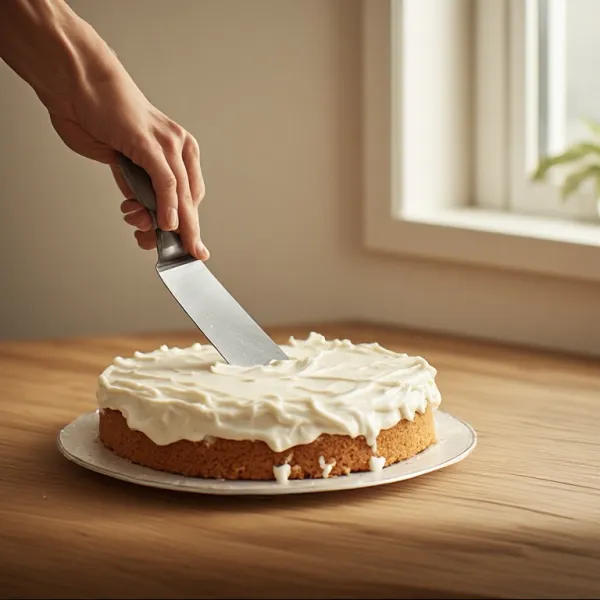
The whipped cream on Japanese shortcake is not a frosting. It’s meant to taste like cold dairy cream, lightly sweetened, with just enough structure to hold the layers apart and smooth over the exterior.
Over-whipped cream — the kind that stands in stiff, matte peaks — has already begun converting to butter. It tastes faintly buttery and feels slightly grainy on the tongue. As it sits on the assembled cake, it can weep or become dense. That’s not the goal here.
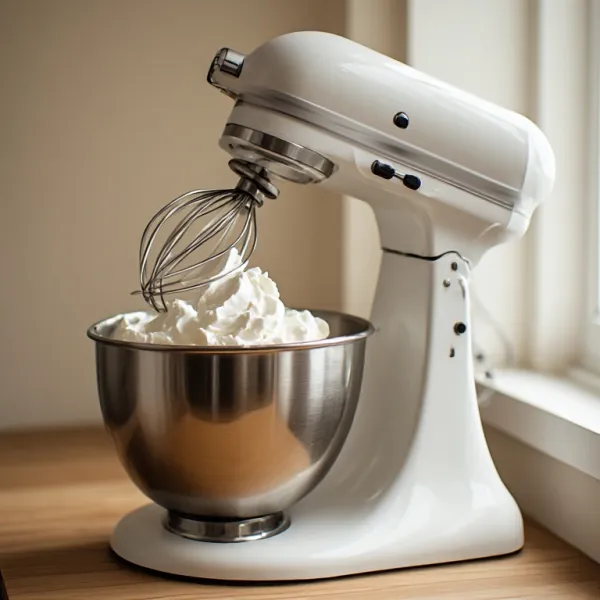
Whip to soft-medium peaks: the cream holds its shape when you lift the beater, but the peaks droop slightly rather than standing ramrod straight. The surface should still look glossy. If you’re spreading it and it tears rather than gliding, you’ve gone too far.
Assembly: How the Pros Do It
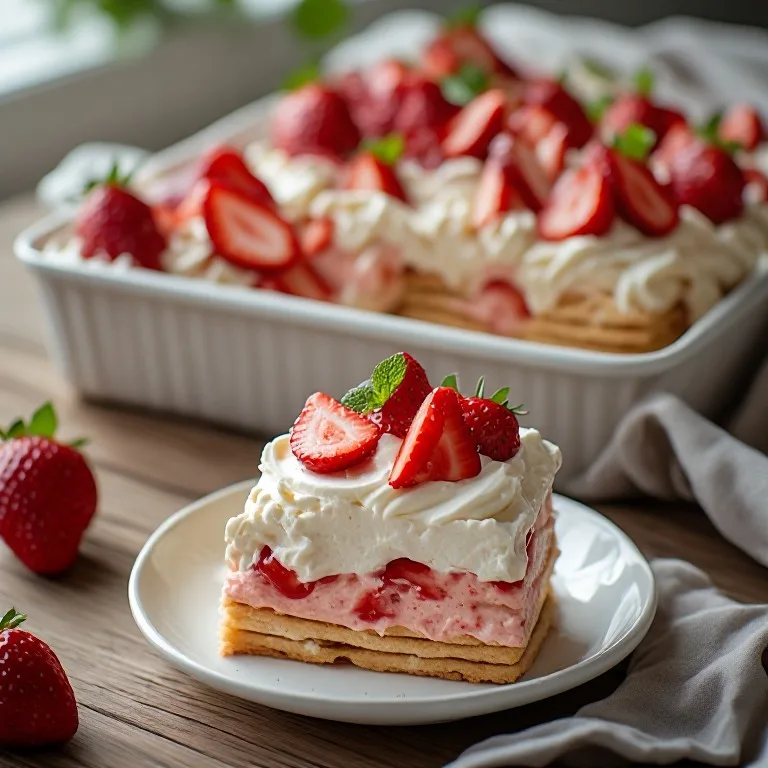
Japanese patisseries are meticulous about the exterior of shortcake — smooth, clean, minimal. The classic decoration is a ring of halved strawberries around the perimeter of the top, cut-side down, with a small cluster in the center. That’s it. No piped rosettes, no elaborate decorations.
For the interior, slice the filling strawberries about ¼ inch thick — thin enough that the layers don’t tilt or slide, thick enough that you taste strawberry in every bite. Pat them dry before layering; surface moisture causes the cream to weep.
The order: sponge layer (soaked) → cream → sliced strawberries → next layer (soaked on both sides) → cream → sliced strawberries → top layer (soaked on bottom) → cream exterior → decoration. Refrigerate for 30 minutes before serving to let everything set.
Serve within 4–6 hours of assembly for the best texture. This is a same-day cake.