Mix, settle, pour, massage, press, flip — the six steps behind the TikTok Korean chicken pancake that actually works.
The Oobleck Trick Isn’t a Gimmick
Every viral recipe has a hook, and the padakjeon hook is real chemistry. A concentrated cornstarch-and-water mix — roughly twice as much starch as water once it’s settled — is a non-Newtonian fluid: it flows freely when you tilt the bowl or drag a spoon through slowly, but turns rigid when you apply sudden pressure. Punch it and your fist meets a solid. This is the oobleck every middle school science teacher demonstrates. You get there by starting with extra water and letting it do the work: the denser starch particles sink while the lighter water rises, so when you pour off the top you’re left with a concentrated starch paste rather than a thin, uniform slurry. That paste coats each chicken piece individually and fuses them into a single layer when they hit the pan.
The crispness comes from how starch behaves during frying. When the starch-coated chicken contacts hot oil, the starch gelatinizes quickly and then dehydrates into a rigid, golden crust — the same mechanism behind tempura, Korean fried chicken double-frying, and the crunchy bits in XO sauce. Because the oobleck paste is more concentrated than a typical batter, it produces a thicker, more uniform coating that crisps more evenly across the entire surface.
The Settle Is the Whole Trick — Give It Time
The settling step has one rule: don’t touch it. Starch particles are denser than water and will sink on their own, but only if the bowl is completely still. Even a small vibration from a nearby appliance can slow the process. If you’re in a kitchen with a running stand mixer or washing machine, move the bowl to a more stable spot.
How long depends on your ratio. The concentrated mix here — 6 tbsp cornstarch in ½ cup cold water, in a wide shallow bowl — packs into a usable paste in about 15–30 minutes. A more watery batter (some recipes use the same starch in a couple of cups of water) can take an hour or more to clear. Either way, go by what you see, not the clock: it’s ready when the water on top looks nearly transparent — not white or cloudy, but clear enough to see through to the settled layer below. Tilt the bowl slightly and pour off the water in a slow, steady stream, stopping before any of the white paste starts to move. You want all of the starch and none of the water. What remains should look like thick paste and feel like a stress ball.
The Pan, the Heat, and the Oil
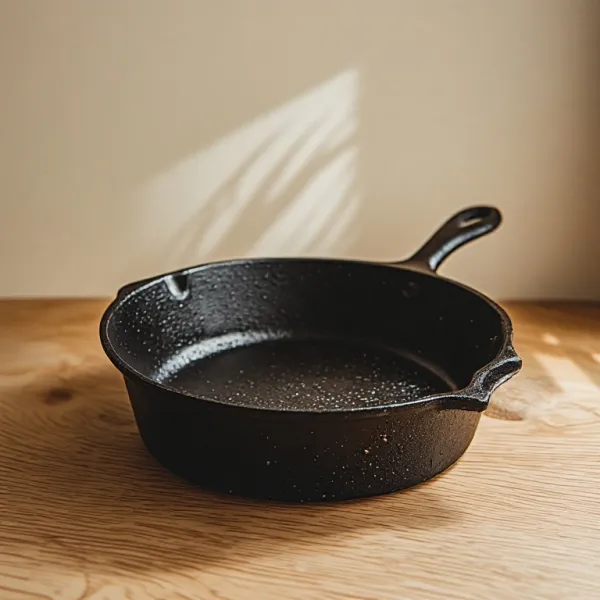
Non-stick is the right tool here — the oobleck coating is pure starch with no fat, and it will stick aggressively to stainless steel. Cast iron works if it’s very well seasoned and you use slightly more oil. The temperature matters: medium-high is where the oil shimmers but doesn’t smoke. Too hot and the outside burns before the chicken inside cooks through. Too cool and the crust doesn’t form before the moisture from the chicken starts steaming everything into softness.
Oil quantity matters more than people expect. The bottom of the pan should have a visible, even layer of oil — not a pool, but enough that the edge of the pancake makes contact. The starch bonds to the oil surface as much as to the chicken, which is part of what makes the crust uniform rather than patchy. Two tablespoons of oil in a 10-inch pan is the baseline; three is safer for a first attempt.
The Flip
The flip is exactly what it looks like: a plate goes face-down on the pan, and the whole assembly inverts in one motion. The keys are confidence and a plate wider than the pan. Hesitation during the flip is how pancakes break — the move should be one committed rotation, not a tentative tipping. If you don’t trust the flip, two large spatulas and a direct pan flip is slower but achieves the same result.
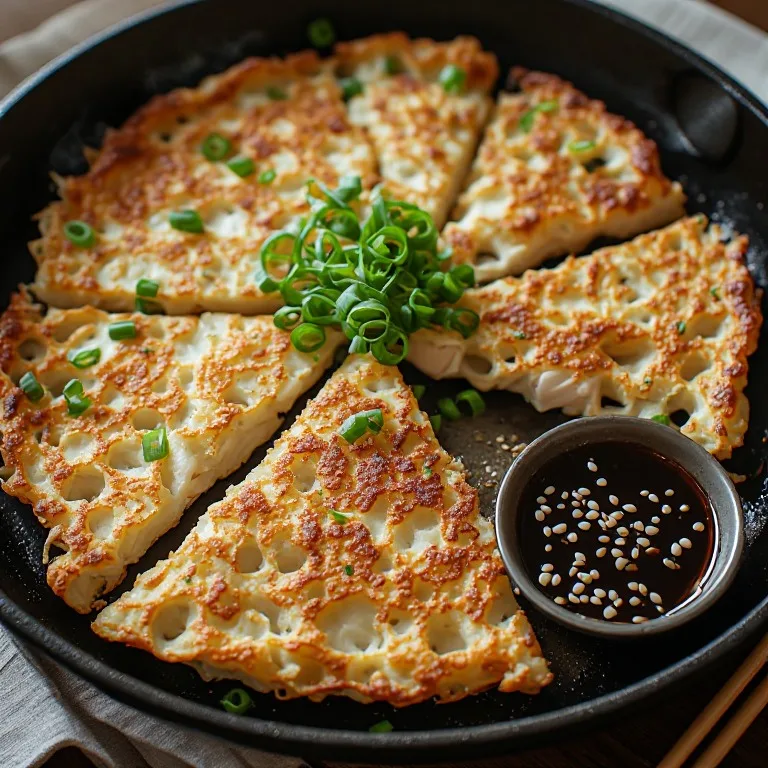
Wait until the edge you can see is fully opaque before attempting the flip. The oobleck crust needs to be fully set — golden and pulling slightly away from the edge of the pan when you tilt it. A pale or still-tacky edge means the crust hasn’t bonded yet and the pancake will break. The sound is also a clue: a raw pancake makes a wet, bubbling sound; a ready-to-flip pancake makes a dry, crackling sound.
Serving
Padakjeon is best sliced immediately and eaten within five minutes, while the crust is at peak crispness. The dipping sauce should be ready before the pancake comes off the pan — you’re racing moisture migration from the chicken interior, which softens the crust from underneath as it cools. For a party, keep cut pieces on a wire rack in a low oven (200°F) while you cook a second batch.
The soy-vinegar sauce is classic, but gochujang thinned with a little water and sesame oil also works well — it’s spicier and slightly smoky. Some Korean households serve padakjeon with a light rice vinegar dipping sauce or even just seasoned soy sauce straight. Whatever sauce you choose, keep it liquid rather than creamy so it doesn’t soften the crust on contact.