There’s a reason TikTok keeps returning to this recipe: it breaks the assumption that homemade dinner rolls require a stand mixer, an hour of kneading experience, and perfect technique. They require none of those things.
This recipe uses instant yeast (also labeled “rapid-rise” or “bread machine yeast” at most grocery stores) because instant yeast goes directly into the dry ingredients — no proofing step, no separate bowl, no waiting to see if it foams. It’s the reason the TikTok videos make this look effortless. If all you have is active dry yeast, see the FAQ below — it works with a small adjustment.
Why the dough is stickier than you expect
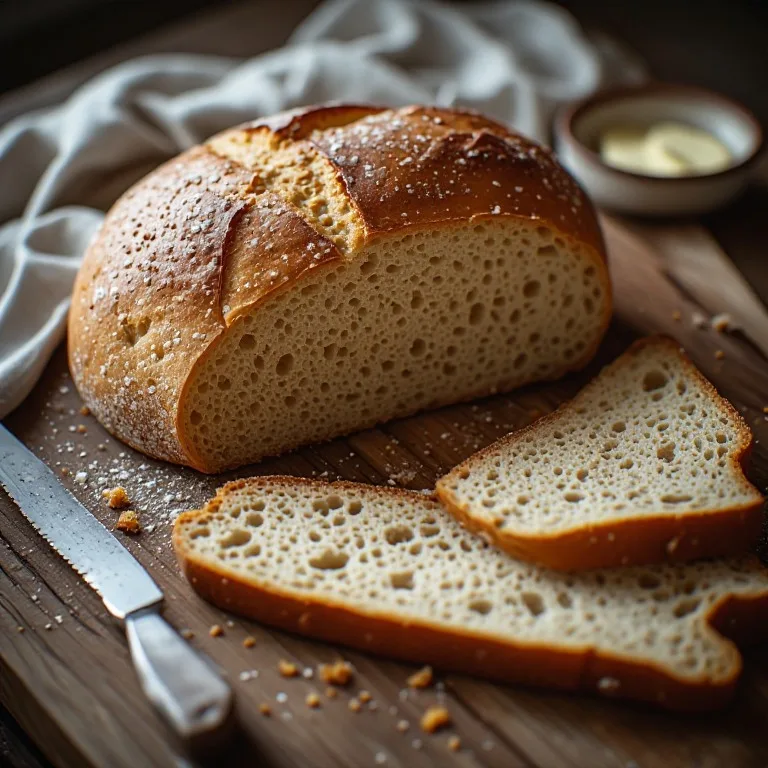
No-knead bread doughs are wetter than traditional kneaded doughs. That wetness is what makes the technique work: extra moisture means more steam during baking, which creates the open, fluffy crumb structure. It also means the dough will stick to your fingers when you shape it. This is correct — not a sign the recipe went wrong.
The fix for sticky shaping is generous flouring of your hands, not extra flour in the dough. Keep a small bowl of flour nearby, dip your hands before each roll, and work quickly. The dough is cooperative; it just needs confident, slightly-floury handling.
The two-rise structure and why you can’t skip either one
First rise (90 minutes): This is where the flavor develops. Yeast produces CO₂ gas plus trace flavor compounds — ethanol, organic acids, esters — and the longer the rise, the more complex the final flavor. The structure of the crumb also develops here: those CO₂ bubbles get trapped in the developing gluten network. Cutting the first rise short produces rolls that are flat, dense, and lack flavor depth.
Second rise (30–40 minutes): After shaping, the gluten strands are a little stressed from being pressed and rolled into balls. The second rise lets them relax and proof out, so the rolls expand rather than tighten up in the oven. Skip the second rise and the rolls bake into tough, compact balls instead of soft pillows.
The butter-brush step that makes the difference
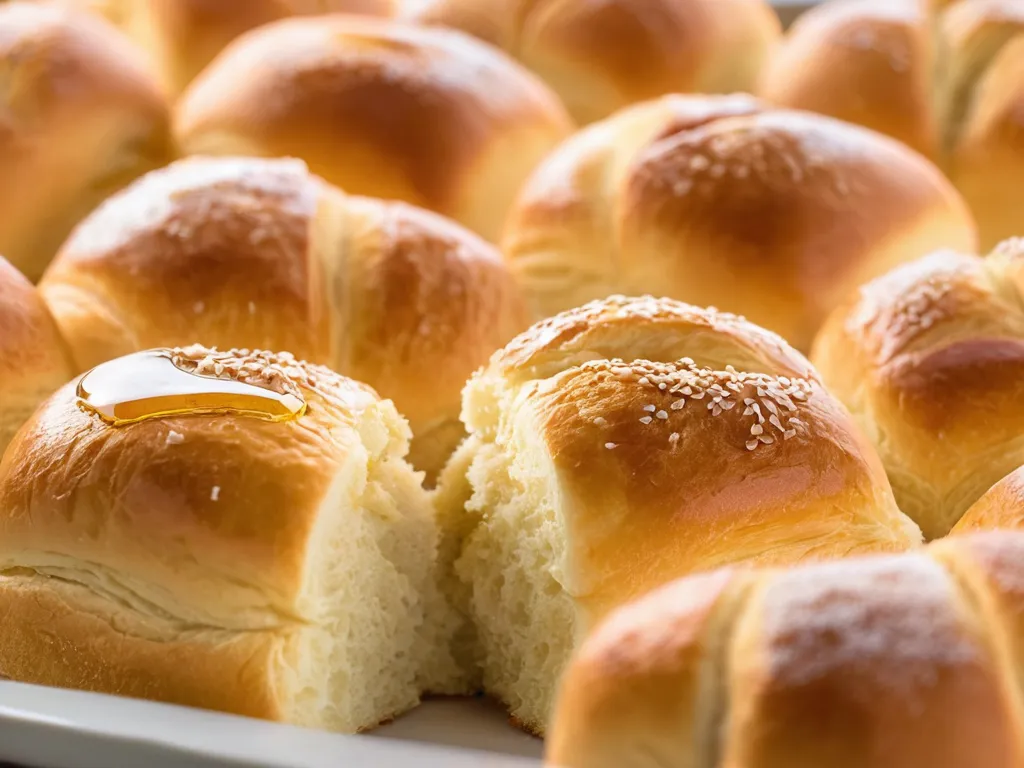
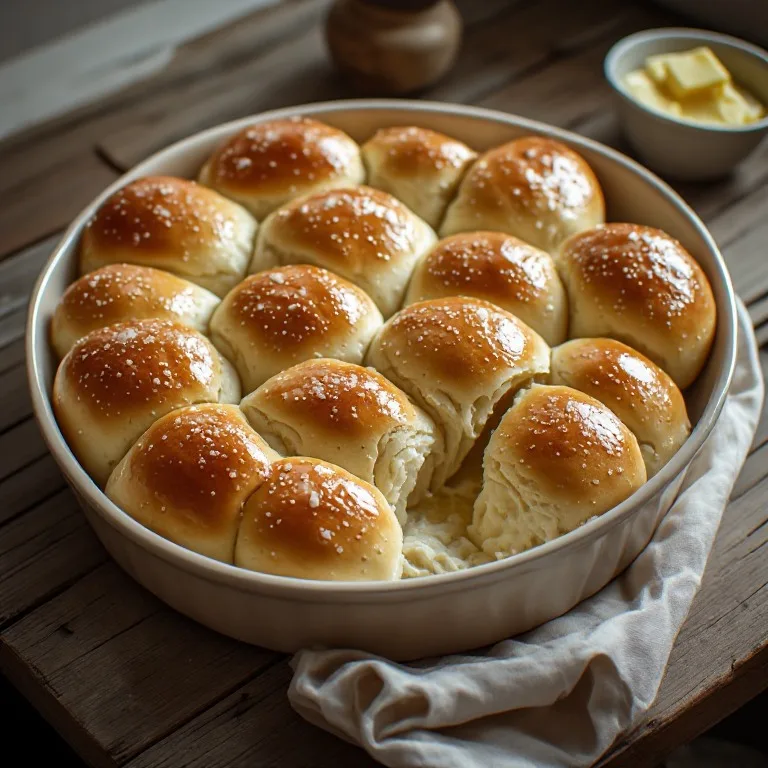
Brushing melted butter immediately after baking is the step most first-timers skip or delay — and it’s the step responsible for the glossy, slightly-soft top crust that makes a pull-apart roll look and taste finished. The hot rolls absorb the butter immediately; it soaks into the surface and crisps the exterior into something that reads as “bakery” rather than “homemade.”
Use the full 2 tablespoons for the second brush. This is not the moment to be conservative.
Storing, reheating, and freezing
Room temperature in an airtight container for up to 2 days; after that the crumb starts to stale. For Thanksgiving prep, the two better options:
-
Refrigerator method: Shape the rolls (step 5), cover the dish, and refrigerate for up to 12 hours before the second rise. Pull them out 1 hour before baking to take the chill off, then bake. The slow cold retardation overnight often produces slightly better-flavored rolls than same-day baking.
-
Freezer method: Bake fully, cool completely, wrap individual rolls in plastic, and freeze for up to 2 months. Warm from frozen in a 300°F oven for 10 minutes with the door slightly cracked to let steam escape. The texture reheats nearly identically to fresh.
For comparison if you want a restaurant roll with a particular flavor profile, the Texas Roadhouse honey-butter rolls copycat nails that sweet-honey-glaze version; the Golden Corral yeast rolls copycat is the dense, slightly-sweet cafeteria style. These no-knead rolls land in a different category — lighter and more bakery-style, with a real yeast flavor instead of sweetness as the defining note.