Pin It

Homemade Gluten-Free Sandwich Bread

Homemade Gluten-Free Sandwich Bread
Jump to Recipe
Prep 15 min Cook 40 min Serves 10
Quick answer: Whisk 3 cups certified GF all-purpose flour with 2 tablespoons psyllium husk powder and 1 teaspoon salt. Activate 1 packet active dry yeast in 1/2 cup warm water with 1 teaspoon sugar for 5 minutes. Add the yeast mixture, another 1/2 cup warm water, 2 eggs, 3 tablespoons olive oil, and 1 teaspoon apple cider vinegar to the flour and mix into a thick batter. Transfer to a greased 9×5 loaf pan, smooth the top with wet fingers, cover, and let rise 45–60 minutes until the dough just crests the pan rim. Bake at 375°F for 35–40 minutes until deep golden and the interior reads 205°F on an instant-read thermometer. Cool in the pan 10 minutes, then on a rack for at least 1 hour before slicing.

Shop the tools

Gear matched to this recipe. These are Amazon affiliate links — we may earn a small commission if you buy, at no extra cost to you.

As an Amazon Associate, Copycat Spices earns from qualifying purchases. Product images are generic illustrations, not the exact item listed.

Homemade Gluten-Free Sandwich Bread

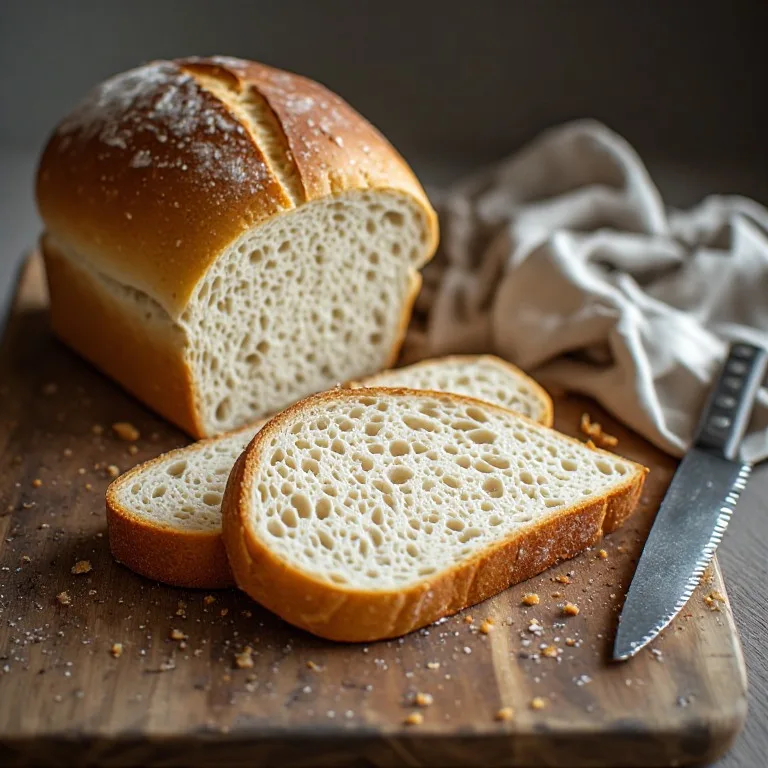
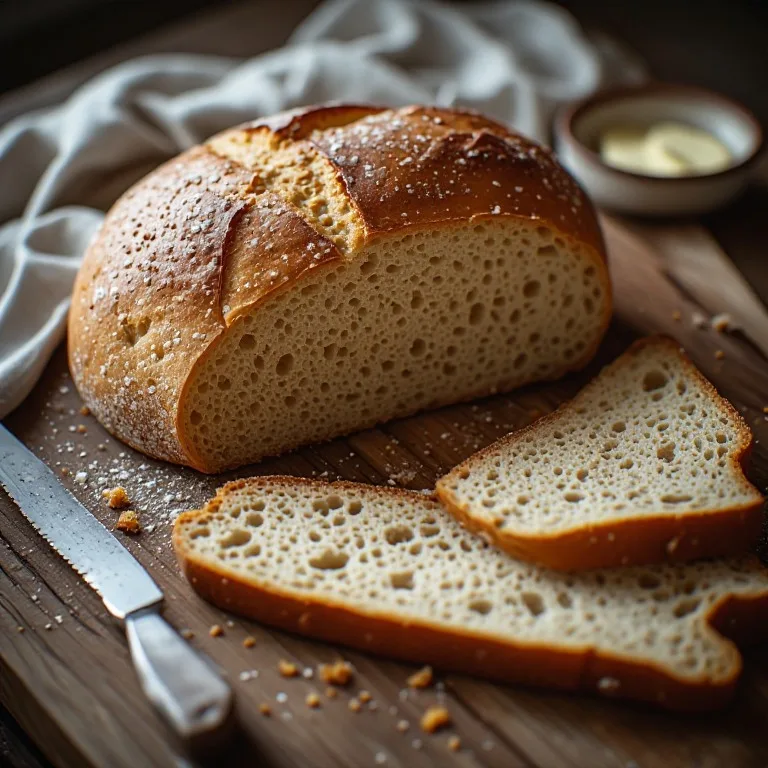
The viral TikTok gluten-free sandwich bread recipe — a real sliceable loaf from a single certified GF flour blend plus psyllium husk, with a chewy crumb and golden crust. Includes the one technique that makes it work, exact timing, and why it's nothing like the cardboard GF bread of a decade ago.

Medium Prep: 15 min Cook: 40 min Total: 55 min10 servings ~$4.20/serving
Prep15 min
Cook40 min
Total55 min
Servings
10
At home~$4.20/serving
vs
Restaurant~$18.90/serving
You save ~78%

The Story Behind the Recipe

The search demand behind this recipe reflects a shift that's been building since 2024: the best certified gluten-free flour blends — from brands like Bob's Red Mill and King Arthur — have gotten good enough that you can make a real sandwich loaf at home without sourcing six different specialty flours, gums, and starches separately. TikTok food creators began posting side-by-side comparisons in early 2026 showing that a modern single-blend GF loaf, properly made, slices, toasts, and sandwiches in a way that gluten-free bread famously did not five years ago. The videos went viral because the gap between expectation ("cardboard brick") and result ("actual sandwich bread") is still genuinely surprising to most people who gave up on homemade GF bread.

The technique that makes it work is psyllium husk powder — a soluble fiber that forms a gel when it contacts water, mimicking the structural network that gluten builds in wheat bread. It's why this loaf holds together when sliced instead of crumbling in your hands, and why the crumb has real chew instead of a sandy, dry texture. A store-bought GF loaf runs $8–10 in most markets; this recipe makes a better-tasting one for roughly $4 in ingredients, and you can freeze slices and pull them out for a week of sandwiches.

Nutrition Facts

Per serving (10 servings)
Calories195
Total Fat5g
Total Carbs34g
Dietary Fiber4g
Sugars1g
Protein4g
Sodium215mg

* Estimated values based on standard recipe preparation. Actual values may vary.

Ingredients

  • For the pan

Instructions

💡
Pro tip: This recipe tastes even better the next day. The flavors need time to meld together in the fridge.
❄️
Storage: Keeps in an airtight container in the fridge for up to 2 weeks. Freezer-friendly for up to 3 months.
🎃 Free Halloween cookbook — download now The Copycat Halloween Cookbook A ready-made, photo-illustrated PDF of our best halloween copycat recipes — free to download, no building required. Pay what you want to support if you love it.

Free PDF — instant download. We'll also send new seasonal copycat recipes now and then; unsubscribe anytime. Or just download it →

There’s a reason TikTok keeps rediscovering this recipe: modern certified gluten-free flour blends have gotten genuinely good, and most people who gave up on homemade GF bread years ago don’t know it yet.

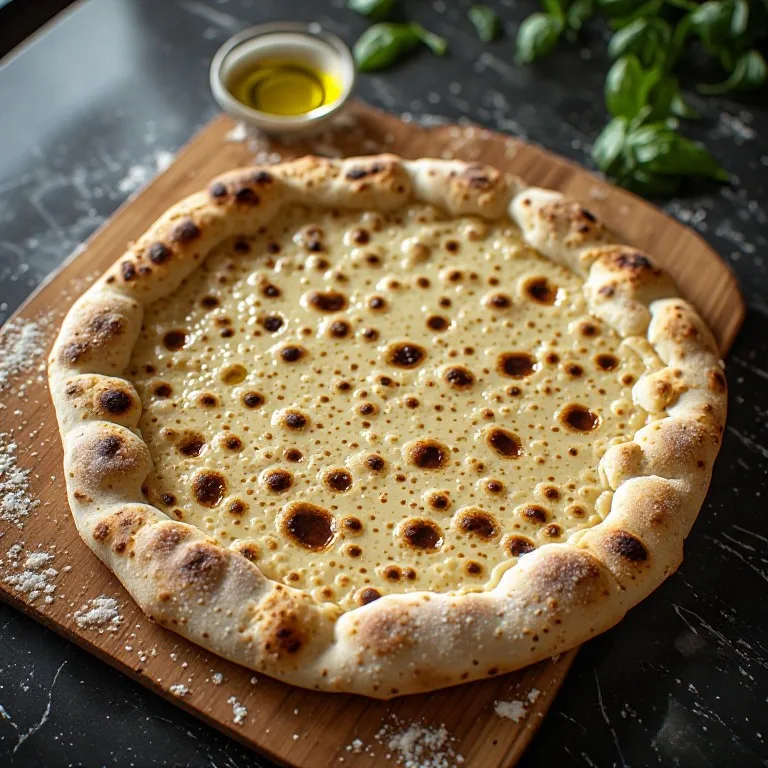
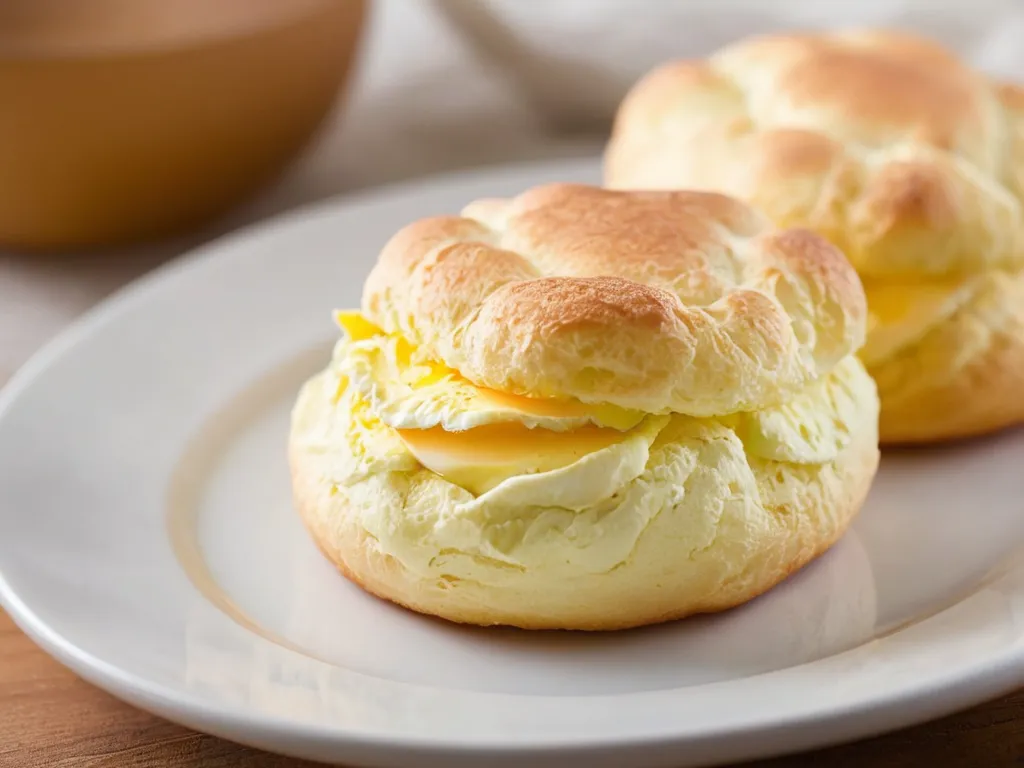
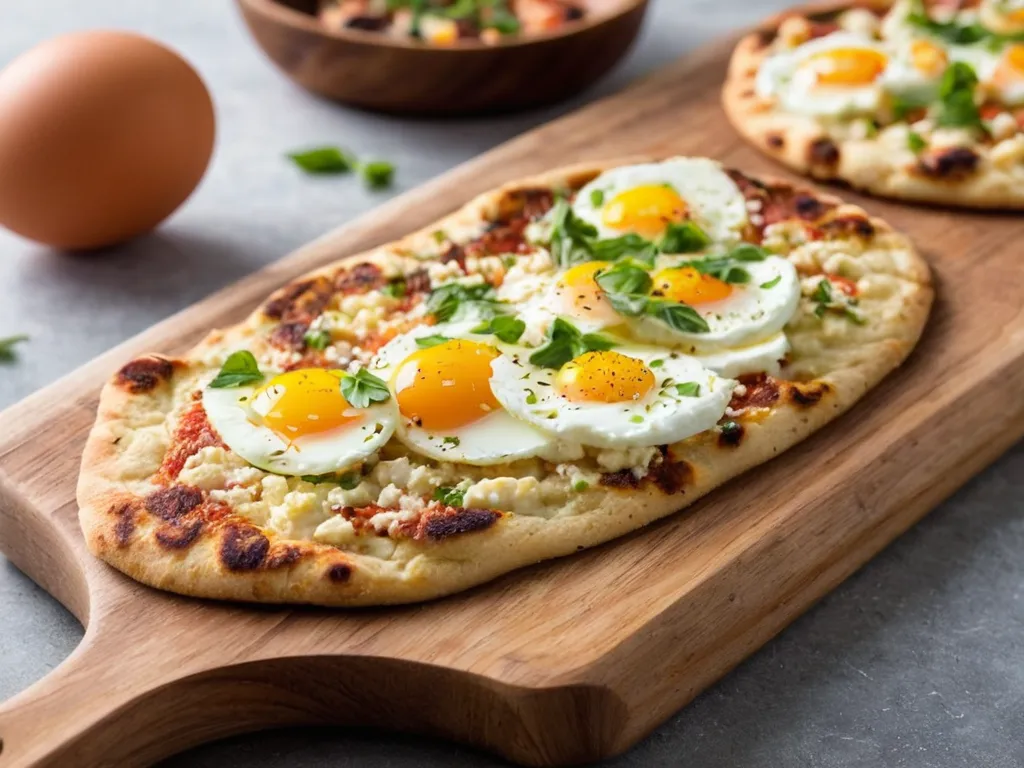
This loaf uses a single store-bought GF all-purpose blend — no sourcing six different specialty flours — plus psyllium husk powder, the one ingredient that makes the difference between a crumbly brick and a real, sliceable sandwich loaf. Rise time: 45 minutes. Bake time: 40 minutes. The result toasts, sandwiches, and holds its shape in a way that would have required a professional bakery setup a decade ago. If you’d rather skip the yeast and the wait, the viral cottage cheese flatbread is a high-protein, same-day gluten-free option, and cloud bread is a no-flour novelty loaf — but neither slices and sandwiches like this one.

The one ingredient that makes it work

Psyllium husk powder is a soluble fiber that gels when it contacts water. In this recipe it replaces what gluten does in wheat bread: it binds the batter, traps yeast-produced gas so the loaf rises, and gives the crumb elasticity. Without it, gluten-free bread made from a flour blend alone tends to crumble.

Most store-bought GF flour blends already contain xanthan gum for some binding. The psyllium husk is in addition to that — and the difference in texture is significant. A loaf made with just the blend is dense and sandy; a loaf with psyllium added slices cleanly and has actual chew.

Use psyllium husk powder, not whole psyllium husk flakes. The powder disperses evenly into the batter; flakes leave visible streaks and don’t hydrate uniformly. (The same psyllium-gel trick is what makes a workable gluten-free pizza crust hold together, if you want to put the ingredient to work twice.)

Why this dough looks nothing like regular bread dough

Gluten-free bread batter is thick, sticky, and pours into the pan rather than being shaped by hand. This is correct. Don’t try to knead it, form it into a ball, or do anything that wheat bread technique requires. The psyllium husk gel is doing the structural work while the batter sits in the pan, and the rise time lets the yeast build gas into that structure.

If the batter looks wrong to you — more like thick porridge than dough — you’re on track.

The timing that matters most

Rise time: 45–60 minutes in a warm spot. Look for the dough to crest the rim of the 9×5-inch pan or dome slightly above it. Underproofed dough produces a dense, brick-like loaf; overproofed dough collapses slightly during baking. The visual cue (just cresting the rim) is more reliable than the clock alone.

Internal temperature: 205–210°F at the center. GF bread can look done while the inside is still starchy. A $15 instant-read thermometer is the most reliable way to pull it at the right moment.

Cooling: At least 1 full hour on a rack before slicing. This is the step most people skip and then blame the recipe for a gummy crumb. The interior is still setting as it cools. Slice at 2 hours for the cleanest result.

Certified GF flour: what that label means

“Certified gluten-free” on the flour bag means it was processed in a dedicated facility and tested to below the FDA’s threshold of 20 parts per million of gluten. Dedicated facility is the important part: even wheat-free oats and flours can pick up cross-contamination when processed on shared equipment. If this bread is for someone who needs to avoid gluten for any reason, look for the certification mark from the Gluten-Free Certification Organization (GFCO) or similar third-party certifier, not just “gluten-free” in the name.

Storing and freezing

GF bread stales faster than wheat bread. Room temperature in an airtight bag is fine for 2 days. After that: slice the whole loaf, freeze the slices flat, pull out one at a time, and toast directly from frozen. The toasted result is genuinely good — better than refrigerated-for-several-days GF bread, which turns dense and starchy.

If you want a lighter, more commercial-style white sandwich loaf to compare against, our Canyon Bakehouse Mountain White copycat aims for that soft, store-bought crumb; this recipe goes the other direction, toward a chewier, bakery-style loaf.
🥗

Make It Healthier

Love Homemade Gluten-Free Sandwich Bread but want a lighter version? Try these simple swaps:

  • ✓Psyllium husk adds 3–4g of fiber per slice already, but you can boost it further by replacing 2 tablespoons of flour with 2 tablespoons of ground flaxseed — it adds omega-3s and doesn't noticeably change the crumb texture.
  • ✓To make this dairy-free, use olive oil instead of butter. The olive oil version is slightly denser but bakes the same way and keeps longer before going stale.
  • ✓Slice the whole cooled loaf and freeze the slices flat in a zip-top bag. Pull out one slice per serving and toast directly from frozen — GF bread toasts beautifully and the texture is better than refrigerated-for-days bread, which can turn dense and starchy.
  • ✓For lower sodium, reduce salt to 3/4 teaspoon — the psyllium husk and apple cider vinegar carry enough flavor that the reduction is barely noticeable.

Frequently Asked Questions

What is the best gluten-free flour for sandwich bread?

Use a certified gluten-free all-purpose blend that already contains xanthan gum — Bob's Red Mill 1-to-1 Baking Flour and King Arthur Measure for Measure are the two most widely available. Do not use almond flour, coconut flour, or a single-grain GF flour (like rice flour alone) for this recipe — those require completely different hydration ratios and binding agents. The 1-to-1 blends are formulated specifically for recipes like this one and produce the most consistent results. 'Certified gluten-free' on the label means the flour was processed in a dedicated facility and tested below the FDA's 20 parts-per-million threshold.

Why does gluten-free bread need psyllium husk?

Psyllium husk powder is a soluble fiber that forms a thick gel when mixed with water. In GF bread, it does the structural work that gluten normally handles in wheat bread: it binds the batter together, traps gas from the yeast so the loaf rises, and gives the finished crumb elasticity so it slices without crumbling. Without psyllium husk (or a similar binder like ground flaxseed), GF bread made from a flour blend alone is typically dense and falls apart when you try to slice it. Most modern certified GF flour blends contain xanthan gum for some of this binding, but psyllium husk in addition to xanthan gum produces a noticeably better texture — more open crumb, better chew.

How do I know when gluten-free bread is done baking?

Use an instant-read thermometer inserted into the center of the loaf from one short end. The target is 205–210°F. Visual cues are less reliable for GF bread than for wheat bread: the crust can look deeply browned while the interior is still starchy and underbaked. If you don't have a thermometer, bake for the full 40 minutes, let the crust get genuinely golden all over (not just the top), and then cool the loaf completely before slicing — cutting it open early is the most common way to find out the center wasn't done.

Why does my gluten-free bread fall apart when I slice it?

Almost always because it was sliced too soon. GF bread's crumb is still structurally setting as it cools — the psyllium husk gel and the starch network need the full cooling time to firm up. Cutting into the loaf while it's hot or warm produces a gummy, tearing crumb that appears 'not done,' even when it baked correctly. Let the loaf cool at least 1 hour on a rack before slicing, and 2 hours for the cleanest cuts. A serrated knife with a gentle sawing motion also helps — don't press down.

Can I make this gluten-free bread recipe without eggs?

Yes, with adjustments. Replace each egg with a flax egg (1 tablespoon ground flaxseed plus 3 tablespoons water, stirred and rested 5 minutes until gel-like). Use 2 flax eggs total. The egg-free version rises slightly less and has a denser, slightly more compact crumb, but it bakes and slices well. Increase the bake time by 3–5 minutes and check the interior temperature. The apple cider vinegar stays in the recipe — it helps the leavening and the texture.

How do I store homemade gluten-free bread?

Room temperature in an airtight bag or container for up to 2 days; after that, the crumb stales faster than wheat bread. The best method for longer storage is slicing the whole cooled loaf and freezing slices flat in a zip-top bag. Pull out one slice at a time and toast directly from frozen — toasting is the ideal preparation regardless, and frozen-then-toasted GF bread has better texture than refrigerated bread that's dried out over several days. Avoid the refrigerator for storage; cold temperatures accelerate staling in GF bread specifically.

Love this recipe? Share it!

Free PDF: our 12 most-wanted copycat recipes — instant download.

Made it? Buy us a coffee

Every recipe here is free, with no paywalls. If this one was a hit at your table, a small tip keeps new copycats coming.

$

Ratings & Reviews

—
No ratings yet

Rate this recipe

Click a star to rate

Leave a Review

0/500

CS

Copycat Spices Editorial

Researched + fact-checked. Every recipe on Copycat Spices is built from published sources — official ingredient lists, brand-published recipes, interviews and food-science references — and fact-checked before it goes live, then written as clear, step-by-step instructions for home cooks of all skill levels.

Learn more about our mission →