Pin It

Peppermint Bark (Dark Chocolate + White Chocolate + Crushed Candy Cane)

Peppermint Bark (Dark Chocolate + White Chocolate + Crushed Candy Cane)
Jump to Recipe
Prep 20 min Cook 5 min Serves 24 pieces (about 1.5 lbs)
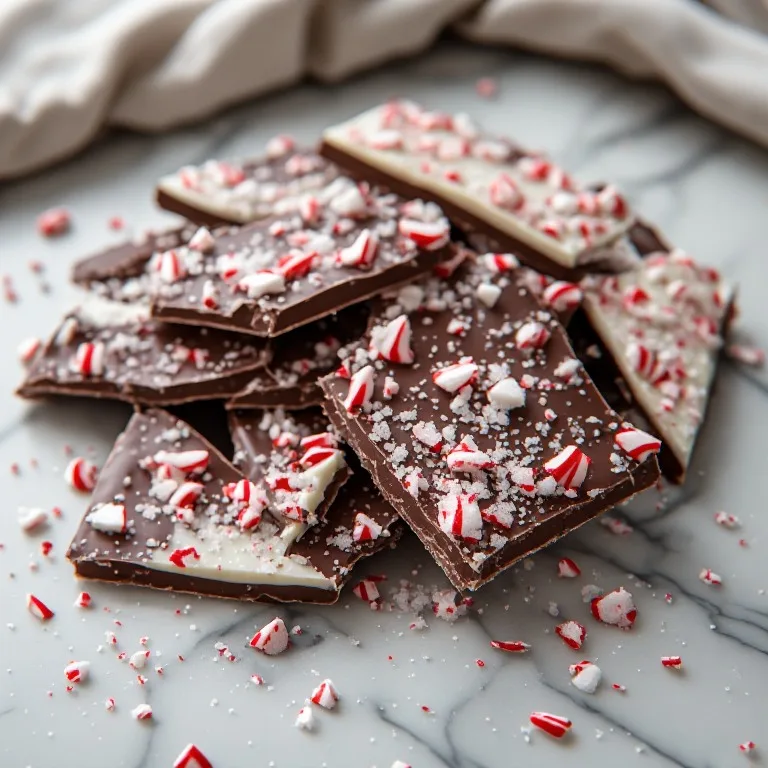
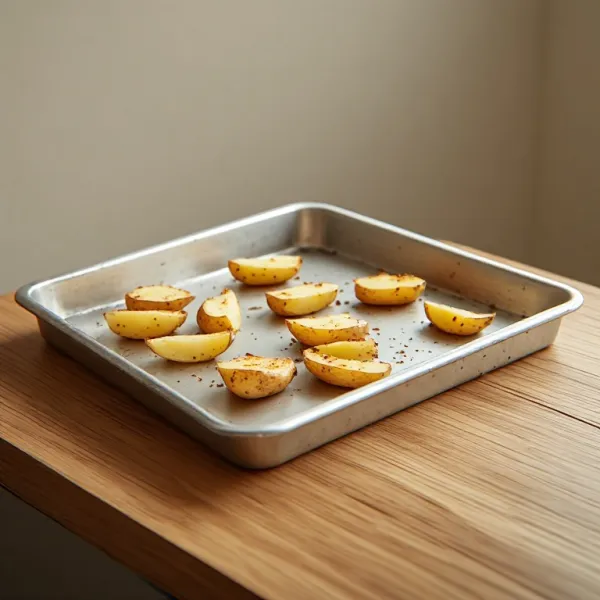
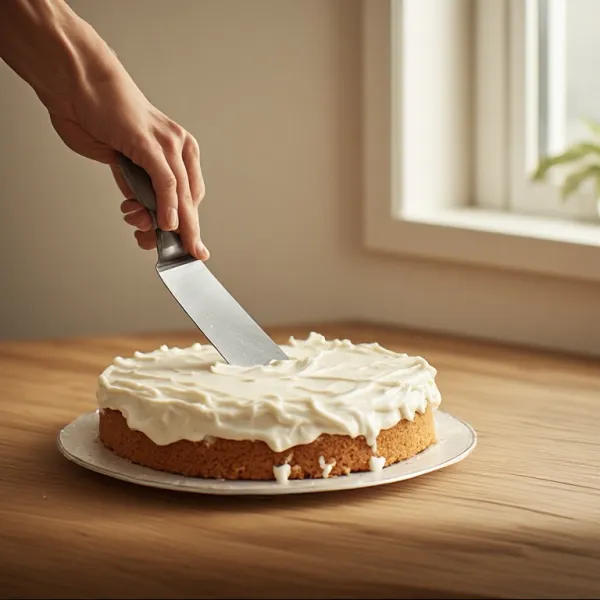
Quick answer: Line a quarter-sheet pan (9x13 inches) with parchment. Melt 12 oz (340g) bittersweet chocolate (60-70% cacao) in a double boiler or microwave in 30-second bursts, stirring between each. Pour onto the pan and spread to ¼-inch thickness. Refrigerate 15 to 20 minutes — until the surface is set but the chocolate still feels slightly cool and tacky when you press it with a fingertip (not liquid, not fully hard). Melt 12 oz (340g) white chocolate the same way. Stir in ½ teaspoon peppermint oil (not extract — water seizes chocolate). Pour over the dark chocolate layer and spread evenly with an offset spatula. Immediately sprinkle ½ cup (75g) crushed candy cane pieces over the surface and press lightly to adhere. Refrigerate 1 hour until fully set. Lift out the parchment and snap or chop into irregular pieces.

Shop the tools

Gear matched to this recipe. These are Amazon affiliate links — we may earn a small commission if you buy, at no extra cost to you.

As an Amazon Associate, Copycat Spices earns from qualifying purchases. Product images are generic illustrations, not the exact item listed.

Peppermint Bark (Dark Chocolate + White Chocolate + Crushed Candy Cane)

Viral TikTok peppermint bark: bittersweet chocolate base, peppermint-scented white chocolate top, blanketed in crushed candy canes. The trick for layers that bond and snap cleanly — not slide apart — plus why peppermint oil (not extract) is the only option for chocolate.

Easy Prep: 20 min Cook: 5 min Total: 25 min24 pieces (about 1.5 lbs) servings ~$4.50/serving
Prep20 min
Cook5 min
Total25 min
Servings
24
At home~$4.50/serving
vs
Restaurant~$20.25/serving
You save ~78%

The Story Behind the Recipe

Williams-Sonoma began selling peppermint bark in 1998 and turned it into one of the most recognizable holiday gift items in American retail — their annual tin, which runs $30 to $40 depending on the year, is made from the same three ingredients you can source at any grocery store for about $8 total. The bark itself is simple: a layer of bittersweet chocolate, a layer of white chocolate flavored with peppermint oil, and crushed candy canes pressed into the top while the surface is still tacky. The combination — bitter, sweet, cool, crunch — is specifically engineered for the holiday season, and it keeps for weeks in a tin at room temperature, which makes it the most practical homemade gift in existence.

The TikTok iteration is driven almost entirely by ASMR. The snap of well-tempered chocolate bark is genuinely satisfying on camera, and the red-and-white visual of the candy cane against white chocolate reads as unmistakably Christmas in a thumbnail. Creators have pushed the recipe in several directions — white chocolate base with dark chocolate swirled on top, three-layer versions with milk chocolate in the middle, versions with freeze-dried strawberries or crushed Oreos — but the original two-layer format still performs best because it looks exactly like the classic. The one technique that actually matters: add the white chocolate layer before the dark chocolate is completely set. If the dark layer sets hard before you pour the white, the two layers separate cleanly when you snap the bark, which looks dramatic but usually means the top slides off the bottom.

Nutrition Facts

Per serving (24 pieces (about 1.5 lbs) servings)
Calories175
Total Fat10g
Total Carbs20g
Dietary Fiber1g
Sugars17g
Protein2g
Sodium20mg

* Estimated values based on standard recipe preparation. Actual values may vary.

Ingredients

  • For the dark chocolate base
  • For the white chocolate layer
  • Topping
  • Equipment

Instructions

💡
Pro tip: This recipe tastes even better the next day. The flavors need time to meld together in the fridge.
❄️
Storage: Keeps in an airtight container in the fridge for up to 2 weeks. Freezer-friendly for up to 3 months.
🎃 Free Halloween cookbook — download now The Copycat Halloween Cookbook A ready-made, photo-illustrated PDF of our best halloween copycat recipes — free to download, no building required. Pay what you want to support if you love it.

Free PDF — instant download. We'll also send new seasonal copycat recipes now and then; unsubscribe anytime. Or just download it →

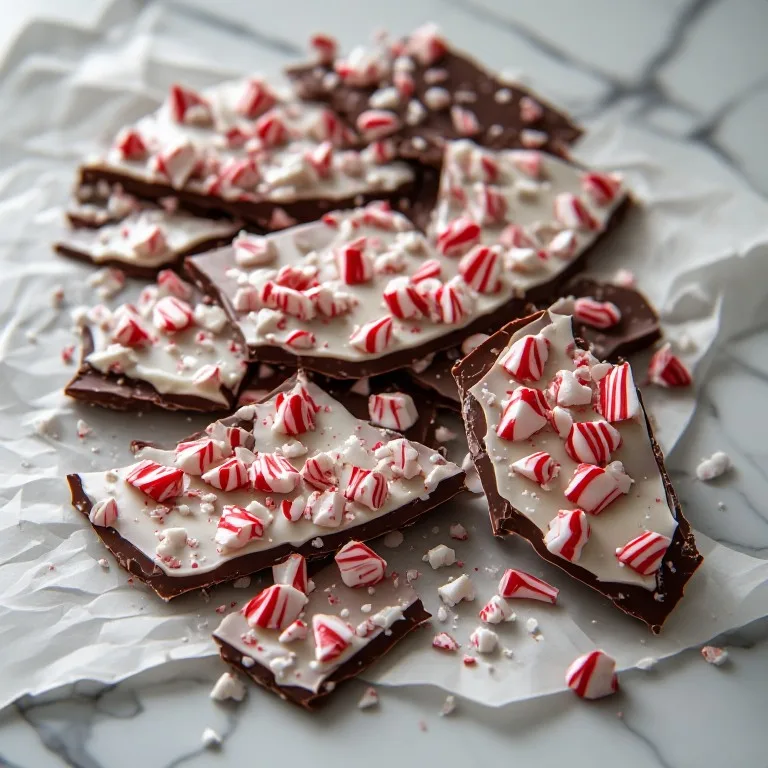
Peppermint bark is dark chocolate, white chocolate, and crushed candy canes — in that order, in layers, snapped into irregular pieces. It’s as simple as that.

The technique has two parts: getting each layer to the right thickness, and adding the white chocolate layer before the dark has fully hardened so the two bond rather than peel apart. Everything else is window dressing.


Why Peppermint Oil, Not Extract

The most common mistake in chocolate confectionery is adding a water-based flavoring to melted chocolate. Standard peppermint extract is the flavor dissolved in an alcohol-and-water base, and even a few drops of that watery liquid cause chocolate to seize — it goes from smooth and fluid to a thick, grainy paste in seconds and becomes impossible to spread.

Peppermint oil is fat-based. It blends smoothly into melted chocolate with no change in texture. It’s also more concentrated: ½ teaspoon of peppermint oil has roughly the same mint intensity as 1½ teaspoons of extract, so you use less.

LorAnn Oils peppermint flavoring is the most widely available brand in the US. It’s sold at Walmart, craft stores (Michael’s, Joann), and most grocery stores in the baking aisle. If you already have peppermint extract in your pantry, it won’t work here.


The Layer-Bonding Window

The difference between bark that snaps in two distinct layers and bark that holds together as a single piece is timing.

After spreading the dark chocolate layer, you need the surface to pass through a specific state: set enough that the white chocolate doesn’t mix into it, but still slightly tacky at the surface so the cocoa butter molecules in both layers can bond. That window is roughly 15 to 20 minutes in a 37°F refrigerator.

Check by touch: press one finger to the surface. If no chocolate comes off and the surface feels cool and firm but not rock-hard — a little like a set pudding skin — it’s ready. If it’s still glossy and liquid, wait 5 more minutes. If you’ve gone past 30 minutes and it’s completely rigid, you’ll likely get some delamination when you snap it. Proceed anyway; it still tastes the same.


Variations

Three-layer bark: After the dark chocolate sets completely (not just tacky), add a thin milk chocolate layer, let it set 10 minutes, then add the white chocolate layer and candy cane topping. The milk chocolate layer acts as a transitional step and adds visual drama in the cross-section.

White-on-bottom: Start with the white chocolate layer, let it set, then pour dark chocolate over it and top with candy canes. This inverts the visual — candy canes appear on dark chocolate in the final result — and has a slightly different texture balance (you bite into the white chocolate first).

Crushed Oreo topping: Replace half the candy cane with crushed Oreo pieces. The dark cookie fragments echo the dark chocolate base and add a cream filling flavor note that works well against the white chocolate.

Swirled: Pour white and dark chocolate layers simultaneously, swirl with a toothpick or skewer, scatter candy canes. The layers won’t be as distinct but the swirl pattern looks striking in photos.

Salted: Add a few pinches of flaky sea salt (Maldon or fleur de sel) along with the candy canes. Salt cuts the sweetness of the white chocolate layer and makes the peppermint taste sharper and cleaner.


For Gifting

Line a metal cookie tin with parchment, stack pieces in layers separated by parchment squares, and seal with the lid. Keeps at room temperature for 3 to 4 weeks — no refrigeration needed as long as your house stays under 68°F. At warmer temperatures, the white chocolate softens.

A 1.5-lb batch fills a standard 8x8 cookie tin generously or three 4x6 tins if you’re splitting into smaller gifts. Per-piece weight is about 1 oz. At a price of about $8 in ingredients for the full batch, homemade peppermint bark costs roughly 33 cents per piece versus the Williams-Sonoma tin at roughly $1.50 to $2.00 per piece.

If you want the recipe framed around that original tinned version — the one Williams-Sonoma made famous in 1998 — it’s the same three ingredients, scaled and styled to match the gift-shop classic.
🥗

Make It Healthier

Love Peppermint Bark (Dark Chocolate + White Chocolate + Crushed Candy Cane) but want a lighter version? Try these simple swaps:

  • ✓Use 70% cacao dark chocolate for the base layer instead of milk or semisweet. The bitterness of 70% cuts through the sweet white chocolate and candy cane, resulting in a more balanced bark that tastes less cloying.
  • ✓Reduce the white chocolate layer to 8 oz (instead of 12 oz) and spread it thinner. You still get the peppermint and visual contrast, but the bark has less sugar per piece.
  • ✓Replace half the candy cane topping with crushed dark chocolate-covered cocoa nibs — the nibs add crunch without the pure sugar hit of candy canes, and the bitterness deepens the overall flavor.
  • ✓A quarter-sheet pan makes thinner, lighter pieces than a smaller pan. A 9x13 pan has about 1.4 times the surface area of a 9x9 pan, so the same chocolate spreads thinner and each piece runs roughly 25-30% fewer calories — satisfying snap and flavor, less mass per bite.

Frequently Asked Questions

Why does my peppermint bark separate into two layers when I snap it?

The dark chocolate layer set too completely before you poured the white chocolate. For the layers to bond, the dark chocolate surface needs to be firm but not hard — set enough to hold the white chocolate without the two layers mixing, but still slightly tacky at the surface so the white chocolate adheres chemically. The window is roughly 15 to 20 minutes in the refrigerator at 35–40°F, or until you can touch the surface and it leaves no chocolate on your finger but still feels slightly cool and yielding rather than fully rigid. If you wait until the dark chocolate is completely hard (30+ minutes), the surface has crystallized fully and the two layers won't bond — they'll peel apart cleanly at the seam. If this happens, melt a few tablespoons of dark chocolate, spread it thinly on the white chocolate layer, and immediately press the layers together with a flat spatula — the fresh chocolate acts as an adhesive. Or serve it as is; delaminated bark tastes exactly the same.

Can I use peppermint extract instead of peppermint oil?

No — use peppermint oil only. Standard peppermint extract is the flavor dissolved in an alcohol-and-water base, and even a few drops of that watery liquid cause chocolate to seize — the melted chocolate thickens instantly into a grainy, stiff paste and becomes unworkable. Peppermint oil is fat-based and blends smoothly into melted chocolate without triggering seizing. Look for food-grade peppermint oil (also called peppermint flavoring or mint candy flavoring) at baking supply stores, Walmart's baking aisle, or Amazon. LorAnn Oils peppermint is the most widely available. It's more concentrated than extract — ½ teaspoon of oil equals about 1½ teaspoons of extract in flavor intensity — so start with ¼ teaspoon if you're unsure about your batch size, taste, and add more. If you can only find peppermint extract and are determined to use it, stir it into the white chocolate only after the chocolate has cooled slightly (around 90°F), add it drop by drop, and work quickly — the seizing risk is lower at lower temperatures, but it's still real.

What kind of chocolate should I use?

For the dark layer: a 60-70% cacao baking bar or baking chips. Bars (chopped) melt more smoothly than chips because chips contain less cocoa butter (manufacturers add stabilizers so they hold their shape in baked cookies). Brands: Ghirardelli 60% or 72% baking bars, Guittard Extra Dark, Valrhona Caraïbe. Trader Joe's Pound Plus 72% is an excellent value option. For the white layer: a white chocolate baking bar with real cocoa butter listed as an ingredient — not 'white baking chips,' which often contain palm kernel oil and produce a waxy, flat-tasting layer. Ghirardelli Classic White Baking Chips use real cocoa butter and are a reliable exception. Lindt Classic White or Valrhona Ivoire are higher-end options. Avoid generic store-brand white chips for bark — the mouthfeel difference is noticeable.

How do I crush candy canes without them sticking everywhere?

Keep them in their individual cellophane wrappers. Place the wrapped candy canes in a zip-lock freezer bag, seal it, and hit them firmly with a rolling pin until broken into roughly ¼-inch irregular pieces. The wrapper contains the sticky mess and prevents the candy cane dust from turning into a syrupy film on your cutting board. Remove the candy cane pieces from the wrappers after crushing. Alternatively, pulse unwrapped candy canes in a food processor for 3 to 4 seconds — but do this quickly; over-processing turns them into fine pink-red powder rather than distinct pieces, and you want some visible chunk for texture and appearance. Don't crush candy canes far in advance; they absorb humidity and clump. Crush them while the white chocolate layer is setting and add them immediately.

Why does the white chocolate look dull and streaky after it sets?

The white chocolate bloomed — the cocoa butter separated and migrated to the surface as it cooled, creating gray-white streaks or a matte, waxy appearance. This happens when chocolate cools too slowly at room temperature (cocoa butter forms unstable crystals), is overheated during melting (above 120°F), or is cooled then rewarmed before fully setting. The simplest fix: melt white chocolate carefully (microwave 30 seconds at a time, stirring thoroughly between each; stop when about 80% melted and stir in residual heat to finish), pour it immediately when it's smooth and around 90-95°F, and refrigerate the whole pan right away rather than letting it sit at room temperature. For a glossy result without tempering, move the pan to the refrigerator within 5 minutes of spreading the white layer. Bloomed chocolate tastes the same — the dull appearance is purely visual.

How long does peppermint bark keep, and how should I store it?

Stored in an airtight tin at cool room temperature (60-68°F), peppermint bark keeps for 3 to 4 weeks — it's shelf-stable because both chocolate layers have minimal moisture and the candy cane topping is dry. Refrigeration extends the shelf life to 6 weeks but causes condensation when the bark warms to room temperature, which makes the surface tacky and can soften the candy cane crunch. Store in layers separated by parchment paper to prevent pieces from sticking together. For gifting, a metal tin works better than a plastic container (plastic traps humidity). Freeze for up to 3 months in a freezer bag with parchment between layers; thaw overnight in the refrigerator, then bring to room temperature before opening the container (prevents condensation).

Is peppermint bark a Williams-Sonoma invention?

Williams-Sonoma didn't invent peppermint bark — the combination of chocolate and crushed candy cane has existed as a holiday confection for generations — but they popularized the specific two-layer format and made it commercially famous when they began selling their tinned version in 1998. The product became one of their best-selling holiday items and inspired many candy brands and bakers to produce their own versions. See's Candies, which has been making holiday candy since the 1920s, also sells a well-known peppermint bark. The TikTok-era versions trace back to the Williams-Sonoma aesthetic: the clean two-layer cross-section, the irregular broken pieces, the visual pop of red candy cane against white chocolate.

Love this recipe? Share it!

Free PDF: our 12 most-wanted copycat recipes — instant download.

Made it? Buy us a coffee

Every recipe here is free, with no paywalls. If this one was a hit at your table, a small tip keeps new copycats coming.

$

Ratings & Reviews

—
No ratings yet

Rate this recipe

Click a star to rate

Leave a Review

0/500

CS

Copycat Spices Editorial

Researched + fact-checked. Every recipe on Copycat Spices is built from published sources — official ingredient lists, brand-published recipes, interviews and food-science references — and fact-checked before it goes live, then written as clear, step-by-step instructions for home cooks of all skill levels.

Learn more about our mission →