Pumpkin Roll — The TikTok Trick That Makes It Look Hard
Prep time: 25 min
Cook time: 15 min (plus 1 hour cooling + 1 hour chilling)
Servings: 10 slices
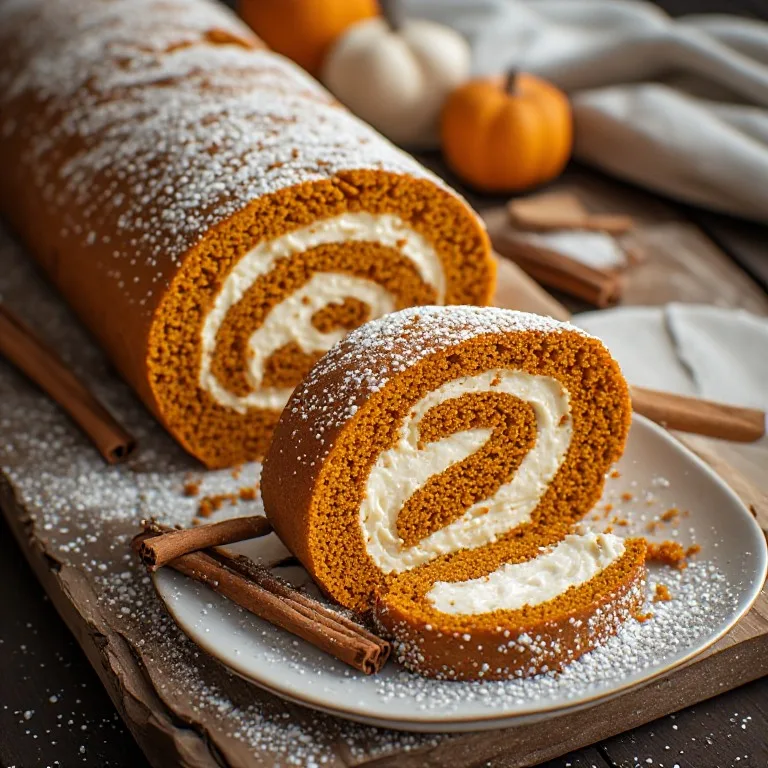
The pumpkin roll stops the scroll every fall because the technique looks impossible until you understand it. You bake a thin flat cake, flip it onto a kitchen towel, and roll it up — while it’s still hot and steaming — so it sets its curl before it cools. One hour later you unroll it, spread cream cheese filling edge to edge, and roll it back up. The striking orange-and-white swirl cross section looks like something from a patisserie. The actual work is about 15 minutes of baking plus waiting.
The Story Behind the Recipe
The pumpkin roll became a Thanksgiving staple long before TikTok. Libby’s — which has printed recipes on its canned-pumpkin labels since the 1950s — popularized the dish through its 1984 “Great Pumpkin Cookbook,” and that’s where most food historians trace its mainstream spread. Modern TikTok versions pushed the filling richer — a full block of cream cheese, real butter, properly sifted powdered sugar — and the spice profile bolder. The video format is perfectly suited to showing the hot-roll technique, which reads as a magic trick: you’re watching someone use heat and geometry to solve the structural problem of a rolled cake before the cake knows it’s a problem.
At a bakery or catering company, a pumpkin roll runs $20 to $35. Made at home, the total ingredient cost is about $7 for ten servings. The most expensive ingredient is the cream cheese ($3 for 8 oz).
The One Technique That Matters: Roll It Hot
Most baking failures with pumpkin rolls happen because the cook waited too long.
A sponge cake that cools on a flat surface sets flat. When you then try to curl it into a log, the set structure resists — and cracks. The hot-roll technique works because it solves the problem before it starts: you’re telling the cake what shape to be while it’s still soft enough to listen.
The mechanics: heat keeps the gluten network loose and flexible. A sponge cake baking at 375°F has steam throughout its structure; that steam and residual heat give you a 2 to 3 minute window when the cake is as pliable as a piece of warm dough. Roll it during that window and let it cool into the curved position — it will hold that shape permanently. Try to roll it 15 minutes later and you’re fighting a structure that already set flat.
Practically: have the powdered-sugar-dusted towel ready before the cake goes into the oven. The moment the pan comes out, you invert, peel, and roll. No pausing to get the towel. No admiring the bake. Move directly from oven to roll.
The Powdered Sugar Towel: Why It Works and How Much to Use
The towel serves two purposes. First, it prevents sticking — a hot, slightly moist cake will bond to a bare surface as it cools. Second, the powdered sugar absorbs any surface moisture from the cake and keeps the two surfaces separate so you can unroll cleanly an hour later.
The mistake most first-timers make is using too little powdered sugar. A light dusting is not enough. You want the towel visibly white with powdered sugar over the entire area where the cake will land — use 3 to 4 tablespoons spread into a uniform layer. When you unroll the cooled cake, the interior surface should be lightly coated in powdered sugar, which actually helps the cream cheese filling adhere evenly.
Do not use a waffle-weave or terry cloth towel. The texture presses into the soft surface of the hot cake and leaves a textured imprint that looks unfinished. A smooth-weave cotton or linen towel (a clean flour sack towel or any flat-weave dish towel) releases cleanly.
The Pumpkin Sponge: Light, Not Dense
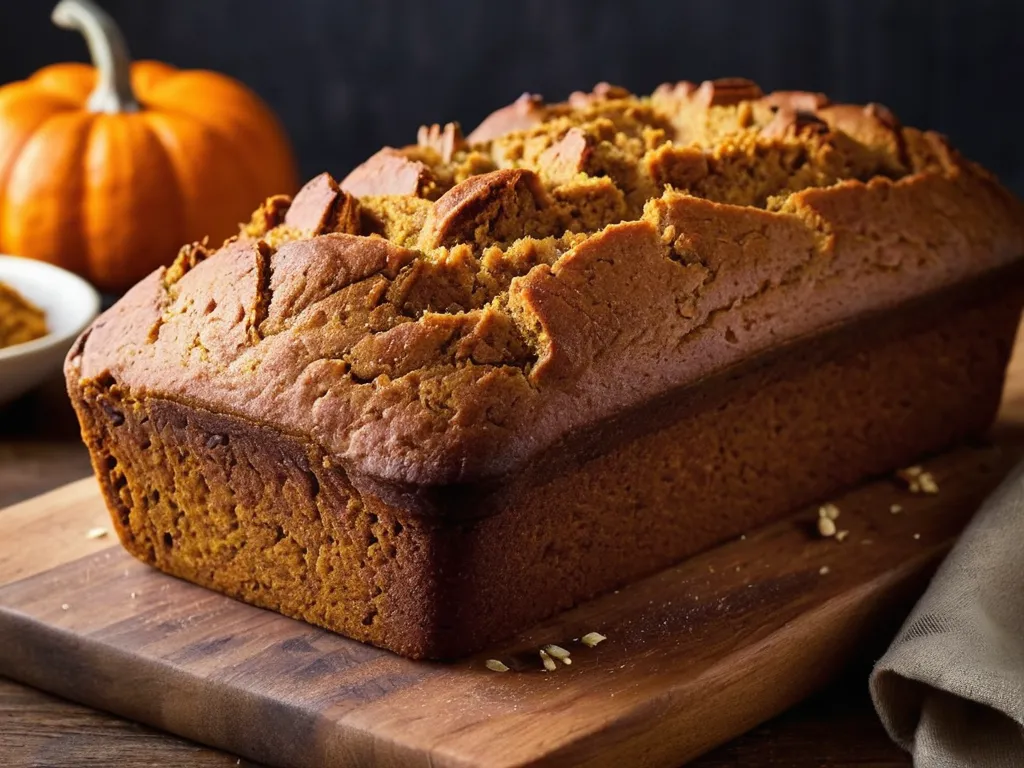
Pumpkin sponge is a different structure from pumpkin bread. Pumpkin bread is a dense quick bread — it uses leavening and oil for a moist, heavy crumb. Pumpkin sponge is lighter because it relies on eggs beaten with sugar for structure (not fat), and the thin layer means it bakes in 13 to 15 minutes rather than an hour.
The eggs and sugar are beaten together first to build volume — you want them thick enough that a ribbon of batter holds on the surface for a moment before sinking back in. This air is what makes the sponge light and flexible rather than gummy. Adding the dry ingredients: fold, not stir. The difference is the motion — a folding stroke goes down through the batter and up the side of the bowl, preserving the air you just built. Stirring knocks air out.
The batter should spread to a thin, even layer across the full 15×10 pan. If you leave thick patches in the center or thin spots at the edges, those areas will bake differently — the thick patch will be underbaked (soft and sticky when rolled), the thin edge will be overdone (dry and prone to cracking).
The Cream Cheese Filling: Three Rules
1. Room temperature cream cheese. Cold cream cheese will not beat smooth; you will end up with lumps regardless of how long you run the mixer. Take the cream cheese and butter out of the refrigerator at least 45 minutes before you need them. Press the cream cheese between your fingers — if it leaves an indentation and feels pliable, it’s ready.
2. Sift the powdered sugar. Powdered sugar contains tiny lumps that don’t fully dissolve even when beaten. Sifting takes 30 seconds and eliminates every lump before it can show up in the finished filling.
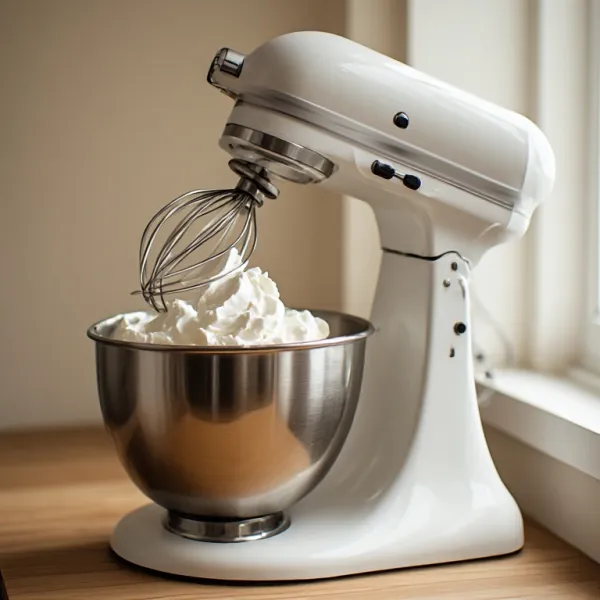
3. Beat until truly fluffy. After the sugar goes in, beat for a full minute on medium speed. The filling should look light and almost whipped. A filling that was beaten only until combined tastes fine but spreads unevenly and is denser than it should be.
Assembly Checklist
- Cake is completely cool (not just warm) — if it’s warm, the filling will melt into it
- Filling is cold from the refrigerator (makes it easier to spread without tearing the sponge)
- 1/2-inch border left on all edges — filling presses outward when re-rolled; a border prevents it from squeezing out
- Re-roll with steady pressure from one end — uneven pressure creates voids in the middle
- Wrap tightly in plastic and refrigerate before slicing — an hour minimum, overnight is better
Serving and Slicing
Set the chilled roll on a serving board and dust with powdered sugar immediately before serving — the sugar absorbs into the surface within 10 to 15 minutes and becomes less visible, so dust right before guests see it.
Use a sharp chef’s knife, not a serrated bread knife. A serrated knife tears the soft sponge and pulls the cream cheese filling. Wipe the blade with a damp cloth between each slice. The first slice is always the best one to taste yourself.
Pumpkin roll slices hold their shape for about 2 hours at room temperature. Any longer and the cream cheese starts to soften noticeably. Return to the refrigerator between servings.
Cost Breakdown
| Ingredient | Approximate Cost |
|---|---|
| 15 oz can pure pumpkin | $2.00 |
| Cream cheese (8 oz) | $3.00 |
| Eggs (3) | $0.75 |
| Butter (6 tbsp) | $0.60 |
| Sugar, flour, spices | $0.65 |
| Total (10 servings) | ~$7.00 |
A bakery pumpkin roll starts at $20. A catering-company version at Thanksgiving can run $35. Ten slices for $7 at home — $0.70 per slice — and it takes less than 30 minutes of active time.