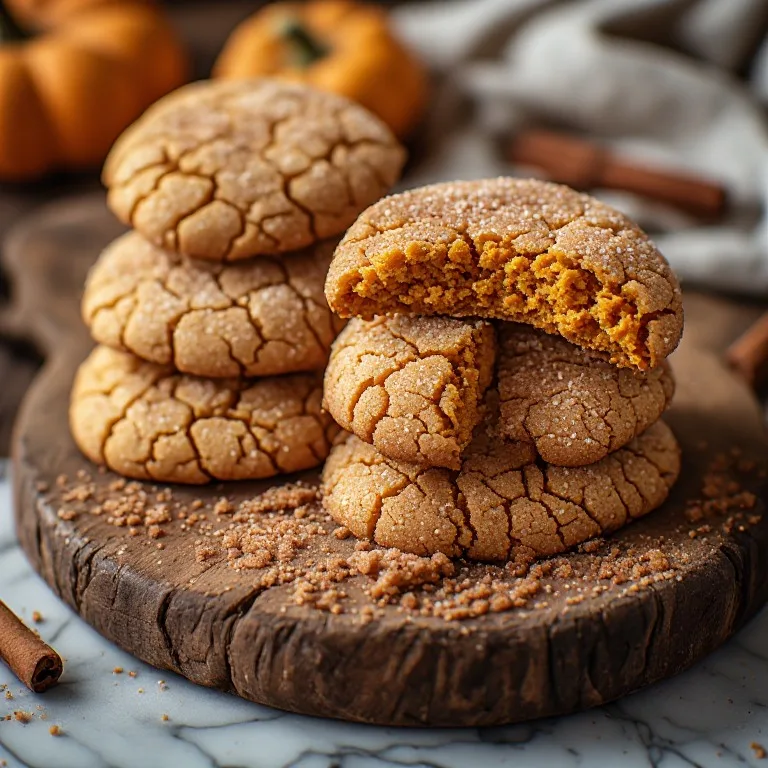
Every fall, TikTok gets flooded with pumpkin snickerdoodles. Most of the viral clips look perfect — crinkly cinnamon-spice exteriors, thick centers, warm orange color. Most of the home batches look nothing like them.
The gap isn’t skill. It’s one step that almost every viral recipe and comment thread glosses over.
The Problem: Pumpkin Is Mostly Water
Canned pumpkin puree is roughly 90% water. Even a modest quarter cup adds nearly 60 grams of extra liquid to your dough. That water turns to steam in a 350°F oven and the cookies puff into soft, cakey discs — more muffin-top than snickerdoodle. They’re pleasant but they don’t have the chewy, crinkly-exterior quality that made pumpkin snickerdoodles worth searching for in the first place.
The fix: blot the pumpkin puree before it goes near your dough.
Spread the puree thin on three layers of paper towels. Press firmly, fold, press again, move to a dry section and press once more. It takes two minutes. When you’re done, the pumpkin should have no visible wet sheen and feel like soft clay rather than paste. The paper towels will be deeply stained and noticeably damp. All that moisture would have been in your cookie.
This one step is the difference between cakey disappointment and the genuinely chewy pumpkin snickerdoodle worth making every fall.
What Cream of Tartar Actually Does Here
Snickerdoodles without cream of tartar are just cinnamon sugar cookies. The cream of tartar does three specific things:
It provides the tang. That subtle savory-tangy note underneath the cinnamon sweetness is the flavor signature of a real snickerdoodle. It comes entirely from the mild acidity of potassium bitartrate reacting with baking soda. Without it, the flavor is flat and one-dimensional.
It keeps the cookie chewy. Cream of tartar’s acidity interferes with sugar crystallization as the cookie cools. Crystallized sugar = crunchy, sandy texture. Prevented crystallization = the pleasantly chewy pull that makes you reach for another one.
It creates the craggly surface. The way cream of tartar and baking soda react as leaveners produces an even, controlled rise that creates the characteristic crinkled, craggly exterior distinctive to snickerdoodles. You can’t get that surface texture by substituting baking powder.
The Egg Yolk Rule
Most pumpkin cookie recipes call for a whole egg. That’s a problem here because egg whites are 88% water, and this dough is already carrying extra moisture from the pumpkin. Using only the yolk — rich in fat and lecithin — gives the cookie the rich, tender crumb and emulsified structure you want, while leaving behind the egg white’s water and its cakey-structure-building proteins.
It’s the same principle behind why brown butter cookie recipes often call for an extra yolk: richness in, moisture out.
The Dough Has to Chill
At least 1 hour in the refrigerator. Two hours is better. Twenty-four hours is ideal and produces noticeably better cookies — more flavor depth from the slow interaction between the cream of tartar, baking soda, and the butter; chewier texture from the flour having fully absorbed all available moisture; less spreading in the oven because the fat is fully solidified.
The dough will be sticky right after mixing. That’s normal. The chill firms it into something rollable and manageable. Trying to work with warm pumpkin cookie dough produces cookies that spread into flat discs.
The Cinnamon-Spice Coating
A standard snickerdoodle coating is cinnamon and granulated sugar. For pumpkin snickerdoodles, adding ½ teaspoon of pumpkin pie spice to the rolling sugar reinforces the fall flavors on the exterior — the coating is the first thing your palate hits, and it should signal pumpkin from the first bite.
Roll each ball thoroughly — not a light dusting but a full coat — and don’t press it. The ball of dough should be coated on all sides, then placed without flattening. The cookies will spread naturally in the oven into the right thickness.
Pulling Them at the Right Time
The single most common baking mistake with any chewy cookie: pulling it too late. These come out of the oven looking underdone — the edges set, but the centers soft, slightly domed, and not yet matte. That’s the right moment. They will continue cooking on the hot pan for 8–10 minutes. Waiting until the centers look fully cooked in the oven means overcooked cookies by the time they cool.
Rest them on the pan for 8–10 minutes before moving. The carry-over heat from the pan finishes the bake; moving them too early breaks the center before it’s set.
Storage and Timeline
These cookies are better on day 2 and day 3 than day 1. The just-baked version is soft and slightly fragile — the texture of warm cakey dough. By the next day, the chew firms to the satisfying pull of a good bakery cookie. Store them in an airtight container at room temperature with a slice of bread in the container (the bread absorbs the drying air and keeps the cookies soft). They stay good for 5 days.
Don’t refrigerate unfrosted cookies — cold, dry refrigerator air takes them from chewy to dry and crumbly in 24 hours.
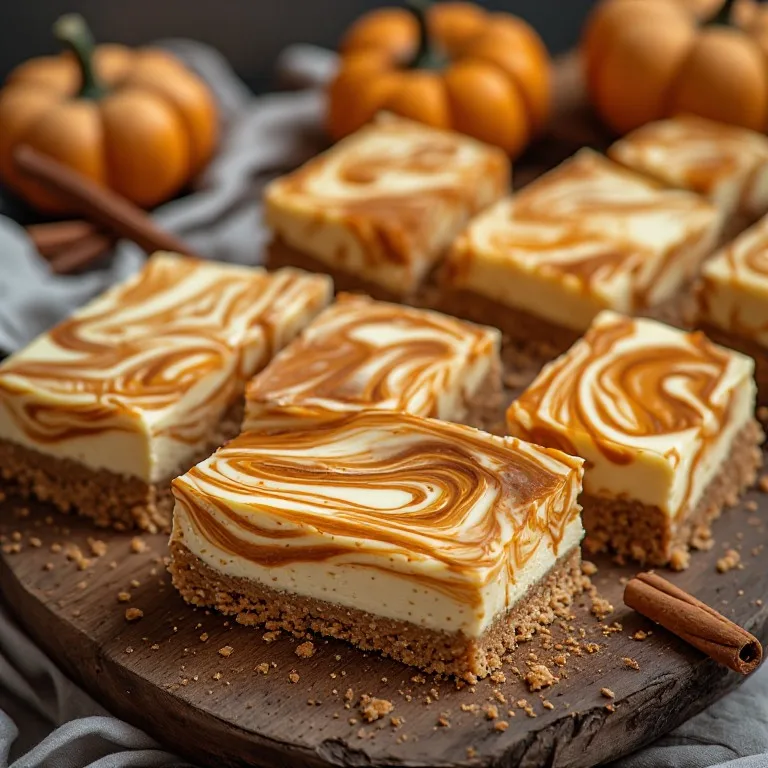
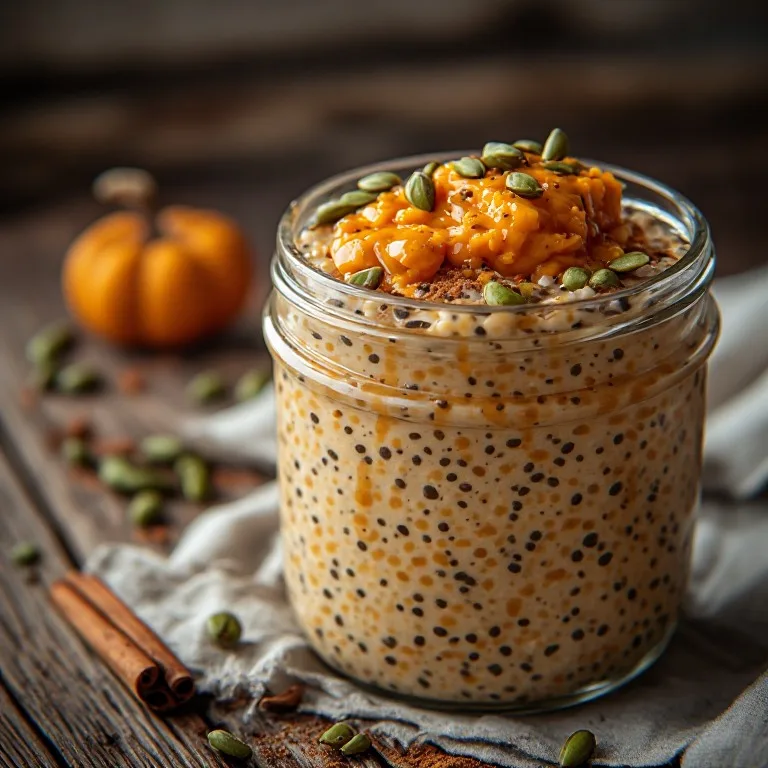
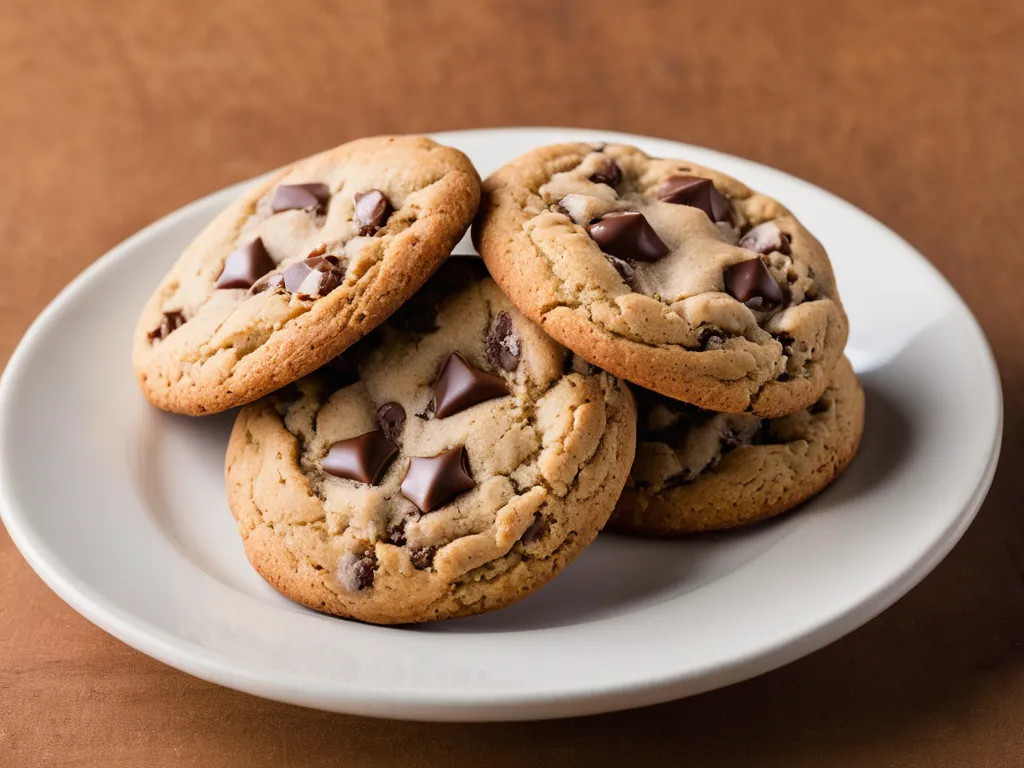
For more fall baking: pumpkin cheesecake bars need no chill time and come together in one bowl. For a different chewy cookie with a technique-driven edge, brown butter chocolate chip cookies use the same egg-yolk principle to produce a bakery-quality chew. And if you want the pumpkin flavor to carry across your whole fall morning routine, pumpkin overnight oats and pumpkin spice latte use the same puree in different forms.