Why This Technique Works When a Vertical Spit Doesn’t Fit in Your Kitchen
The traditional döner spit works because rotating meat near radiant heat does two things simultaneously: the outside layer crisps and browns in the heat, while the fat from inner layers drips down to baste the surface as it rotates. Shaving thin slices off the browned exterior, then exposing the next layer to the heat again — that’s the rhythm of a real kebab stand.
The TikTok parchment-roll method solves both problems with home equipment. Rolling the meat tightly in parchment compresses it into the dense, sliceable texture that a spit achieves by stacking layers under their own weight. Baking low-and-slow (325°F, 45 minutes) sets the fat-protein structure the same way the spit does during its long rotation. The broiler step at the end replaces the radiant heat — rotating the log every 3 minutes ensures all sides get the direct-heat crust the spit produces continuously.
The result isn’t a perfect replica of a restaurant spit, but it gets you to 85% of the way there with equipment every kitchen already has.
The Meat Blend: Why Lamb Matters
The flavor that makes doner taste like doner is lamb fat. Lamb fat carries branched-chain fatty acids — chiefly 4-methyloctanoic and 4-methylnonanoic acid — that have no equivalent in beef, pork, or chicken fat. Food scientists have pinned these compounds as the main drivers of lamb and mutton’s distinctive, slightly gamey aroma, which is exactly the note a doner needs. Ground beef alone, no matter how well-seasoned, will taste like a spiced meatloaf. Ground lamb alone can be too rich and pungent. The 50/50 blend (by weight) lets the lamb fat carry the character while the beef’s more neutral fat tempers it and helps the texture.
Fat content matters more than usual here. Unlike a burger where lean is fine, doner needs 80/20 fat content in both meats. The fat doesn’t just add flavor — it lubricates the myosin protein network during mixing and prevents the log from turning dry and rubbery during the low-and-slow bake. Leaner meat (90/10 or above) tends to produce a coarser, less cohesive log that crumbles when sliced.
The Spice Blend: What Authentic Doner Actually Uses
Turkish doner seasoning is intentionally subtle — the lamb and charring do most of the work. The blend in this recipe uses six core spices that appear consistently across Ottoman-influenced doner recipes and restaurant versions:
| Spice | Role | Quantity |
|---|---|---|
| Smoked paprika | Color and mild sweetness; smokiness bridges the absence of actual spit-smoke | 1 tsp |
| Cumin | The backbone of the savory note | 1 tsp |
| Ground coriander | Floral, citrusy counterpoint to cumin | ½ tsp |
| Dried oregano | Herbaceous; more common in Turkish doner than thyme | ½ tsp |
| Cinnamon | Warming spice in very small quantity — noticeable at 1 tsp, background at ¼ tsp | ¼ tsp |
| Allspice | The other warming spice that distinguishes this from Mexican or Indian ground meat | ¼ tsp |
What’s not in this blend: turmeric (that’s shawarma and some South Asian kebabs), heavy chili powder (that’s Tex-Mex), or a generic kebab packet from a grocery store.
The Onion Grating Trick — and Why You Must Squeeze It
Raw onion in ground meat is traditional in Turkish köfte and doner, but it needs to be fine-grated, not chopped or coarsely grated, and squeezed dry before mixing. Here’s why:
Finely grated onion integrates into the meat mixture and cooks invisible — its cell walls are already broken and the flavor distributes evenly. Coarsely grated or chopped onion leaves visible pieces that stay distinct, creating weak spots in the log’s structure where the slices will crack.
The squeezing step matters because raw onion is about 90% water. If you add it wet, that water ends up inside the log during baking and turns to steam — creating small voids that make the interior crumbly. Squeezing out the liquid (use a clean kitchen towel or just your fist) removes the water while keeping the flavor compounds behind in the solids.
The Parchment Rolling Technique Step-by-Step
The quality of your roll determines the quality of your slices. Follow this order:
- Lay parchment on a flat, hard surface (a cutting board is ideal — it won’t slide)
- Place the meat in a rough rectangle down the center, slightly off the edge nearest you
- Fold the near edge of parchment over the meat
- Place a bench scraper or the sharp bottom edge of a baking sheet against the fold point, at the base of the meat log
- Press the scraper/sheet edge forward (toward the far end of the parchment) while pulling the near edge of the parchment back toward you — this compresses the meat as you roll, pushing out air pockets
- Continue rolling the log forward while maintaining tension with the scraper
- Twist both ends firmly (4–5 full twists each) to seal
The goal is a log with no visible gaps or air bubbles visible through the parchment — if you can see bubbles under the surface, re-roll tighter.
The Broil Step: Getting the Crust Right
The broil step is where most home cooks fail — either not charring enough (the outside stays pale, no crust) or charring too fast on one side and under-developing the others.
The key is rotation. Every 3 minutes, use tongs to rotate the log a quarter turn. Four rotations = all four sides exposed to the broiler element. This produces an even, all-around crust instead of one deeply dark face and three pale sides. The total broil time is 8–12 minutes depending on your broiler’s intensity.
You want the outside to look almost alarming — deep mahogany, with slight char at the edges. If it looks like a meatloaf, it hasn’t gone far enough. The crust is where the Maillard reaction products live, and those compounds are what separate doner from a ground meat roll.
The Optional Pan-Sear Finish
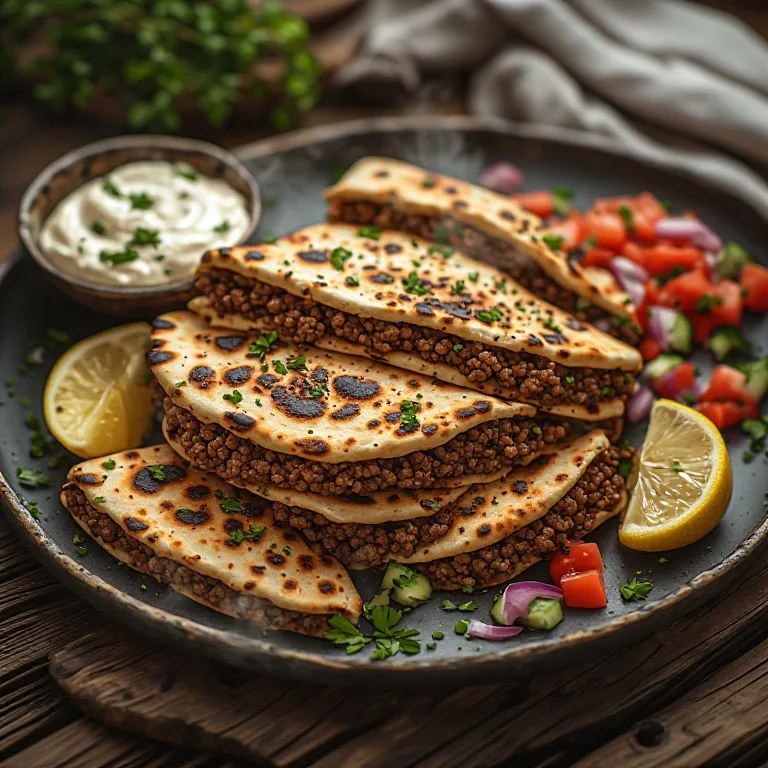
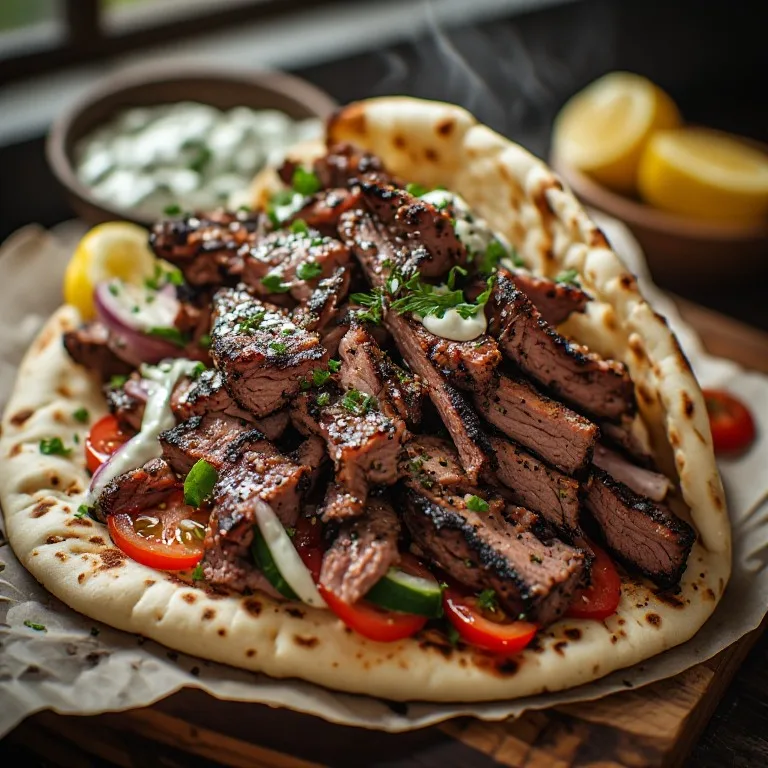
After slicing the log, you can pan-sear the individual slices in a dry cast-iron pan over high heat for 30–45 seconds per side. The cut surface, exposed by slicing, contains a fresh layer of meat and fat that hasn’t browned yet — the pan sear gives it a second crust. The slices will curl slightly at the edges as the outer muscle fibers contract before the inner ones do, exactly as doner slices do when they fall off the rotating spit onto the hot metal plate below the kebab stand.
This step adds 5 minutes but takes the dish from “very good home version” to “genuinely impressive.”
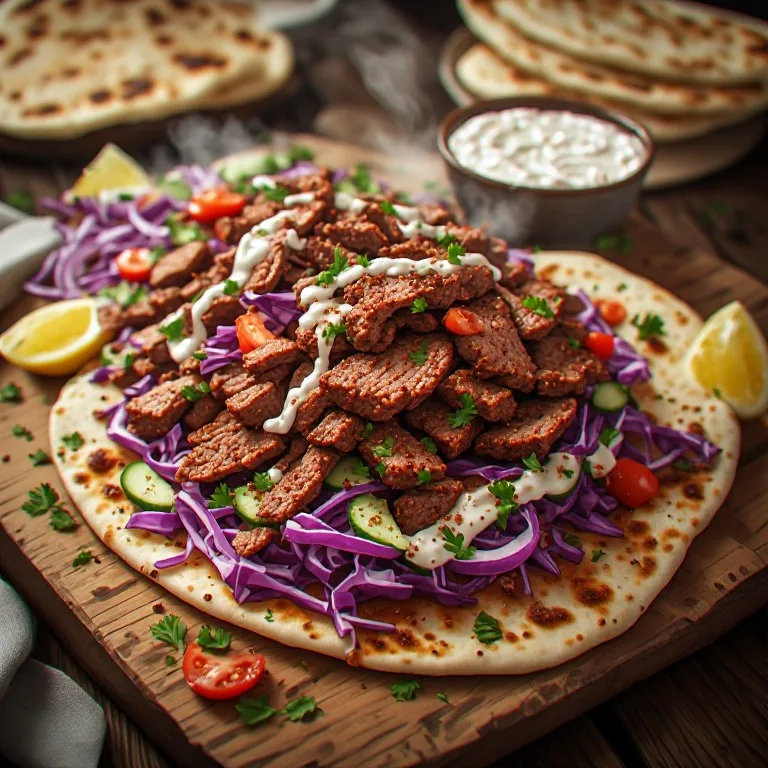
Assembling Like a Kebab Stand
The traditional Turkish doner wrap order is specific and not arbitrary:
- Sauce goes directly on the bread, not on top of the meat — this creates a moisture barrier between the bread and the fillings, slowing sogginess
- Hot meat goes on next — its heat partially warms the sauce
- Cool/pickled components (cabbage, tomato, onion) go on top of the meat — the temperature contrast is intentional
- Herbs and spices (parsley, sumac) go on last so they stay bright and fresh
Roll tightly and eat within 10 minutes. Doner wraps, even at kebab stands, are not stable for long — the pita softens as it absorbs the meat’s juices, and the contrast of hot/cold components flattens as everything reaches room temperature.
Make-Ahead Notes
The pickled cabbage actually improves significantly overnight — the brine penetrates the cabbage cell walls more completely and the color deepens to a vivid purple. Make it the day before and refrigerate.
The garlic yogurt sauce keeps refrigerated for 5 days. The garlic flavor intensifies over 24 hours, then mellows — the sweet spot is 1–2 days old.
The unbaked meat log can be rolled in parchment and refrigerated for up to 24 hours before baking — this makes it a legitimate weeknight dinner with 20 minutes of prep done the night before.
Nutrition Note
The numbers above are for one serving of the doner meat alone (about 5 ounces cooked, one-sixth of the log). Building a full wrap adds roughly 150–250 calories and 25–40g of carbs from the flatbread, plus about 40 calories from a spoonful of garlic yogurt sauce — call it 620–700 calories for a loaded wrap. Serve the meat over salad or with the pickled cabbage and skip the bread to keep it close to the meat-only figures.