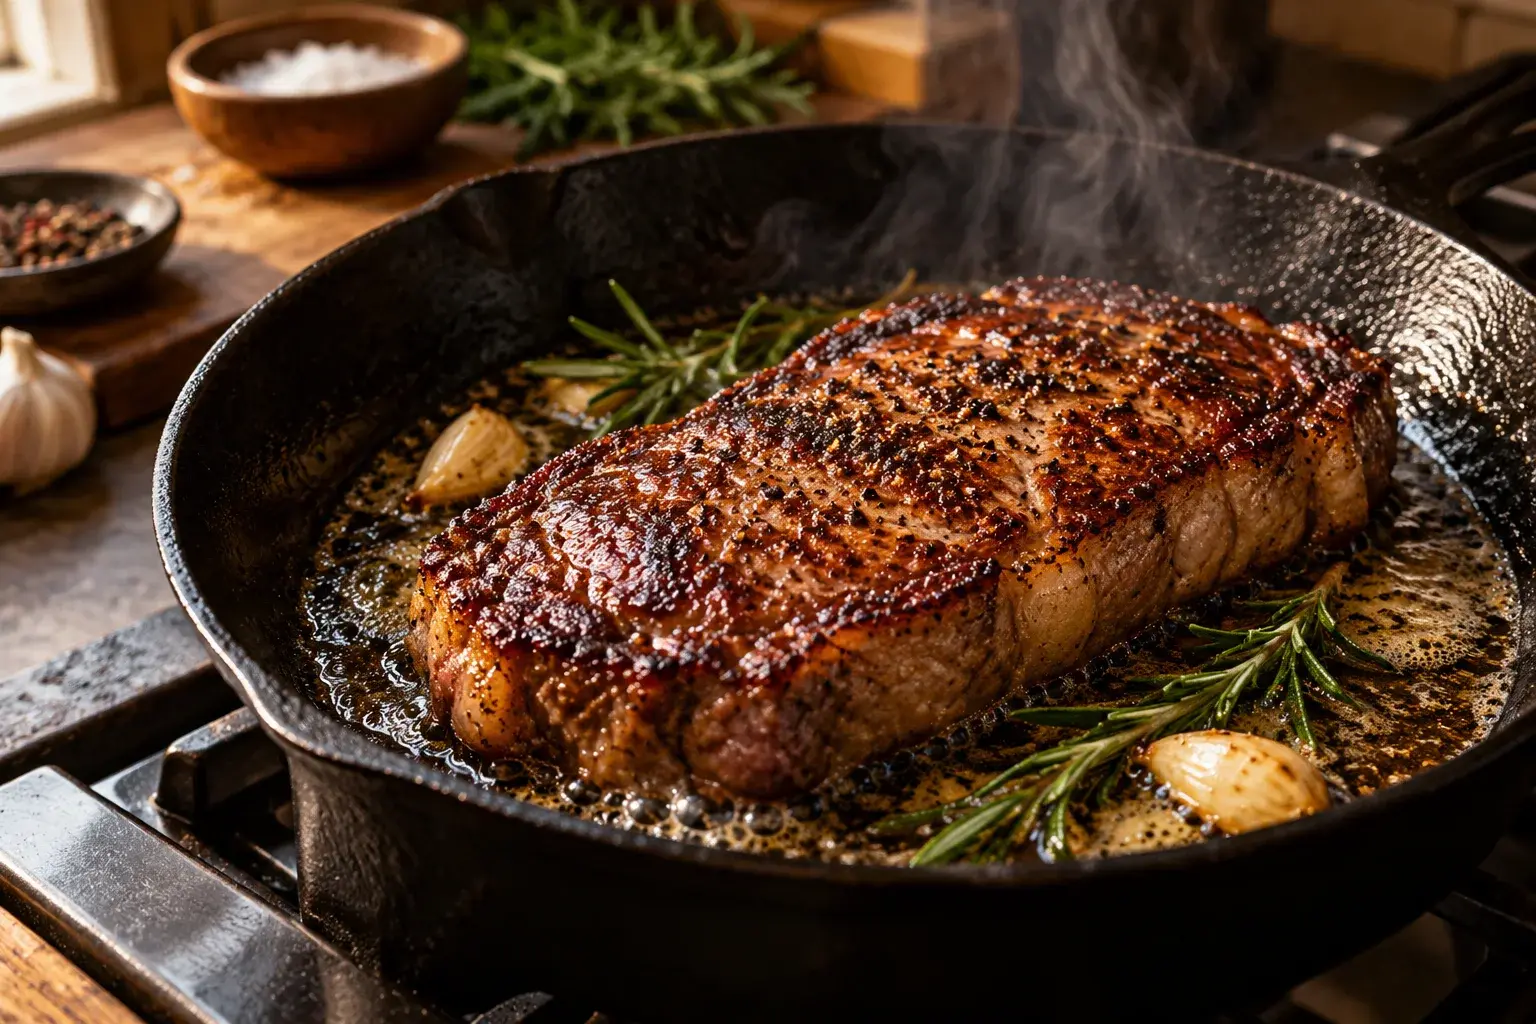
You’ve followed the recipe faithfully — cast-iron pan, good steak, butter — and somehow the thing comes out pale gray and faintly steamed rather than deeply bronzed and crackling. Meanwhile, a mid-tier steakhouse is turning out a crust you can hear across the room. The technique gap is real, but it’s almost entirely mechanical: a few rules, precisely applied.
What the Maillard reaction actually is
Named for the French chemist Louis-Camille Maillard, the Maillard reaction is a cascade of chemical reactions between amino acids and reducing sugars that begins at around 280°F (140°C) and accelerates dramatically above 300°F. The result is hundreds of new flavor compounds — the complex, roasted, savory notes that define a good sear, a toasted bread crust, or a properly browned onion.
This is distinct from caramelization, which is purely the browning of sugars and happens at higher temperatures. Both contribute to a great crust, but Maillard browning is the one doing the heavy lifting on a piece of meat.
The critical implication: if your surface temperature drops below ~280°F, browning stops. Anything that cools the pan — wet meat, too much meat, a thin pan — defeats the whole process.
The dry surface rule
This is the most skipped step and the biggest mistake. Raw meat, especially anything straight from a vacuum bag or a wet brine, carries surface moisture. When that moisture hits a hot pan, it has to evaporate before browning can begin — and during evaporation, the surface temperature is capped at 212°F (the boiling point of water). You are essentially steaming the outside of your meat.
The fix is simple: pat every surface completely dry with paper towels. Then, for best results — especially thick steaks, whole chicken pieces, and large roasts — set the meat on a rack, uncovered, in the fridge for at least an hour (overnight is better). The airflow forms a dry pellicle on the surface that sears immediately and ferociously.
Some cooks add a very light dusting of cornstarch to particularly wet proteins like chicken thighs. It absorbs residual surface moisture and speeds the crust formation without affecting the flavor.
A screaming-hot pan
Your pan needs to be properly preheated before the oil goes in, and the oil needs to be shimmering — close to its smoke point — before the meat goes in. This is non-negotiable.
For cast iron or carbon steel, heat the dry pan over medium-high for 2–3 minutes, then add oil and let it heat another 30 seconds until it moves like water and wisps of smoke appear. If you’re using stainless steel, heat until a drop of water skitters across the surface (the Leidenfrost effect) before adding oil.
The sizzle test: lower a corner of the meat to the pan. If it doesn’t sizzle immediately and aggressively, the pan isn’t hot enough. Pull it back, wait 30 more seconds, try again. A tepid sear is barely better than no sear — you just end up with gray, overcooked, not-particularly-flavorful meat.
Don’t crowd the pan
Cold meat dropped into a hot pan sucks heat from the surface. One steak is manageable. Six chicken thighs in a 10-inch pan is a disaster — the pan temperature collapses, moisture from all those proteins floods the cooking surface, and you’re back to steaming.
The rule: leave at least an inch of space between pieces. If you’re feeding a crowd, sear in batches and let the pan reheat between rounds. Yes, it takes longer. Yes, it’s completely worth it.
Crowding is also why restaurant kitchens have 30,000 BTU burners — they can recover surface temperature fast enough to handle volume. Your home burner can’t. Work with it, not against it.
Don’t move it
This is the hardest part for anxious cooks. You add the meat, the sizzle is tremendous, the urge to check, poke, and flip is nearly overwhelming. Resist it.
The meat will tell you when it’s ready to flip. A properly searing piece of meat releases cleanly from the pan when a crust has formed. If you try to lift it and it sticks, the crust isn’t done — put it back, wait 30 more seconds, try again. If you force it, you tear the crust off and lose the browning you worked for.
For a 1-inch steak, plan on 3–4 minutes per side over high heat without touching it. Thicker cuts may need to finish in a 425°F oven after searing. Thin pieces — a chicken cutlet, a fish fillet — sear faster, but the principle is identical.
Basting with butter
Once you’ve flipped and the second side is building its crust, add a knob of butter, a smashed garlic clove, and a few sprigs of fresh thyme to the pan. Tip the pan slightly so the butter pools, and use a spoon to baste the top of the meat repeatedly. The butter browns as it hits the hot surface, and you’re essentially painting a continuous stream of nutty, aromatic fat across the crust.
This is the restaurant step that home cooks most often skip. It adds flavor, helps the second side brown more evenly, and gives the crust a gloss that photographs beautifully.
Rest before cutting
Remove the meat to a wire rack — not a cutting board, which traps steam and softens the crust — and let it rest. The guideline is roughly half the cooking time: 5 minutes for a thin steak, 10 minutes for a thick one, 15–20 minutes for a large roast.
The rest period isn’t just about juice redistribution. It also lets carryover cooking finish the interior — a steak pulled at 125°F will climb to 130°F (medium-rare) over the rest period, no further heat needed.
What the fond is telling you
After the meat rests, your pan has a layer of browned bits stuck to the bottom. That’s the fond — concentrated Maillard compounds — and it’s the foundation of a restaurant pan sauce. Don’t wash it out. Deglaze it with wine or stock, scrape it up, mount with cold butter off the heat. If you’re ready to go there, Deglazing 101 walks through the full pan sauce process from start to finish.
A great sear is the foundation. Get the crust right and the rest of the dish follows. Now put it into practice on one of the recipes below — a well-seared steak or chicken piece is worth more than any sauce.