The Polo Bar Chicken Under a Brick (Pollo al Mattone with Lemon, Rosemary, and Sautéed Spinach)
Prep time: 20 min active (+ 2–8 hr dry-brine) Cook time: 38 min Servings: 2
The Polo Bar is in the lower level of Ralph Lauren’s flagship store at 1 East 55th Street in Midtown Manhattan. The room books out two to four weeks in advance for prime dinner slots. It is dark mahogany paneling, framed equestrian photography, leather banquettes, and trophy cases filled with Polo gear — a dining room that Ralph Lauren designed personally, and that has remained one of New York’s most recognizable celebrity dining rooms since the day it opened in January 2015.
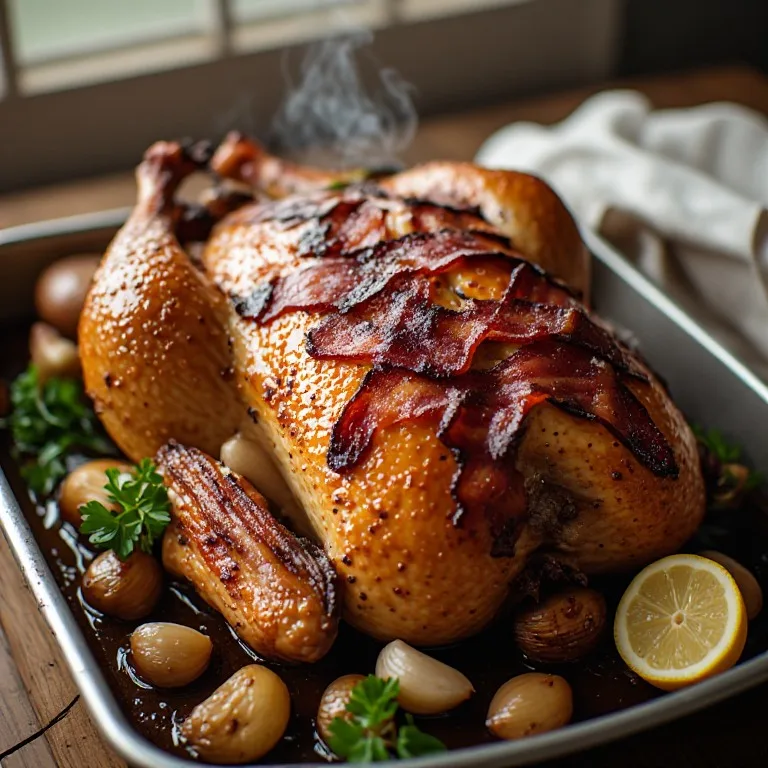
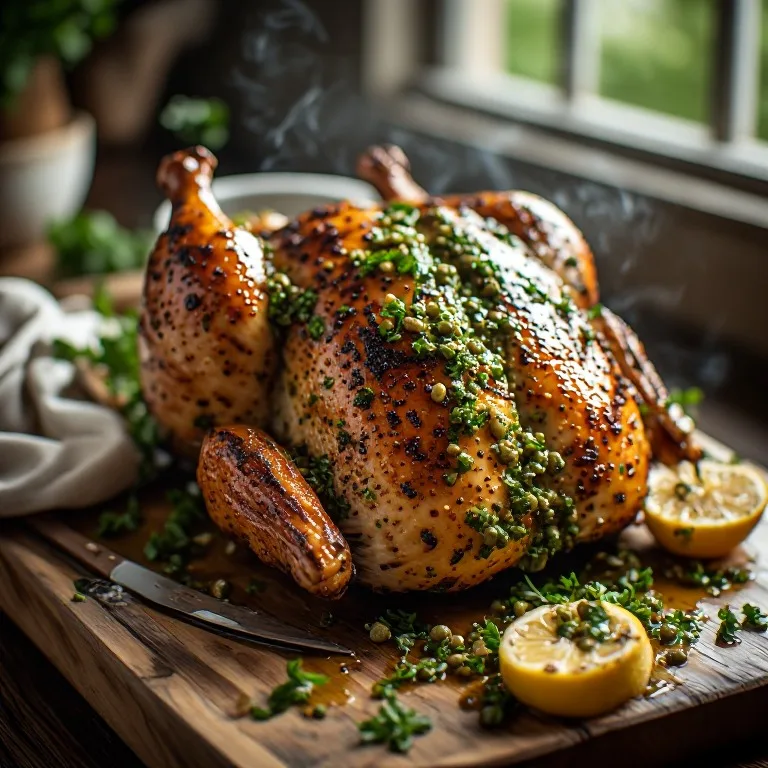
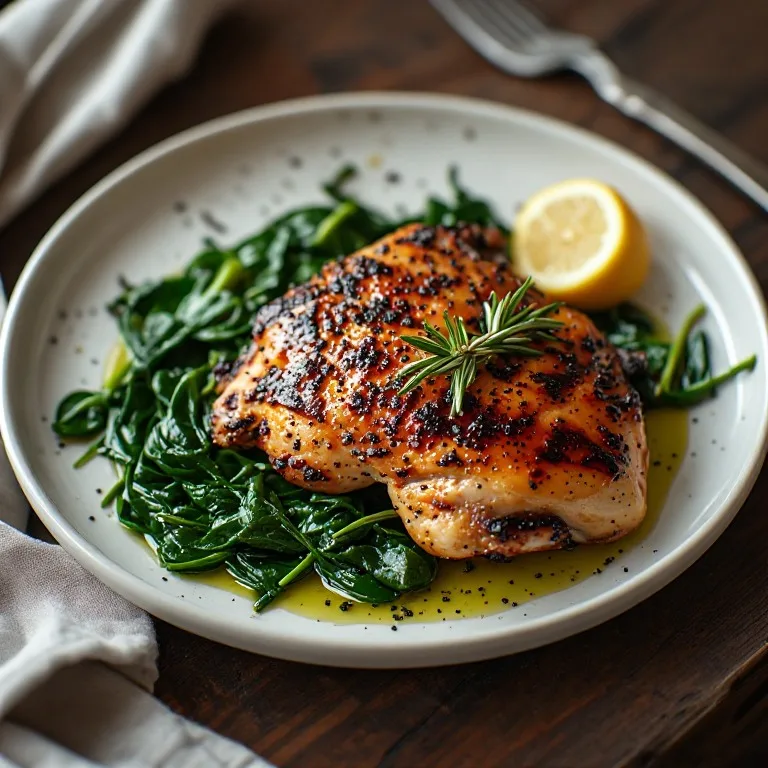
In fall and winter, the Chicken Under a Brick becomes the dish reviewers reach for when describing the season at The Polo Bar. It is a spatchcocked half chicken pressed flat in a cast iron skillet under weight until the skin is crackling and deep gold, finished in the oven, and served over sautéed baby spinach with lemon and rosemary. The check is approximately $36 per order. At home it costs about $12 to $14 per serving and requires two pieces of equipment beyond a standard kitchen: a 12-inch cast iron skillet and two bricks wrapped in foil.
The Technique: Why the Weight Changes Everything
Pollo al mattone — “chicken under a tile” in Italian — is a Tuscan farmhouse technique. The original version used a clay rooftile weighted onto a butterflied chicken cooking over a wood fire. The principle is unchanged in a cast iron pan on a gas range: constant, even downward pressure keeps the skin in full contact with the hot metal surface.
Without the weight, a butterflied chicken placed in a pan will buckle. The breast arches upward. The thighs lift at the edges. Wherever the skin leaves the pan surface, steam accumulates between the skin and the metal instead of heat — and steam produces soft, pale skin instead of the crackling result the technique is built around. The weight eliminates all of that by forcing the bird flat and keeping it flat for the entire skin-side-down phase.
The second thing the weight does: it accelerates fat rendering. Chicken skin contains a significant amount of subcutaneous fat. That fat must be rendered out completely — liquefied and either expelled into the pan or reabsorbed into the meat — before the skin crisps. Sustained pressure against a hot surface accelerates this process. By the time you transfer the skillet to the oven, the skin has already done most of the rendering that roasting alone would require 40 minutes to achieve.
The Dry-Brine: The Other Non-Negotiable Step
The technique gets the skin crispy once it hits the pan. The dry-brine determines how crispy it can get before that moment.
When you rub the chicken with the herb paste and leave it uncovered in the refrigerator, two things happen simultaneously. The salt draws moisture out of the surface of the skin through osmosis, creating a small amount of liquid on the skin surface. Within 30 to 45 minutes, the salt partially dissolves back into that liquid and then reabsorbs into the meat, distributing seasoning into the flesh rather than just coating the surface. At the same time, the dry air of the refrigerator evaporates the surface moisture on the skin — the surface you exposed to the cold air becomes progressively drier over the 2 to 8 hours the bird rests.
A chicken with dry skin hits the hot pan and begins crisping almost immediately. A chicken with wet skin spends the first several minutes of cooking time driving off surface moisture as steam before any browning begins. The physical state of the skin before the bird hits the pan matters enormously, and the uncovered refrigerator rest is the easiest way to achieve dry skin without specialized equipment.
Cost Comparison: Restaurant vs. Home
The Polo Bar charges approximately $36 for the Chicken Under a Brick at dinner, and a reservation takes weeks to secure.
| The Polo Bar | Homemade (2 servings) | |
|---|---|---|
| Per order | ~$36 | — |
| Full batch (2 servings) | ~$72 | ~$25–28 |
| Per serving | ~$36 | ~$12–14 |
| Savings per serving | — | ~$22–24 |
The dominant cost at home is the chicken itself: a quality 3.5 to 4 lb whole bird from a butcher costs $14 to $18. Commodity grocery-store chicken is cheaper but generally produces a less flavorful result here — the high-heat pan cooking amplifies the difference in quality more than a braise or slow roast would.
Three Mistakes Most Home Versions Make
1. Not drying the skin before cooking
This is the most common failure. A chicken cooked skin-side down in a hot pan with surface moisture on the skin will steam before it sears. The steam prevents the browning reaction (the Maillard reaction requires dry protein surfaces) and keeps the skin soft. The 2-to-8-hour uncovered refrigerator rest is the solution; if you are cooking today and skipped it, pat the skin vigorously dry with paper towels before the bird goes in the pan.
2. Using a pan that is not hot enough
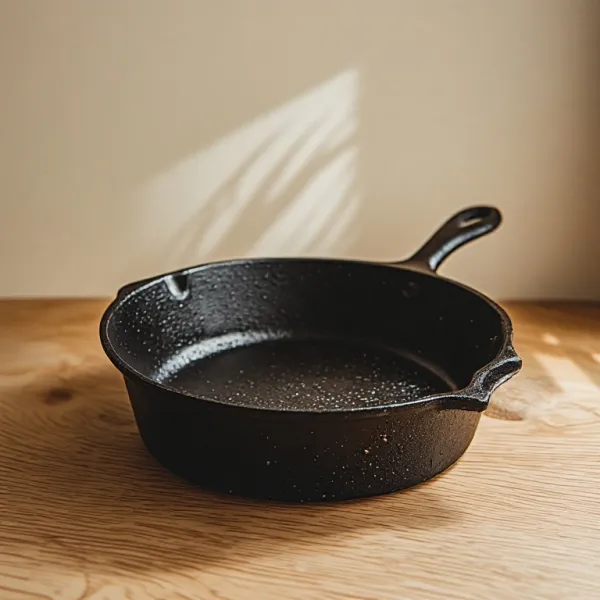
Cast iron retains heat; thin stainless or non-stick pans do not. A 4-pound butterflied chicken is a very cold, very large piece of protein landing on a cooking surface — it drops the surface temperature of whatever pan it touches. Cast iron, preheated for 2 full minutes over medium-high, has enough stored energy to stay hot enough to sear the skin on contact. A thinner pan that starts at the right temperature will drop below the searing threshold the moment the bird goes in. Use cast iron. If cast iron is unavailable, a heavy enamel-lined pan is a reasonable backup; avoid thin stainless and non-stick entirely.
3. Lifting the weight before the skin is fully set
The skin needs the full 10 to 12 minutes of sustained pressure against the hot metal to develop the crust that can carry the bird through the oven phase without softening. Lifting the weight at 6 minutes to check, repositioning it, or lifting and pressing again repeatedly disrupts the even contact pattern and produces uneven browning — areas that had full contact will be deep gold; the edges that lifted, pale. Leave it completely alone for 10 minutes, then check once: the skin should release cleanly and be deep golden-brown.
The Sautéed Spinach with Lemon and Rosemary
The spinach side is genuinely part of the dish — not an afterthought. The Polo Bar’s menu description lists “Sautéed Spinach with Lemon & Rosemary” explicitly, meaning the rosemary appears in both the bird and the side. At table, the chicken juices running into the spinach as the bird rests on top tie the two together.
The technique is straightforward: garlic-infused oil, spinach in batches so it wilts rather than steams, seasoned aggressively with lemon juice and a small amount of red pepper flakes for contrast. The most common failure in home sautéed spinach is underseasoning — spinach has almost no natural flavor when cooked and requires more salt and acid than most cooks expect. Season at the end, taste, and add more lemon than feels comfortable.
Baby spinach works better here than flat-leaf or curly spinach: the leaves are already sized to eat without cutting, they wilt uniformly, and they hold up to the lemon juice without becoming slimy. Use two full 5-oz bags for two generous portions.
Tips and Variations
- Get the herb rub under the skin. The most important placement for the herb rub is between the skin and the breast and thigh meat, not just on top of the skin. The fat rendering during cooking will carry the rosemary and garlic flavor directly into the meat; what sits on top of the skin burns off. Slide your fingers carefully under the skin to loosen it without tearing before rubbing.
- Add lemon slices under the chicken. Before the bird goes in the pan, lay 3 or 4 thin lemon slices skin-side up under the chicken. They caramelize in the chicken fat as it renders and add a charred citrus note to the pan drippings. Squeeze them over the spinach when plating.
- Deglaze the pan drippings. After transferring the chicken to the cutting board, set the cast iron skillet over medium heat, add a splash of white wine or chicken stock, and scrape up the browned bits (fond) with a wooden spoon. Drizzle this jus over the chicken when serving — it concentrates the rosemary and garlic flavors from the rub into a finishing sauce.
- Use bone-in halves instead of a whole bird. Two bone-in, skin-on chicken halves (each about 1.5 to 2 lbs) are easier to manage than a whole spatchcocked bird and produce the same result. Same technique, same timing; each half gets its own portion of weight.
- Finish with anchovy butter. Not traditional at The Polo Bar, but mashing one anchovy fillet into 2 tablespoons of softened butter and dotting it on the hot chicken as it rests adds a subtle savory depth without any fishiness — the anchovy melts completely and amplifies the salt and fat in the dish.
Storage
The cooked chicken keeps in the refrigerator for 3 days. The skin will not stay crispy — reheat skin-side down in a dry cast iron pan over medium heat for 5 to 7 minutes to recover some crispness. The sautéed spinach keeps 2 days but is best made fresh; it takes about 5 minutes.
More From The Polo Bar at Home
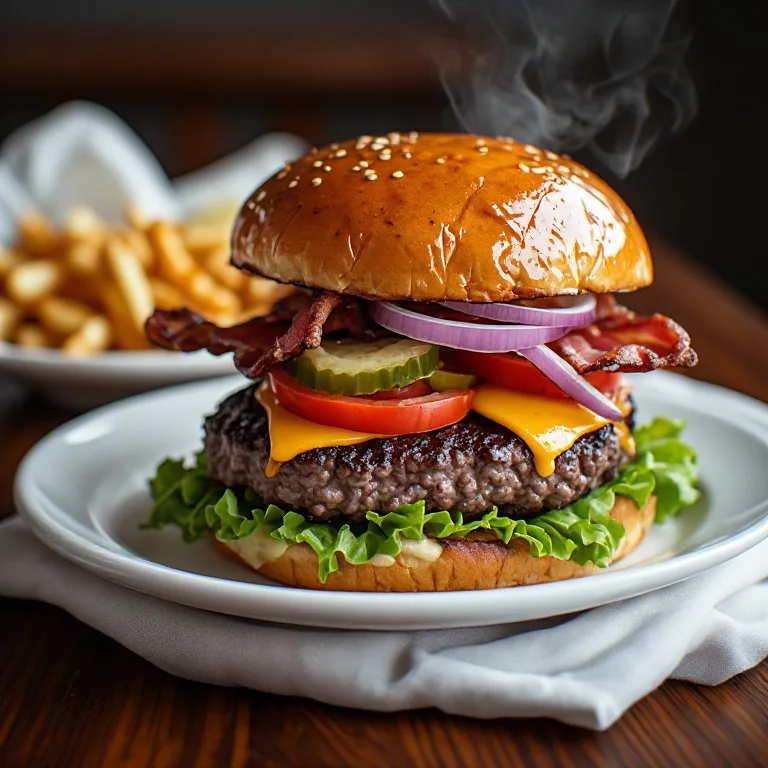
- The Polo Bar Burger — the $36 Ralph Lauren cheeseburger with Ralph’s Special Sauce, thick-cut bacon, and brioche
- The Polo Bar Coconut Cake — the five-layer coconut cake with cream cheese frosting that has been on the menu since opening day
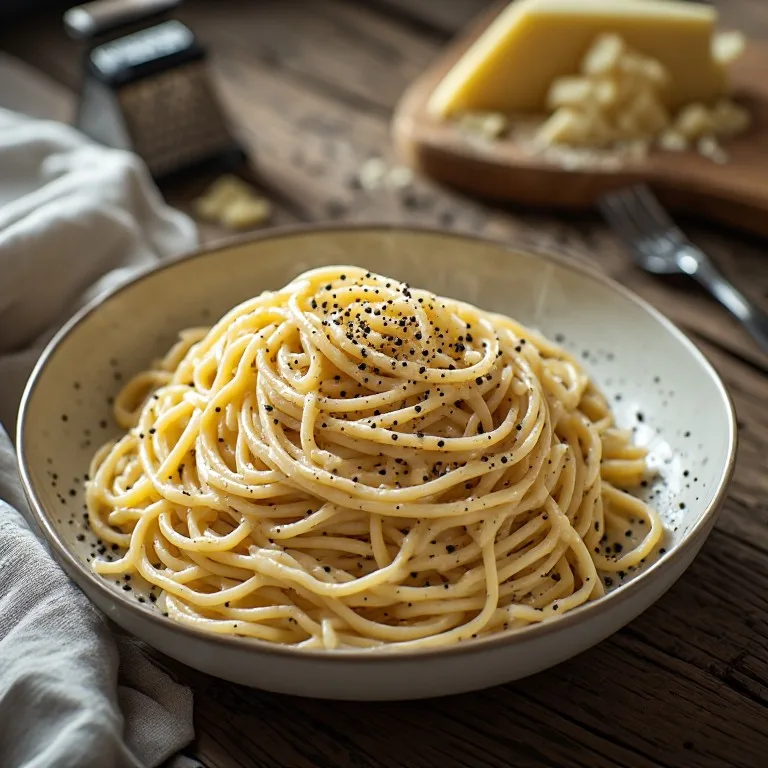
- Copycat Via Carota Cacio e Pepe — another hard-to-book NYC classic, made at home in under 20 minutes
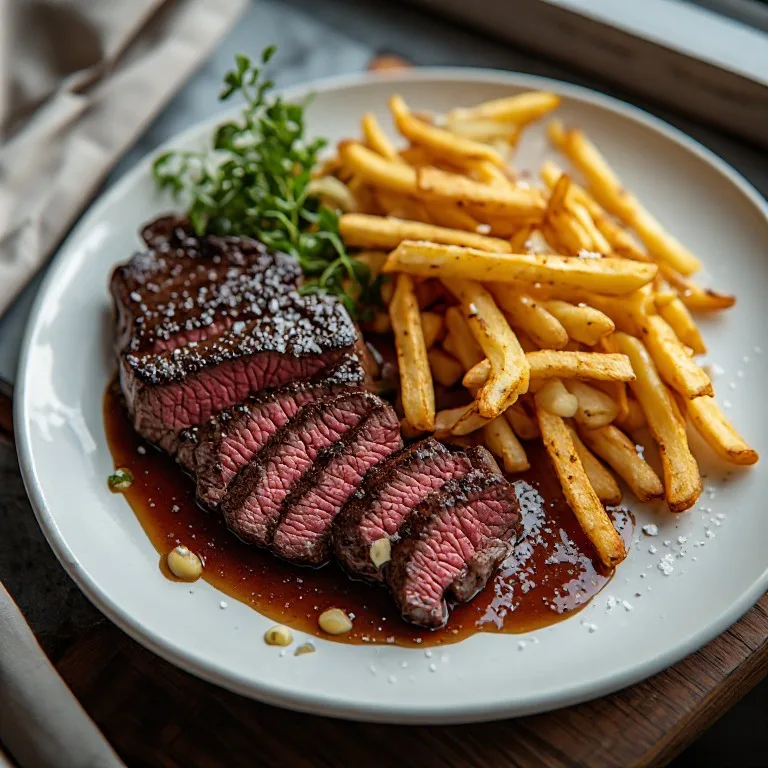
- Copycat Balthazar Steak Frites — the iconic Soho brasserie’s steak frites, at home for a fraction of the price