The TikTok Apple Cider Pork That’s All Over #FoodTok Every September
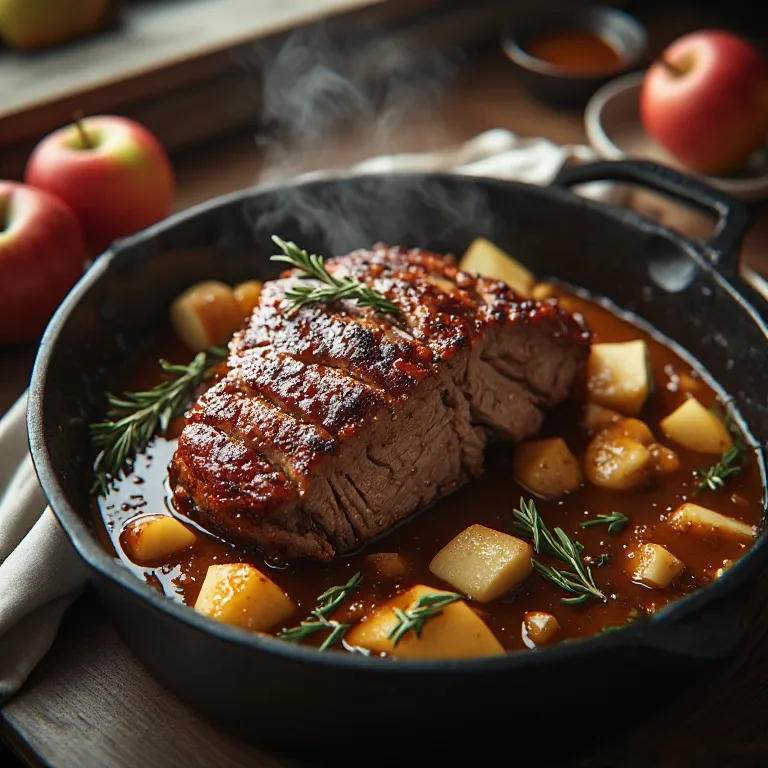
Apple season and pork shoulder are one of autumn’s oldest pairings — and every fall, a new wave of TikTok cooks rediscovers why. The basic structure hasn’t changed in centuries: braise a fatty pork shoulder in something acidic and sweet, low and slow, until the collagen converts to gelatin and the meat falls apart at the suggestion of a fork. Apple cider is that acidic-sweet braising liquid. The result is a glossy, deeply savory sauce with a genuine apple-forward flavor — not sweet, not fruity, but complex in the way that a well-reduced braise always is.
What TikTok added to this equation: the accessible framing. Thirty minutes of active work, three hours of oven time, one pot, six servings. The braising liquid does the work while you do something else.
The one rule that determines whether this succeeds or fails: use unfiltered apple cider, not apple juice. They’re different products with different purposes, and the distinction matters more in this recipe than almost any other.
Why Unfiltered Cider — Not Apple Juice
Unfiltered apple cider looks cloudy. It’s pressed from whole apples, nothing removed, minimal processing. It contains natural pectin (a thickening agent), malic acid (which tenderizes muscle fiber over a long braise), and the full spectrum of apple flavor compounds that get filtered out of clear juice.
Apple juice is filtered, pasteurized, and often lightly sweetened. In a braise, it reduces into a one-dimensional, cloying sweetness. The pectin is gone, the acid is reduced, and the depth disappears. You’ll end up with a saccharine sauce that fights the pork rather than complementing it.
Find unfiltered apple cider in the refrigerated section of most grocery stores from September through November — it’s usually sold in opaque jugs near fresh juice. Whole Foods, Trader Joe’s, Aldi (seasonally), and most natural food stores carry it. If you see “fresh-pressed” or “farmstead cider” on the label, even better.
The Sear Is Not Optional
The most common mistake in braised meat recipes is skipping or rushing the sear. The golden-brown crust on the outside of a pork shoulder isn’t just color — it’s flavor in a concentrated, caramelized form. When meat hits a very hot pan, the Maillard reaction produces hundreds of flavor compounds that simply don’t exist in raw meat or gently cooked meat.
More importantly, the brown bits that stick to the bottom of the Dutch oven (called the fond) dissolve into the braising liquid when you deglaze the pot. That liquid becomes your sauce. A deep, thorough sear produces a dark, complex fond. A pale sear produces almost nothing.
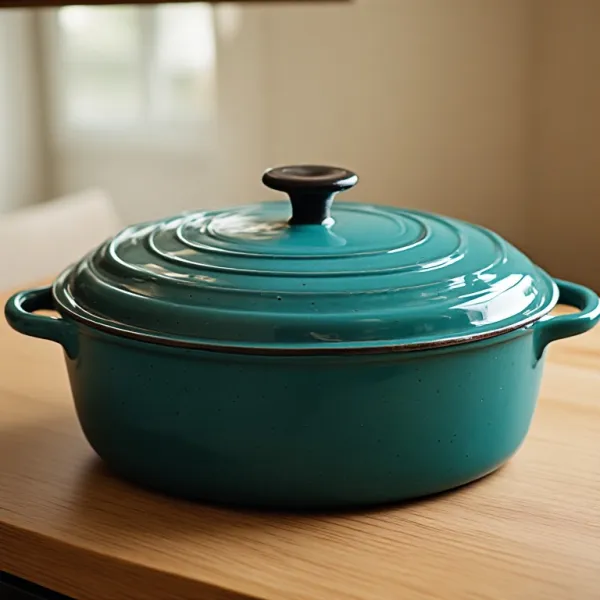
Pat the pork completely dry before searing. Wet meat steams instead of browns. Get the pan genuinely hot before the pork goes in. Don’t move the meat — let it sit undisturbed until it releases naturally from the surface, which is the signal that a proper crust has formed. Three to four minutes per side over medium-high heat in a cast iron or enameled Dutch oven is the standard.
The Collagen Conversion: Why Pork Shoulder and Not Pork Loin
Pork loin is lean, quick-cooking, and ideal for weeknight roasting at 400°F. It is the wrong cut for a long braise. At 325°F for three hours, pork loin dries out completely — it has no intramuscular fat to baste itself and no connective tissue to convert into gelatin.
Pork shoulder (also sold as pork butt, Boston butt, or blade shoulder — all the same front-leg cut) is loaded with collagen, fat, and connective tissue. It’s the same forgiving, collagen-rich cut behind char siu pork — and it rewards a long braise the same way beef chuck does in a Mississippi pot roast. Below about 165°F, those tissues are tough and chewy. Between 165°F and 200°F, over two to three hours of sustained gentle heat, the collagen converts to gelatin. That gelatin is what makes the meat moist, the sauce glossy, and the texture unctuous rather than dry. A 325°F oven will get you there in 2.5 to 3 hours for a typical 3–4 lb shoulder.
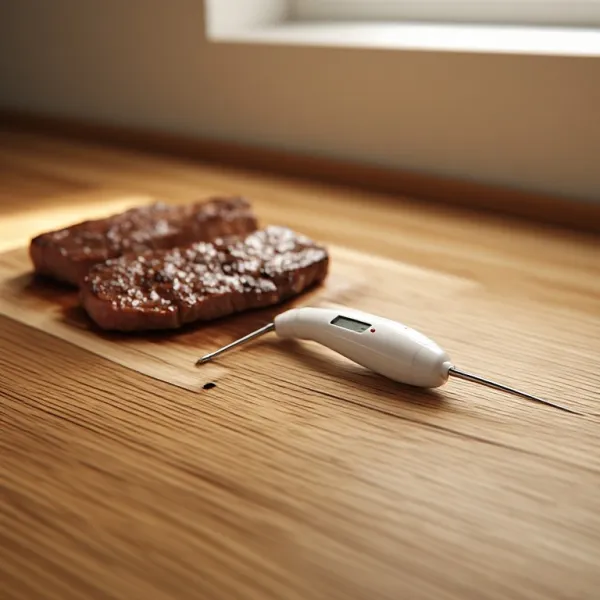
The internal temperature target for shredding is 200–205°F, not the 145°F safe minimum you’d use for sliced pork. The fork test is the most reliable indicator: insert a fork and twist. If the meat resists at all, give it another 30 minutes.
Deglazing: The Step That Makes the Sauce
After the pork comes out of the pot, the bottom will be covered in dark, concentrated bits from the sear. These are not burnt — they’re the Maillard products that didn’t adhere to the pork but stayed in the pan. When you pour the apple cider in, they dissolve into the liquid and become the backbone of your braising sauce.
Use a wooden spoon or heat-safe spatula and scrape every bit off the bottom. The liquid will turn from pale gold to dark amber as the fond dissolves. Don’t stop until the bottom of the pot is clean. Anything left behind is flavor left behind.
Four Failure Modes
1. Apple juice instead of cider. The sauce will be sweet and flat. Use unfiltered cider only.
2. Skipping or rushing the sear. The pork will taste boiled. Fifteen minutes of searing produces a sauce worth reducing. Four minutes produces a thin, pale liquid.
3. Wrong cut. Pork loin or tenderloin dries out completely in a long braise. Shoulder only.
4. Cutting without resting. A pork shoulder just out of the oven has muscle fibers that are still contracted around the juices. Resting 15 minutes allows them to relax and reabsorb the moisture. Cut immediately and the juice runs onto the cutting board instead of staying in the meat.
The Sauce Reduction
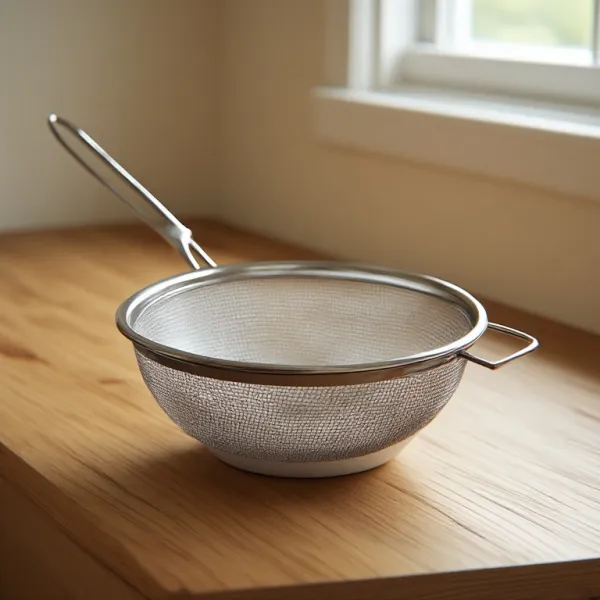
The strained braising liquid after a 3-hour pork braise is not yet a sauce — it’s a flavorful, thin liquid. Bring it to a boil in a wide saucepan and let it reduce until it coats the back of a spoon and leaves a clean trail when you drag your finger across the spoon. Ten to twelve minutes at a rolling boil is typical.
Finishing with a tablespoon of cold butter and a teaspoon of Dijon mustard transforms a good reduction into a restaurant-quality sauce. The butter emulsifies into the liquid and creates a glossy, lightly thickened sauce. The Dijon adds mustard’s natural emulsifying properties plus a savory depth that rounds out the sweetness of the cider.
Taste the sauce before serving and adjust salt aggressively — the pork release and the apple cider will have diluted the seasoning from the original sear.
Variations
Slow cooker version. Sear the pork and deglaze on the stovetop first — never skip this. Transfer everything to the slow cooker and cook on LOW 8–10 hours or HIGH 5–6 hours. Reduce the strained braising liquid on the stovetop before serving.
With root vegetables. Add 2 large carrots and 2 parsnips (roughly chopped) to the pot with the onions. They’ll become tender and deeply flavored by the time the pork is done. Remove with the pork and serve alongside.
Spiced cider braise. Add 1 cinnamon stick, 3 whole cloves, and 2 star anise to the braising liquid for a warmer, more aromatic sauce. Remove before reducing.
Apple mustard glaze. In the last 20 minutes, uncover the Dutch oven and brush the top of the pork with 2 tablespoons apple cider + 1 tablespoon whole grain mustard. Return to the oven uncovered; the glaze sets into a caramelized crust on the fat cap.
With cabbage. Add half a head of thinly sliced green cabbage to the pot in the last 45 minutes of braising. It wilts into the liquid and picks up the apple cider flavor — a natural pairing.