Gluten-Free Pizza Crust (Pizzeria Mozza Style)
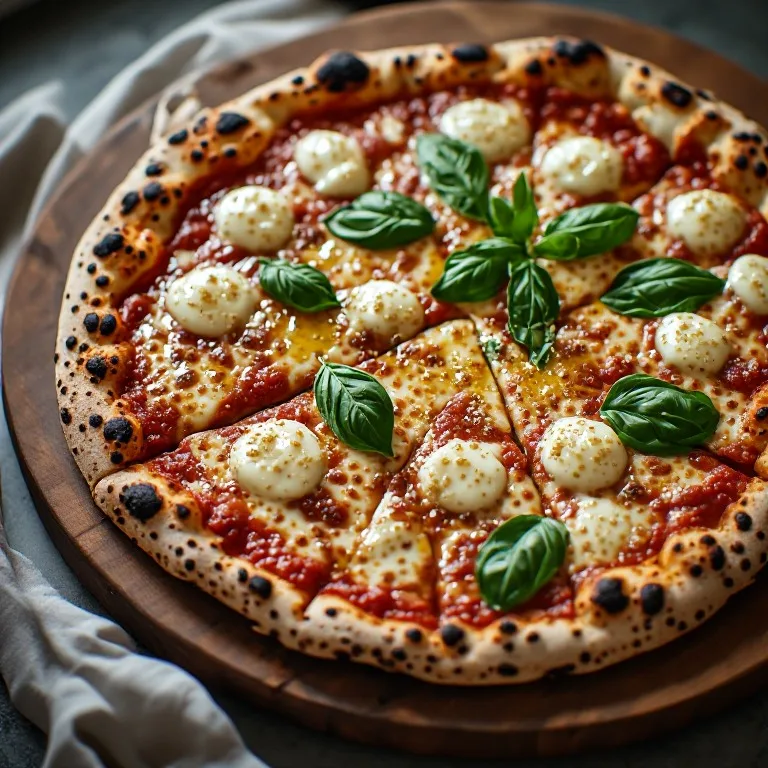
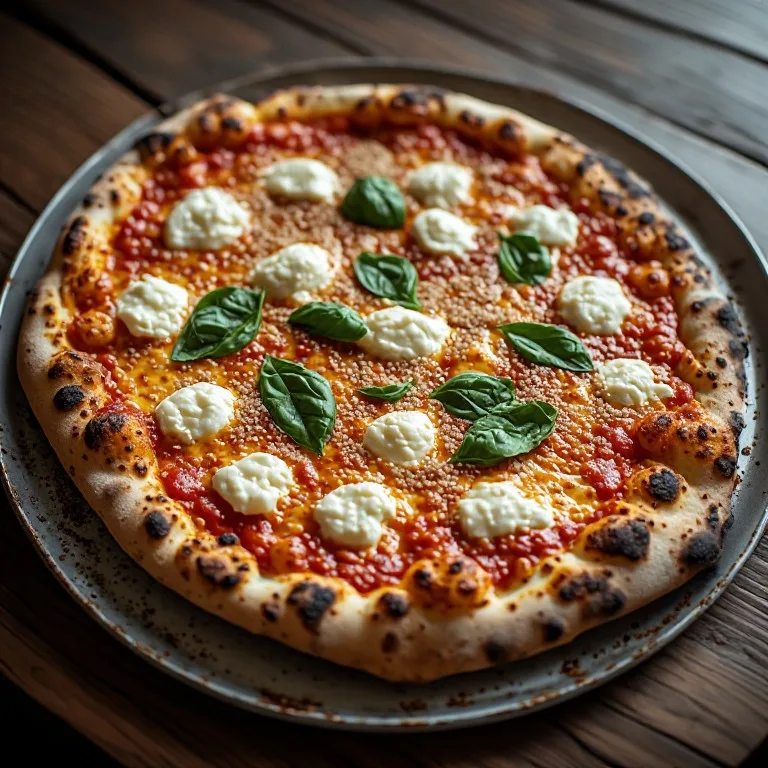
At Pizzeria Mozza, Nancy Silverton’s signature wood-oven crust is made with high-hydration wheat dough fermented for depth of flavor. But the restaurant also offers a gluten-free option — a $5 upcharge to substitute Truman’s Bakery GF dough on any pizza. The goal of this recipe is the same result from scratch: a crust that blisters at the edges, holds toppings without going soggy, and has actual chew rather than the cracker-dry or gummy texture that makes most GF pizza disappointing. Two technique choices make the difference.
The Two Things GF Pizza Usually Gets Wrong
Wrong binder. Most GF pizza recipes call for xanthan gum. Xanthan gum does bind, but it produces a dense, gummy dough that bakes stiff and crumbly. Psyllium husk powder does something different: it absorbs up to 14 times its weight in water and forms an elastic gel network that behaves more like a weak gluten. The dough stretches slightly when you press it, springs back a little, and bakes with real chew. Use psyllium husk. Use the powder form, not whole husks — whole husks don’t hydrate evenly in this application.
Skipping the par-bake. GF dough has no gluten bonds to support the weight of sauce and cheese while the interior is still setting under heat. Top a raw GF crust and the sauce turns the center to wet paste. Par-bake for 8 to 10 minutes on a preheated stone first — until the surface is dry and the edges just start to color — then add your toppings. The structure is set; everything else goes on top cleanly.
The Flour Blend
This recipe uses a three-component base:
- White rice flour provides the main structure. It has a neutral flavor and behaves predictably under heat. Brown rice flour also works but produces a slightly grainier texture and denser crumb.
- Tapioca starch gives the crust chew and a slight crispiness at the edges — it’s what keeps GF pizza from tasting like a rice cake.
- Potato starch adds tenderness and keeps the crumb from drying out during the second bake (after toppings go on).
You can substitute a commercial 1-to-1 GF flour blend (Bob’s Red Mill 1-to-1 or King Arthur GF Measure for Measure) at 1½ cups (210g) total in place of the three components above. If the blend already contains xanthan gum, reduce the psyllium husk to 1 teaspoon — you still need some psyllium for the right texture, but less.
Step-by-Step
-
Preheat the stone. Place a pizza stone, pizza steel, or inverted cast iron skillet on the lowest oven rack. Preheat oven to 475°F (245°C). Let it preheat for at least 45 minutes — the stone needs to be fully saturated with heat, not just the oven air.
-
Mix the dry ingredients. In a medium bowl, whisk together the rice flour, tapioca starch, potato starch, psyllium husk powder, yeast, salt, and sugar until evenly combined. If your yeast is instant, it goes in with the dry ingredients. If it’s active dry, bloom it first: stir it with the sugar into the warm water, wait 5–7 minutes until foamy, then proceed.
-
Add the wet ingredients. Pour the warm water, olive oil, and apple cider vinegar into the dry ingredients. Stir with a fork or rubber spatula until a thick, cohesive dough forms — about 1 minute. It will look wetter and more paste-like than traditional pizza dough. This is correct. Don’t add more flour.
-
Rest the dough. Cover the bowl with plastic wrap and leave it at room temperature for 30 minutes. This is the psyllium husk hydrating and forming its gel network. The dough will stiffen noticeably during this time — that’s the gel forming.
-
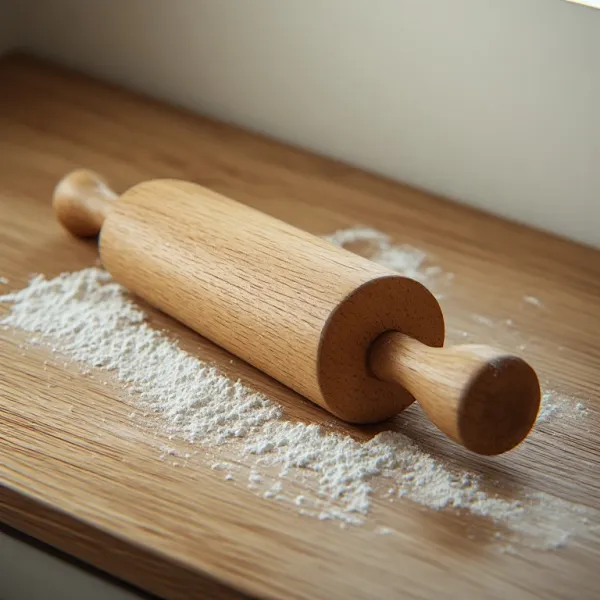
Shape the crust. Lay a sheet of parchment paper on your counter. Turn the dough out onto the center. Lay a second sheet of parchment on top. Using a rolling pin or the back of your hand, press and roll the dough outward from the center until it’s about 12 inches in diameter and ¼-inch thick. Pinch the outer edge slightly to form a raised border.
-
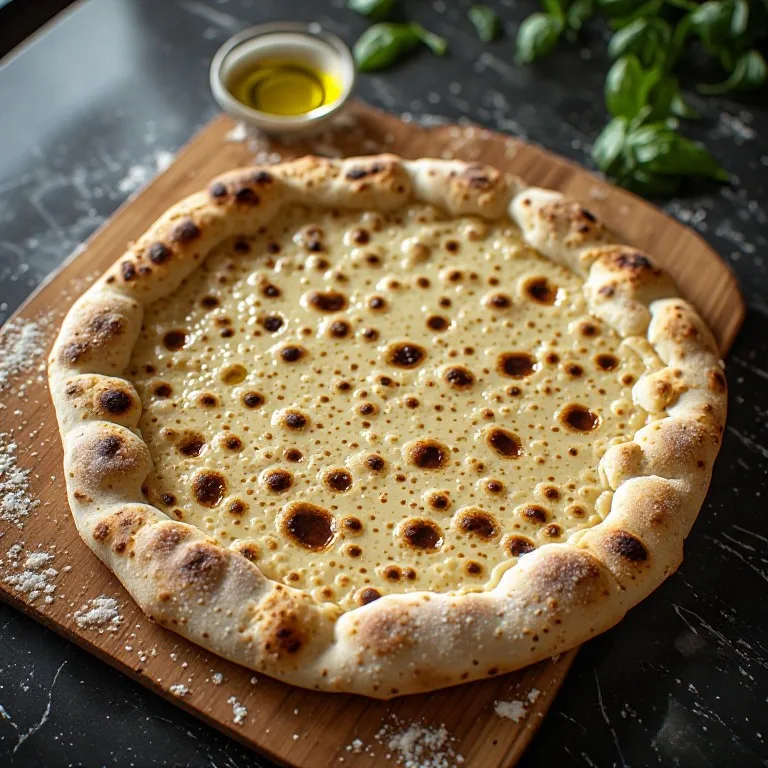
Par-bake. Remove the top sheet of parchment. Slide the dough (on the bottom parchment sheet) onto the preheated stone. Bake for 8–10 minutes until the surface looks dry and matte, the edges start to turn light gold, and the crust holds its shape when you lift a corner with a spatula.
-
Add toppings. Slide the par-baked crust back out. Add sauce, cheese, and toppings — keeping sauce coverage to ½ inch from the edge.
-
Final bake. Return the topped crust to the stone. Bake another 8–10 minutes until the cheese is fully melted and bubbling, the exposed crust edge is golden brown, and the bottom — check by lifting with a spatula — is set and lightly crisp.
-
Rest before slicing. Transfer to a cutting board and wait 5 minutes before cutting. Slicing a GF pizza immediately breaks the psyllium gel while it’s still soft from oven heat.
Why Apple Cider Vinegar?
The vinegar serves two functions: it lowers the pH slightly, which improves the psyllium husk’s binding efficiency, and it provides a subtle complexity to the flavor that helps bridge the gap between GF and wheat dough. It doesn’t make the crust taste like vinegar — you won’t detect it. One teaspoon is the right amount; more makes the crust slightly gummy.
Topping Ratios for GF Crust
GF crust is more sensitive to moisture than wheat crust because it lacks gluten to absorb excess liquid. For one 12-inch pie:
- Sauce: 3–4 tablespoons (not more). Spread thin. Drain canned tomatoes before using.
- Cheese: 3–4 oz mozzarella, freshly grated or torn (not shredded, which contains starch coating). Fresh mozzarella should be pressed with a paper towel first to remove moisture.
- Toppings: Keep wet vegetables (mushrooms, zucchini, peppers) roasted or sautéed before going on — raw vegetables release water as they cook, which re-soaks the crust under the toppings.
Make-Ahead and Storage
Refrigerate: After the 30-minute rest, wrap the unshaped dough in plastic and refrigerate up to 24 hours. Cold-retarding builds flavor through low-temperature fermentation. Press the chilled dough between parchment (it will be stiffer), then par-bake for 10–12 minutes since you’re starting cold.
Freeze (par-baked): Par-bake the crust, let it cool completely, wrap tightly, and freeze up to 2 months. Thaw at room temperature for 30 minutes, add toppings, and bake at 475°F for 8–10 minutes. This is more reliable than freezing raw GF dough, which can become gritty after thawing.
What Mozza Does That This Doesn’t
Pizzeria Mozza uses a wood-burning oven that reaches 700–800°F. Home ovens max at 500–550°F, usually closer to 475°F calibrated. The result is still blistered edges and a crisp bottom — the stone compensates for most of the heat difference — but you won’t get the same char on the edge bubbles that a wood oven produces. If your oven has a broiler element in the main cavity, you can switch to broil for the final 60–90 seconds of the toppings bake (watching closely) to drive more color on the cheese and edge crust.