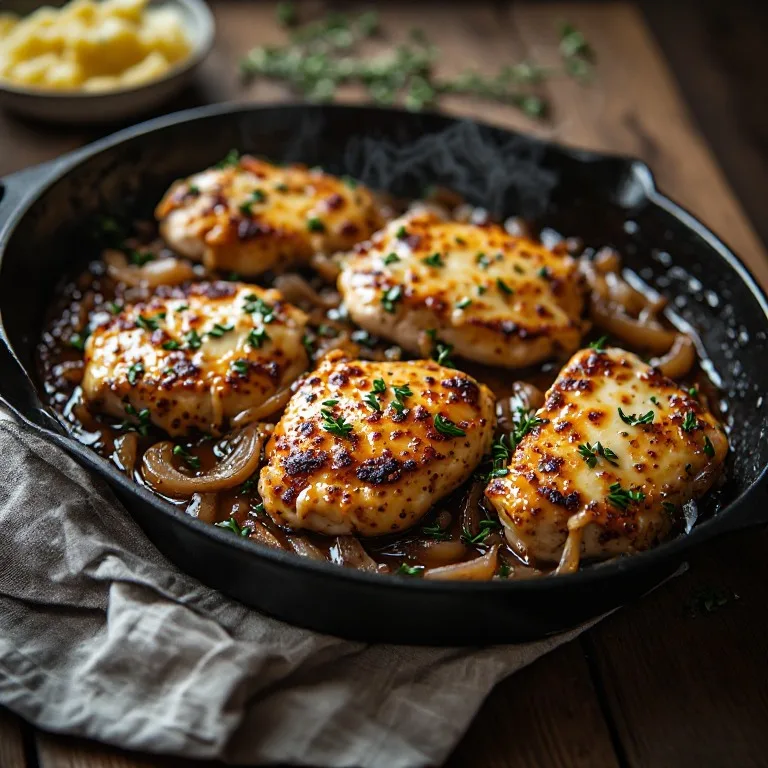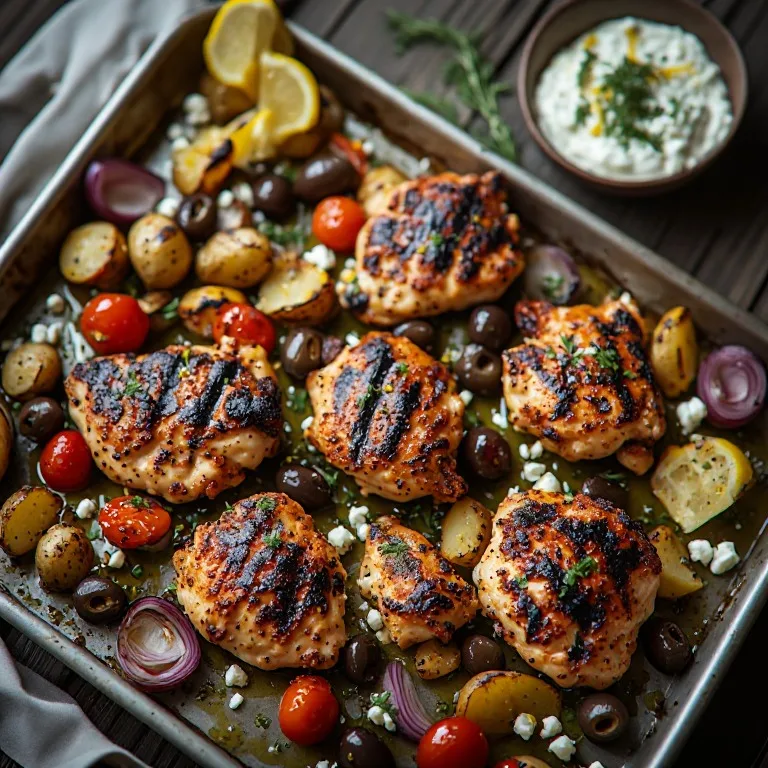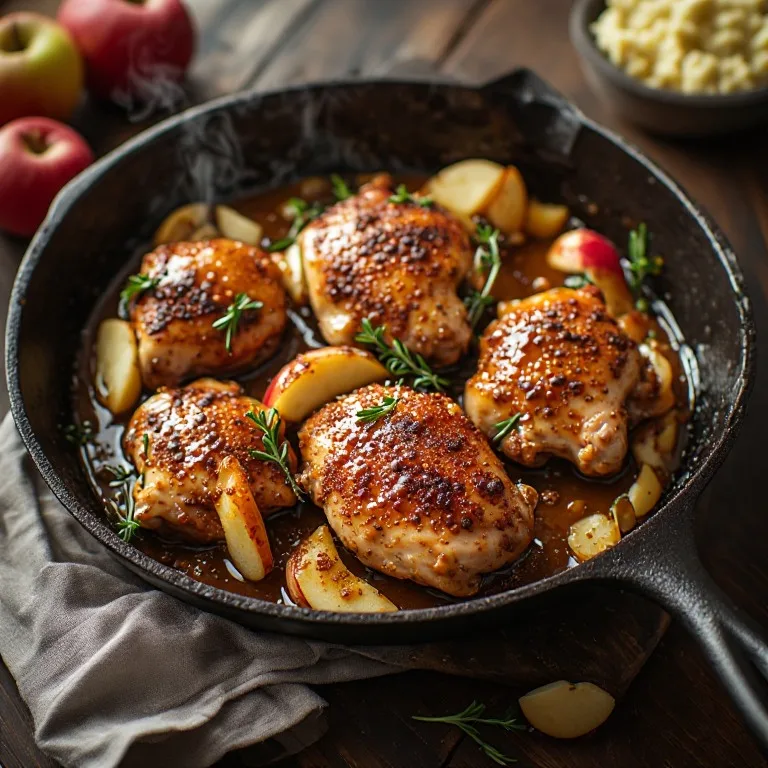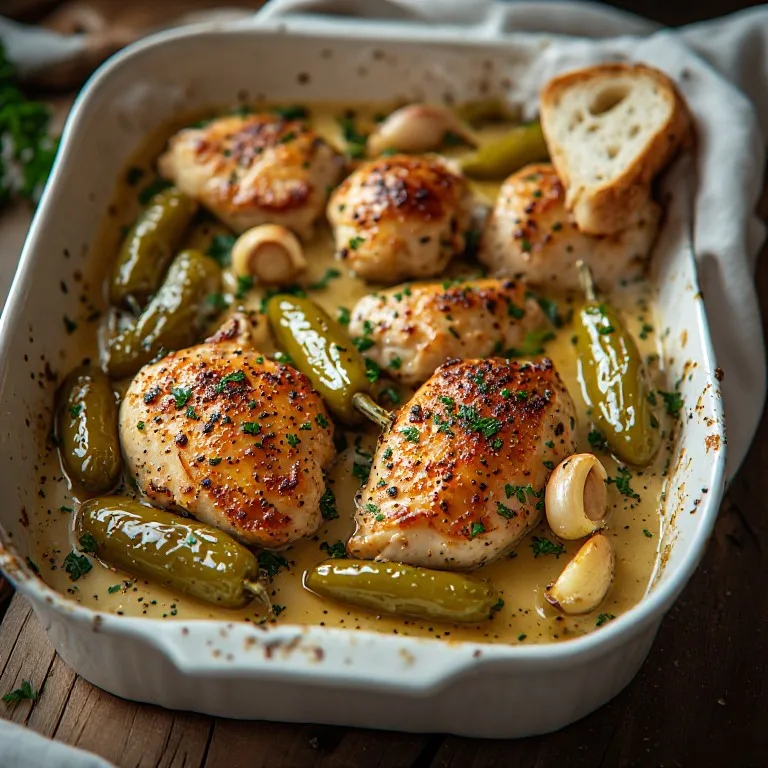
Pepperoncini chicken appeared on TikTok the way the best dump-and-bake recipes always do: someone posted it with the caption “four ingredients and it tastes like it cooked all day,” the comments filled with people saying they were making it that night, and then a second wave of people saying they already had. The format is direct — chicken thighs, a jar of pepperoncini peppers with every drop of brine, butter, an Italian seasoning packet. Foil on, oven on, forty-five minutes later you have chicken falling off the bone in a tangy, garlicky, butter-thickened pan sauce that tastes like something a restaurant would charge $28 for.
The reason it works so well is the same reason Mississippi pot roast works: the brine from a jar of pickled peppers, when it reduces with butter and rendered chicken fat, produces a sauce that’s simultaneously salty, tangy, savory, and rich. It tastes finished. It doesn’t need cream or stock or wine. The jar does most of the work.
Why the Brine Is the Actual Secret
Most people assume the pepperoncini peppers are the star. They’re good — they braise down into soft, tangy, slightly sweet ribbons that collapse into the sauce. But the brine is what’s doing the heavy lifting.
Pepperoncini brine is a vinegar-and-salt solution that the peppers have been soaking in, often for months. That brine carries concentrated pickle flavor: acetic acid (vinegar), salt, trace sugars, and the pectin and natural compounds that leached out of the peppers during fermentation. When it goes into a hot oven with butter and chicken fat, it does three things:
- Deglazes and reduces. The heat evaporates water from the brine, concentrating the flavor and thickening the liquid with the rendered fat.
- Seasons the chicken. The salt in the brine penetrates the top surface of the thighs during the braising phase, seasoning the meat from outside in — similar to a quick brine, but in the oven.
- Balances the richness. Four tablespoons of butter is a lot. The acidity from the vinegar cuts through it, keeping the sauce bright rather than heavy. Without the brine, the same amount of butter would produce a sauce that feels greasy. With it, it feels balanced.
Never, under any circumstances, drain the jar before adding it.
Four Common Mistakes
1. Not Drying the Chicken Skin
Wet skin = steam = no crust. The skin needs to be completely dry before it goes into the oven. Water on the surface of the skin vaporizes when it hits heat, and until that moisture is gone, the skin temperature can’t rise above 212°F — the boiling point of water — which is below the temperature where Maillard browning begins (around 280°F). You end up with skin that steams instead of rendering.
Pat the thighs thoroughly with paper towels on all surfaces, including under the edge of the skin if you can get there. This takes 30 extra seconds and changes the final result significantly.
2. Using Boneless, Skinless Thighs
They’ll cook through, but you lose both the crispy skin (which is the visual payoff of every TikTok clip about this recipe) and the collagen that the bone and cartilage release into the sauce during braising. That collagen is what makes the pan sauce feel slightly thickened and glossy rather than thin and watery. Bone-in, skin-on thighs are the right cut.
3. Covering the Whole Cook Time
The covered phase is braising — it builds the sauce and makes the chicken tender. The uncovered phase is roasting — it crisps the skin and concentrates the sauce. Both phases are necessary. If you leave the foil on for the full cook time, you get tender chicken in a watery sauce with soft skin. If you skip the foil entirely, the brine reduces too fast, the chicken can dry out, and the sauce scorches on the bottom of the pan before the interior is cooked through.
4. Pulling the Chicken at Exactly 165°F
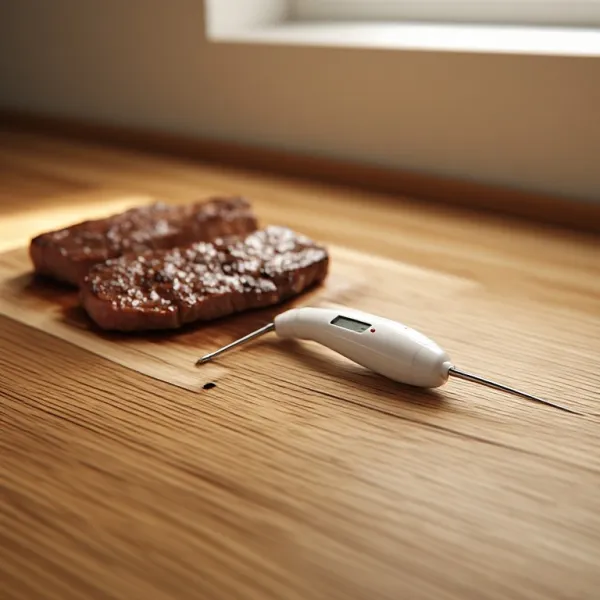
165°F is the USDA-mandated safe temperature for poultry. It’s also, for thighs specifically, slightly dry. Thighs have more connective tissue than breasts, and that tissue needs to reach 175–180°F before it fully breaks down into gelatin. At 165°F, thigh meat is safe but can feel slightly fibrous or chewy. At 175–180°F, it’s silk — the meat pulls cleanly from the bone, the fibers separate effortlessly, and the gelatin that’s released enriches the sauce.
Cooking thighs past 165°F is not a mistake. It’s the goal.
Oven vs. Slow Cooker
Oven (375°F, 50–55 min total): Produces crisper skin, a more concentrated pan sauce, and a slightly more dramatic visual result. Better for serving family-style directly from the dish.
Slow cooker (LOW 6–7 hours or HIGH 3–4 hours): More forgiving on timing, and the chicken is even more fall-apart tender because the extended low heat breaks down more collagen. The trade-off: no crispy skin in the slow cooker — the enclosed environment traps steam. To recover the skin, transfer the cooked thighs to a sheet pan and broil for 3–5 minutes. Watch closely.
Both methods are legitimate. The oven is faster; the slow cooker is hands-off.
Serving Options
As-is with crusty bread: The pan sauce is the point. Tear bread directly into the dish and let it soak. Use a wide, shallow bowl if you’re plating individually — you want the sauce on the plate, not lost at the bottom of a deep bowl.
Pulled chicken sandwiches: Shred the chicken off the bone with two forks. Pile it onto a toasted hoagie roll or ciabatta with a few braised pepperoncini and a spoon of pan sauce. This is the version that made the recipe’s second wave on TikTok — it looks like a proper Italian beef sandwich but takes 5 minutes to assemble.
Over pasta or egg noodles: Toss wide egg noodles or rigatoni in the pan sauce. The starchy pasta water you save (2–3 tablespoons) helps the sauce coat the noodles. Place a thigh on top.
Over polenta or rice: The sauce is salty and bold enough to season the starch on its own — you don’t need to add anything to the polenta or rice. Plain, buttered polenta or plain white rice both work.
The creamy version: At the foil-off stage, stir 4 oz of cream cheese into the sauce in the pan, breaking it up roughly. By the time the chicken finishes, it’ll have melted into the sauce. This version pairs best with pasta or over mashed potatoes. If you like this cream-cheese-in-the-pan move, it’s the same trick behind slow cooker crack chicken and Marry Me chicken.
Leftovers and Meal Prep
Pulled pepperoncini chicken keeps well — the pan sauce is high in fat (butter + rendered chicken fat), which acts as a natural seal over the meat in the container. Refrigerate in an airtight container with the sauce for up to 4 days.
Reheating: covered pan on the stovetop with 2–3 tablespoons of water, low heat until warmed through. The water prevents the sauce from scorching on the bottom. Microwave works too — covered, 60% power, in 90-second intervals.
The pulled chicken freezes well. Store portions in the sauce; thaw overnight in the refrigerator.
Nutrition (Per Serving: 1–2 Bone-In Thighs + Pan Sauce, No Bread)
| With Skin | Without Skin (removed before eating) | |
|---|---|---|
| Calories | ~390 | ~280 |
| Protein | ~34g | ~35g |
| Fat | ~26g | ~12g |
| Carbs | ~6g | ~6g |
| Sodium | ~1,050mg | ~1,000mg |
The sodium is inherent to the recipe — pepperoncini brine and Italian dressing mix are both salt-forward. If you’re watching sodium, use the lowest-sodium Italian dressing packet you can find and look for reduced-sodium pepperoncini.