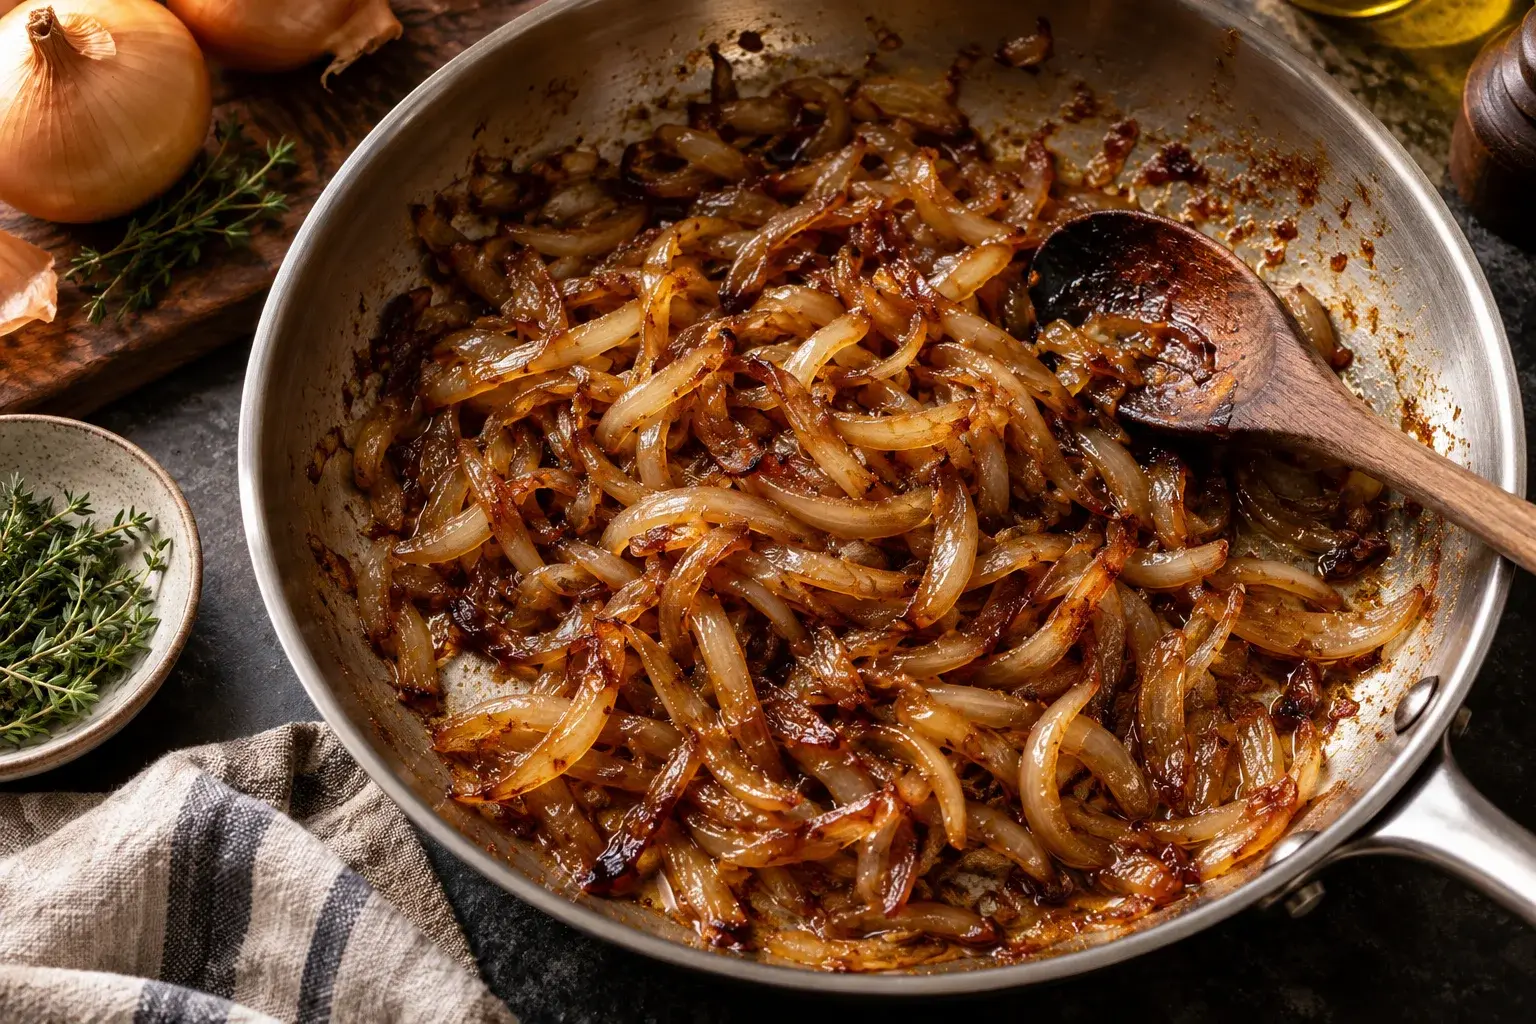
You’ve seen it in countless recipes: “caramelize the onions, about 5 minutes.” You’ve probably done it, looked at the pale, vaguely translucent heap in your pan, and thought that’s good enough. It isn’t. What you made is softened onions — fine for a stir-fry, but miles away from the jammy, mahogany-brown, intensely sweet-and-savory thing that makes French onion soup, good burgers, and a dozen other dishes genuinely great.
The good news: properly caramelized onions aren’t difficult. They just take time.
What’s actually happening in the pan
Raw onions are pungent, sulfurous, and relatively sharp. That sharpness is from volatile sulfur compounds that break down and dissipate within the first few minutes of heat. What’s left are the natural sugars — primarily fructose and glucose — and the complex carbohydrates that will, given enough heat and time, break down through a combination of caramelization and Maillard browning into hundreds of new flavor compounds.
The result is something entirely different from the raw ingredient: deeply sweet, savory, complex, and rich with umami — the same kind of transformative alchemy that happens when you brown butter or develop a good sear. You cannot rush chemistry.
The setup
Start with more onions than you think you need. Three large yellow onions will yield barely a cup of finished product. Slice them uniformly — halved through the root, then sliced into half-rings about ¼-inch thick. Uneven slices mean some pieces finish before others.
Choose a wide, heavy pan: a 12-inch cast iron or a stainless skillet gives you more surface area, which means faster evaporation and better browning. Carbon steel works well too. Heat 2 tablespoons of butter (or a 50/50 split of butter and olive oil — butter for flavor, oil to raise the smoke point) over medium heat until the foam subsides.
The first phase: softening (0–15 minutes)
Add the onions and a generous pinch of salt. The salt draws moisture out of the onions immediately and starts breaking down their cell structure — this is the phase where they go from stiff and raw to soft and translucent. You can put a lid on the pan for the first 5 minutes to trap steam and speed this along, but remove it after that.
Stir every couple of minutes. The onions will reduce dramatically in volume — by the 10-minute mark they should look substantially smaller and glassy. The heat should be medium, not high. If they’re sizzling loudly or browning on the edges already, turn it down.
The second phase: browning (15–45 minutes)
This is where patience earns its keep. Keep the heat at medium-low and stir every 3–5 minutes, making sure to scrape the bottom of the pan. The onions will slowly start to go from pale yellow to golden, then from golden to the color of dark honey, then — if you keep going — to a deep amber-brown that borders on mahogany.
Each shade represents a deepening of flavor. Pale golden onions are fine for a pizza topping or a frittata. Deep brown onions — the kind that took 40 minutes — are what go on a proper French onion soup or a steakhouse burger.
The deglazing trick
As the onions concentrate and their sugars deepen, you’ll notice a fond (browned residue) building on the bottom of the pan. This is not a problem — it’s flavor. Every few minutes, splash in a tablespoon of water, white wine, dry sherry, or stock, then scrape the bottom with a wooden spoon. The liquid lifts all that concentrated browning back up into the onions, adding depth and preventing burning.
This move — essentially a mini deglaze — is something every French cook does instinctively and something most home recipes never mention. You can do it four or five times over the course of the cook, and each one adds another layer of complexity. A teaspoon of balsamic vinegar toward the end is a particular trick: the sweetness and acid balance the richness perfectly.
How to know when they’re done
Real caramelized onions are:
- Deep amber to mahogany brown — not just golden or tan
- Jammy and almost paste-like in texture, not stringy
- Intensely sweet and savory — taste one; it should taste like a distilled onion with rich, complex sweetness
- Significantly reduced — at least 75% less volume than when you started
If they’re still yellow and soft, keep going. If any edges are crispy or burnt, your heat is too high.
Finishing and storing
Once the onions are where you want them, taste and adjust. A splash of sherry vinegar or a squeeze of lemon brightens the richness. A pinch of fresh thyme stirred in at the end adds an herbal note that works especially well in soups.
Caramelized onions keep in the refrigerator for up to 10 days in a sealed container, which makes them one of the best things to batch-cook on a Sunday. They freeze beautifully in ice cube trays — pop one out whenever you need to add instant depth to a pan sauce, soup, or grain bowl.
Because of the umami they develop during browning, caramelized onions function almost like a seasoning: they make everything around them taste deeper and more complex. That’s why they’re worth the time.
Now put them to use — the recipes below are ideal proving grounds for getting this technique right.