Reverse-Sear Steak — The Method TikTok Chefs Refuse to Shut Up About (For Good Reason)
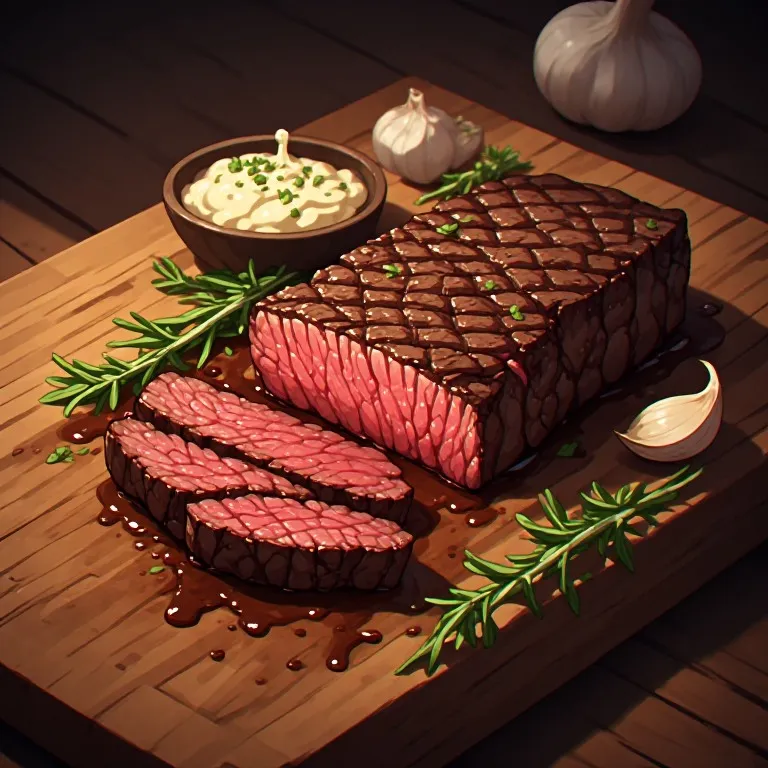
If you’ve spent more than ten minutes watching steak content on TikTok, you’ve seen the reverse sear. Someone pulls a perfectly uniform pink slab from the oven, drops it into an oil-slicked screaming-hot cast iron, and within two minutes produces a steak with a mahogany crust so thick it crackles. The comments fill up with the same question every time: why doesn’t mine look like that?
The answer is the method. And the method is backwards from everything you were taught.
Why Traditional Sear-First Fails (and What the Science Actually Says)
The conventional wisdom — sear first to “lock in juices” — is a cooking myth that’s been debunked for decades. Searing doesn’t seal anything. What it does is create a brown, flavored crust through the Maillard reaction, which is genuinely delicious. The problem is what happens next.
After searing, you slide the steak into a 400°F oven. The surface is already at 400°F+ from the pan. The heat continues driving inward from that hot exterior, creating a gradient: a well-done outer layer, a medium layer beneath it, and hopefully a pink center. That grey band of overcooked meat around the outside is the enemy. It’s what separates a home-cooked steak from a $60 steakhouse cut.
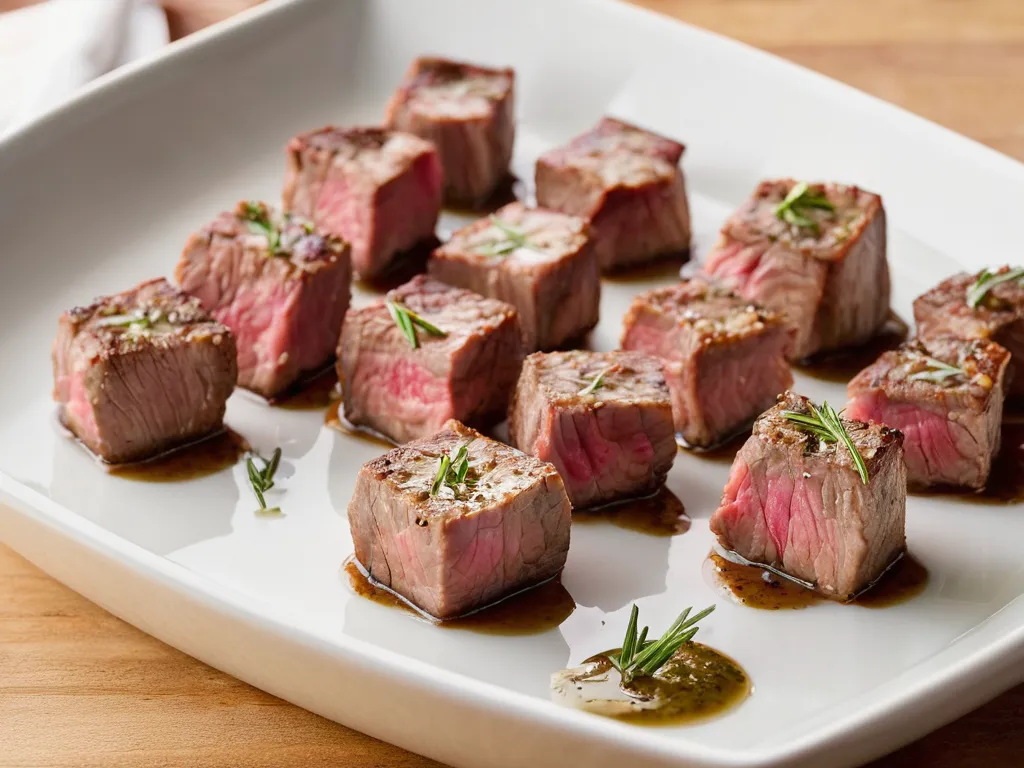
Reverse sear eliminates the gradient entirely. By starting in a 250°F oven, you bring the entire steak — edge to center — to just below your target temperature at the same pace. The heat differential between the exterior and interior is almost nothing, so there’s no grey band. The whole cross-section is uniformly pink.
The Surface Dryness Trick Nobody Talks About Enough
Here’s the part most viral clips skip: the rest before the sear matters as much as the sear itself.
When a steak comes out of the oven, its surface has some moisture on it. If you drop it straight into hot oil, that moisture steams against the pan surface, dropping the pan temperature and slowing the crust formation. You get a softer, paler crust that takes longer to develop — which means more time passing heat into your already-perfect interior.
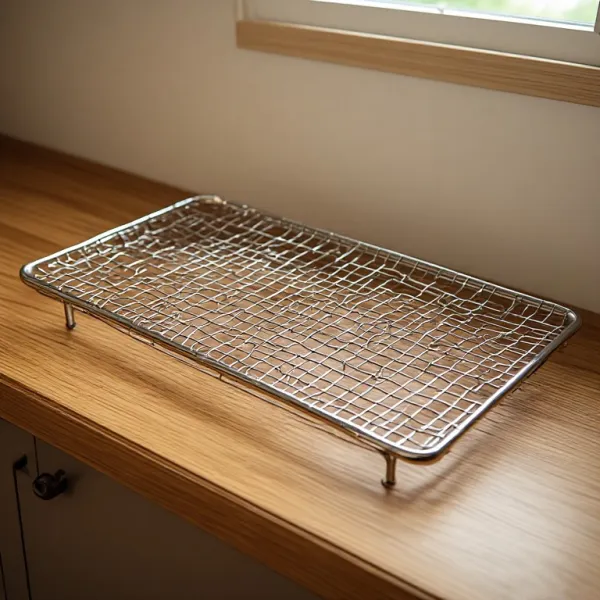
Resting the steak on a wire rack for 10 minutes after the oven phase lets surface moisture evaporate. When it hits the pan, the Maillard reaction fires off almost immediately. Your crust forms in 60–90 seconds per side instead of 3–4 minutes, and the interior barely moves.
Common Mistakes That Ruin the Reverse Sear
Skipping the salt rest. Seasoning right before cooking gives you surface-only salt. Salt applied 1–24 hours in advance draws out moisture, then that brine reabsorbs, carrying seasoning below the surface. The steak tastes seasoned all the way through.
Using a thin steak. The reverse sear’s superpower is eliminating the gradient in thick cuts. On a 3/4-inch steak, there’s not enough interior to create the problem in the first place. Save this method for anything 1.25 inches or thicker.
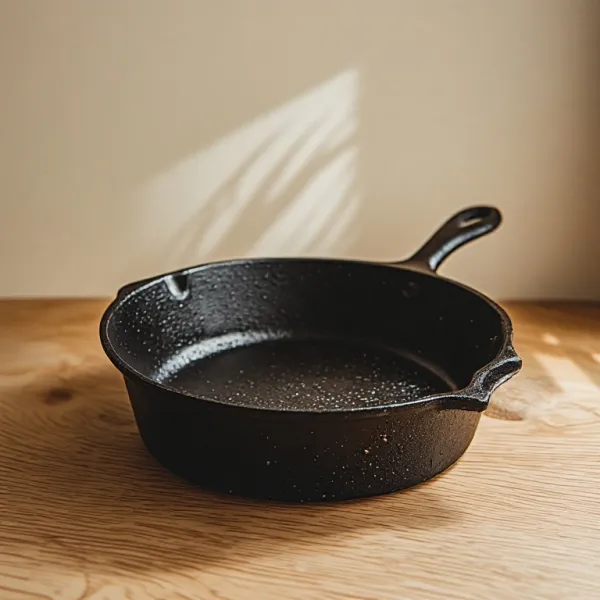
A pan that isn’t hot enough. You want your cast iron smoking before the steak touches it. If you can hold your hand near the pan comfortably, it’s not hot enough. Turn it up and wait another two minutes. A too-cool pan steams instead of sears.
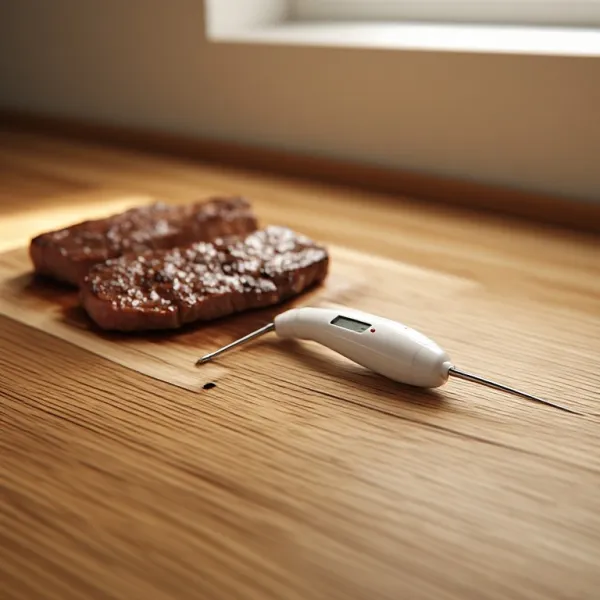
Skipping the thermometer. The low oven phase is a precision game. Pull at 115°F for medium-rare (it’ll climb a few degrees during the rest and sear). No thermometer means no precision means the whole method falls apart.
Beyond Steak: Where Else This Technique Wins
The reverse sear translates perfectly to thick-cut pork chops (pull at 130°F), lamb chops, and even very thick chicken breasts. The low-oven principle also underpins sous vide cooking — the reverse sear is essentially sous vide without the water bath. If you understand why it works on steak, you understand the logic behind a lot of professional kitchen technique.
TikTok chefs love this one because the final sear is cinematic. The smoke, the foam, the butter baste — it looks difficult. The dirty secret is that it’s actually more forgiving than traditional cooking, because the oven phase gives you a 10–15°F window to work with before you’re in trouble. It’s the rare technique where understanding the science makes you both a better cook and a more patient one.