Crispy One-Pan Gnocchi
Prep: 5 min | Cook: 20 min | Serves: 4 | Cost: ~$8–10 vs. $18–26 at a restaurant
Pan-fried gnocchi was TikTok’s quiet revelation. Most people had only eaten gnocchi boiled, which is fine — soft, pillowy, sauce-ready. But when food creators started throwing dry shelf-stable gnocchi directly into a hot buttered skillet, skipping the pot of water entirely, something unexpected happened: the starchy little potato dumplings turned golden and crispy on the outside while staying tender in the middle. One cheap pasta-aisle package, one pan, and a texture nobody expected from gnocchi.
The recipe itself is short: one pan, five core ingredients, 20 minutes. But the technique has a few hard rules — and skipping them is exactly why this recipe fails for so many people who try it.
- Shelf-stable gnocchi only (not frozen — frozen releases moisture and steams instead of browning)
- Hot pan + oil and butter + undisturbed contact for 3–4 minutes = the crispy crust
- Add garlic only after you’ve finished crisping — high heat burns garlic in under 2 minutes
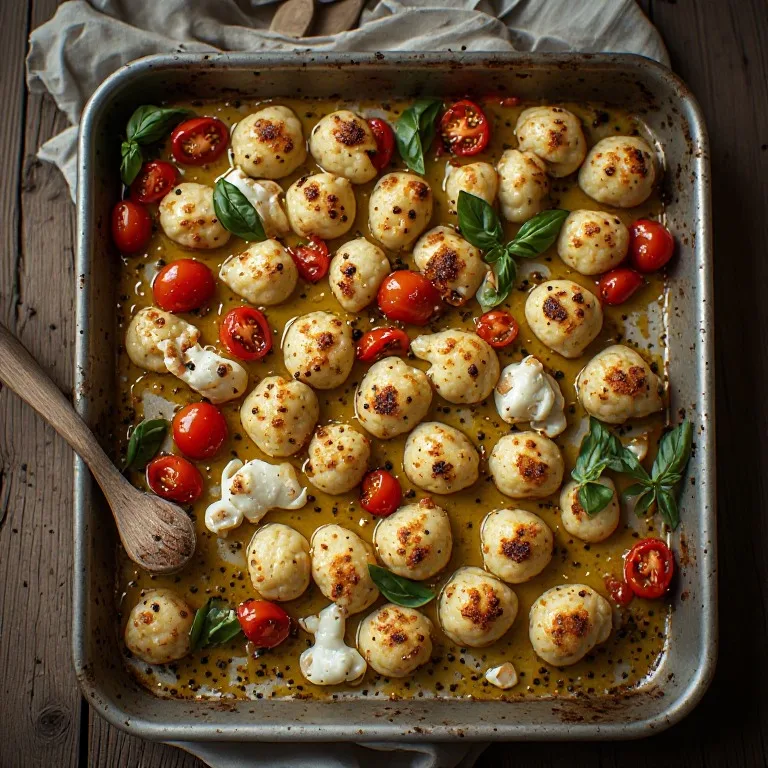
- Add cherry tomatoes after the garlic; press them to burst; the juice becomes the sauce
- Finish with Parmesan off the heat; serve immediately
Why This Went Viral
Gnocchi had a reputation problem: people thought it was hard to make (it is, from scratch), and boiled store-bought gnocchi is pleasant but unremarkable. The TikTok pan-fried version changed both perceptions in a single video format.
The moment the camera showed gnocchi getting golden and crunchy in a pan — then cut one open to reveal the fluffy, pillowy interior — every person watching recalibrated what was possible with a $2 pasta aisle ingredient. The visual contrast (golden crispy exterior, white pillow interior) is exactly the kind of high-reward-low-effort content that performs on short-form video. No single creator is definitively credited with starting it; dozens of food TikTokers began posting versions simultaneously around 2021, and the trend compounded from there.
Which Gnocchi to Buy — and Why It Matters
Not all gnocchi pan-fry equally. The type you pick is the single biggest variable in whether this recipe works.
Shelf-stable gnocchi (dry pasta aisle): Best. This is the vacuum-sealed, shelf-stable package that lives next to dried pasta in the regular grocery aisle. Brands like DeLallo, Gia Russa, or store-brand equivalents. These have lower moisture content than fresh or refrigerated options. When they hit a hot pan, the surface starch browns quickly without releasing excess steam. They also hold their shape well during the flipping step. This is what most TikTok creators use.
Refrigerated gnocchi (fresh pasta section): Works. Sold near fresh pasta, cheese, and refrigerated tortellini. These crisp up adequately — not as dramatically as shelf-stable, but they’ll still achieve a golden crust with longer cook time (add 1–2 extra minutes per side). The texture inside is usually slightly softer and more delicate.
Frozen gnocchi: Avoid for pan-frying. Frozen gnocchi releases trapped ice crystals as steam when it hits the pan. Until that moisture evaporates, the surface temperature stays at 212°F — the boiling point of water — which is too low for significant browning. By the time the moisture is gone, the gnocchi is overcooked, dense, and only lightly colored. If frozen gnocchi is all you have, boil it instead.
Fresh homemade gnocchi: Not recommended. Freshly made gnocchi is delicate, tender, and high in moisture. Pan-frying it aggressively often causes it to stick and fall apart before a crust can form. The texture doesn’t hold up to the high heat. Use fresh homemade gnocchi for boiling with sauce; pan-fry the store-bought stuff.
The Science of the Crispy Crust
The crust forms through the Maillard reaction: a chemical process between amino acids and reducing sugars that creates hundreds of flavor compounds and brown pigments when food surfaces exceed roughly 280–300°F. This same reaction browns bread, sears steak, and toasts garlic.
Gnocchi’s potato starch plays the central role. When the starch-rich surface of a dry gnocchi contacts the hot pan:
- The outer starch granules gelatinize rapidly, forming a thin gel layer against the hot metal
- As moisture from that gel layer evaporates, the temperature climbs above the boiling point of water
- Once surface temperature reaches 280°F+, the Maillard reaction begins and the surface turns golden-brown
- The interior stays soft because it insulates itself from the heat — the thick potato dough conducts heat slowly
This chain only works if you don’t interrupt it. Every time you move the gnocchi, you break the contact between the starch surface and the hot pan, expose it to cooler air, and reset the process. Three minutes undisturbed is the minimum for a proper crust. Restless stirring produces pale, steamed gnocchi regardless of what pan you’re using.
Pan Choice
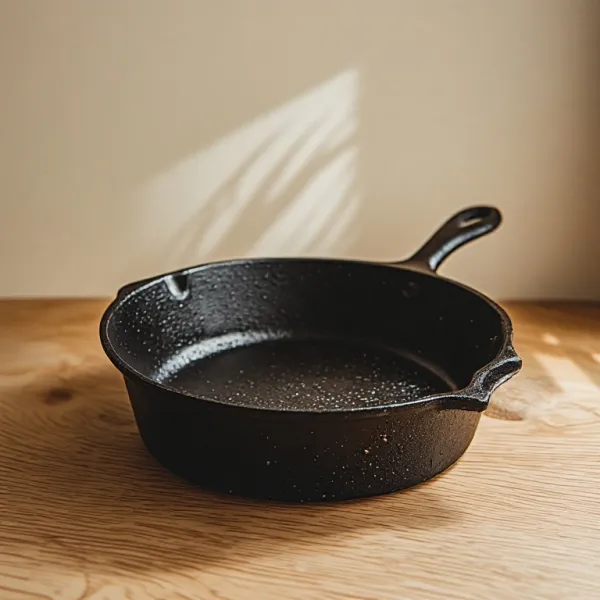
Cast iron: The best choice for even, deep crisping. Cast iron holds heat exceptionally well — it stays hot when you add cold gnocchi from the package, which keeps the Maillard reaction from stalling. The heavy surface distributes heat so you don’t get hot spots that burn individual gnocchi. Downside: cast iron is heavy and takes longer to heat up initially; preheat it for 2–3 minutes before adding the fat.
Stainless steel: Excellent for crisping and produces good fond (the browned bits stuck to the pan). The tomato juice that releases from burst cherry tomatoes deglazes those bits into a flavor-rich sauce. Gnocchi can stick initially on stainless — don’t force them loose; when the crust is ready, they’ll release on their own. Trying to move them before the crust forms guarantees they tear.
Nonstick: Works fine. Less likely to stick, easier to handle, requires less oil. The tradeoff is that nonstick pans can’t always reach the same surface temperatures as cast iron or stainless, so the crust tends to be lighter in color — golden rather than deep amber. Still tasty, just less dramatic.
Oil and Butter — Why Both
Olive oil alone: too low a smoke point at the heat required. Butter alone: milk solids burn before the gnocchi fully browns. Together: the olive oil’s smoke point covers the high-heat crisping phase; the butter’s milk solids contribute extra browning and richer flavor without burning because they’re diluted by the oil.
The ratio (1 tablespoon each) for one 16-oz package is intentional. More fat than that pools under the gnocchi and fries them (which produces a different, greasier result). Less than that, and they stick and dry out before browning.
Adding Garlic: Timing Is Everything
The gnocchi crisping phase runs at medium-high heat for 6–7 minutes. Minced garlic placed in a pan at that temperature burns in under 2 minutes — past golden, into acrid brown-black territory that poisons the dish.
The solution: sliced garlic, added after the gnocchi is done crisping, with the heat reduced to medium.
Sliced garlic (3–4 cloves, thin rounds) has more surface area than a minced clove but less fragile surface area exposed at any given moment. At medium heat, it takes 60–90 seconds to turn golden rather than scorching. The slices stay intact in the final dish as small golden chips mixed through the tomatoes — a textural contribution minced garlic can’t make.
The Tomato Burst Technique
Cherry tomatoes in a hot pan with residual butter and garlic oil do something specific: they burst and release concentrated tomato juice into the pan’s fat, creating a loose, intensely flavored sauce that coats every gnocchi without any additional liquid.
Press them. Don’t wait passively for tomatoes to burst on their own. Use the back of a wooden spoon to press each one after about 2 minutes. This ruptures the skin and accelerates the release of juice.
Don’t drain the liquid. The juice is the sauce. After all the tomatoes burst and the liquid reduces slightly — about 2–3 minutes total — you have a light, bright sauce in the pan. Add the Parmesan off the heat and it melts into the tomato juice, thickening it slightly and adding body.
Four Mistakes That Ruin One-Pan Gnocchi
1. Using frozen gnocchi. The moisture problem isn’t fixable with technique. Use shelf-stable or refrigerated.
2. Moving the gnocchi constantly. The most common mistake. The urge to stir is strong, especially on a pan that’s hissing loudly. Resist it. Set a 3-minute timer and walk away.
3. Overcrowding the pan. One 16-oz package fills a 12-inch skillet just right. Using a 10-inch skillet forces gnocchi to steam against each other rather than brown against the pan. Batch if necessary.
4. Adding garlic at the start. Leads to burnt, bitter garlic mixed through every bite. Add it after the gnocchi is done crisping, at lower heat.
5 Variations Worth Making
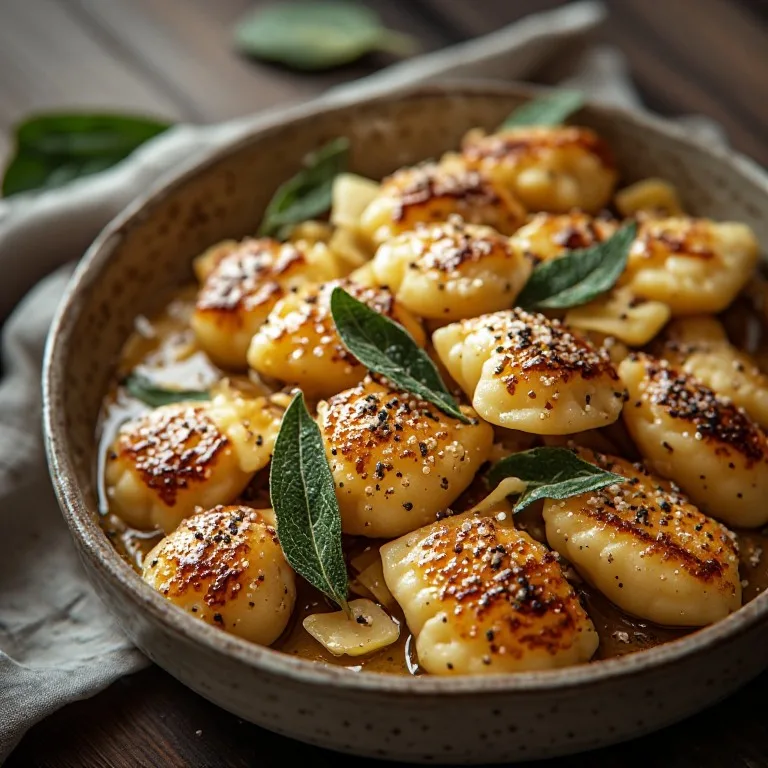
Brown butter and sage (classic Italian) Skip the tomatoes. After crisping the gnocchi, remove them to a plate. Reduce heat to medium-low. Add 2 more tablespoons butter to the pan and cook without stirring until it turns amber and smells nutty — 4–5 minutes total (it passes through yellow, then foamy, then golden, then amber). Add 10–12 fresh sage leaves and let them crisp for 30–45 seconds. Return gnocchi and toss to coat. Finish with lemon zest and extra Parmesan. This is arguably the better version for fall and winter.
Pesto Follow the base recipe but skip the tomato and garlic step entirely. After crisping, remove the pan from heat and toss the gnocchi with 3 tablespoons basil pesto and 1 tablespoon of warm water. The water loosens the pesto so it coats without clumping. Top with toasted pine nuts and torn basil.
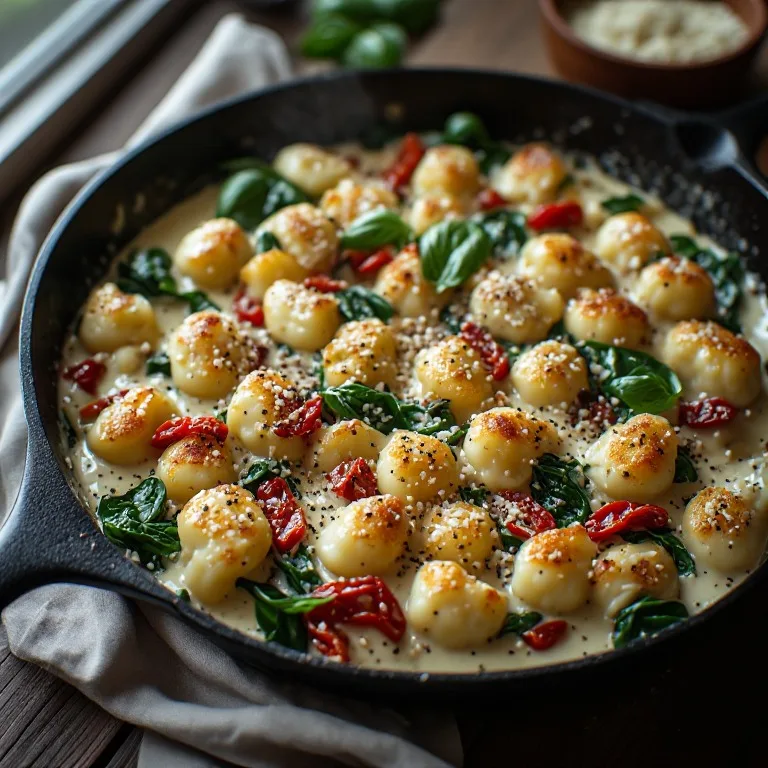
Creamy spinach After the garlic step (tomatoes optional but good), add 3 tablespoons heavy cream directly to the pan. Stir to coat the gnocchi, then add a large handful of baby spinach. Cook 60–90 seconds until the spinach wilts and the cream thickens slightly. Finish with Parmesan and a grating of nutmeg.
Vodka-style pink sauce After crisping and setting the gnocchi aside, cook 1 finely minced shallot in the same pan for 2 minutes. Add 2 tablespoons tomato paste and stir for 2 minutes until it darkens slightly (this concentrates the flavor). Add 1/4 cup heavy cream and stir to combine into a pink sauce. Return gnocchi, toss to coat, add a pinch of red pepper flakes. This is the one-pan version of the viral TikTok spicy vodka pasta technique applied to gnocchi.
Gochujang and scallion After crisping, reduce heat to medium. Add 1 tablespoon gochujang (Korean fermented chili paste — start with 2 teaspoons if you’re heat-sensitive; a full tablespoon reads as medium heat across 4 servings) and 1 teaspoon sesame oil to the pan and stir to coat gnocchi for 60 seconds. Add sliced scallions and a tablespoon of soy sauce. Finish with sesame seeds. No tomatoes, no Parmesan — entirely different flavor profile, surprisingly excellent.
Storage and Reheating
Best eaten immediately. Pan-fried gnocchi is at peak texture for about 10–15 minutes after cooking. Once they cool, the tomato sauce is absorbed into the crust and the crispy exterior softens. The dish still tastes good, but it won’t be crispy anymore.
Leftovers: Store in an airtight container in the refrigerator for up to 2 days. Reheat in a dry skillet over medium-high heat for 3–4 minutes — they’ll re-crisp partially but won’t fully recover the original crunch. Reheating in the microwave produces a soft, steamed result.
Do not freeze. Cooked gnocchi with tomato sauce doesn’t freeze well; the potato interior turns watery and mealy when thawed.
Cost Breakdown
| Item | Cost |
|---|---|
| 1 pkg shelf-stable gnocchi | $2–3 |
| 1 pint cherry tomatoes | $3–4 |
| Garlic, oil, butter, Parmesan | ~$2 |
| Total (serves 4) | $7–9 |
A gnocchi dish at an Italian restaurant runs $16–24. A full dinner for four from one pan costs under $10.
For a brothier gnocchi dinner that uses the same potato dumplings in a completely different format, see the Olive Garden Chicken Gnocchi Soup copycat. For more one-pan TikTok pasta dinners with a similar hands-off technique, the Boursin pasta and baked feta pasta use the same burst-tomato approach in oven form. For a creamy lemon finish variation on the gnocchi, the lemon pasta technique adapts directly.